HKMP7's V4S Journal
- Thread starter HKMP7
- Start date
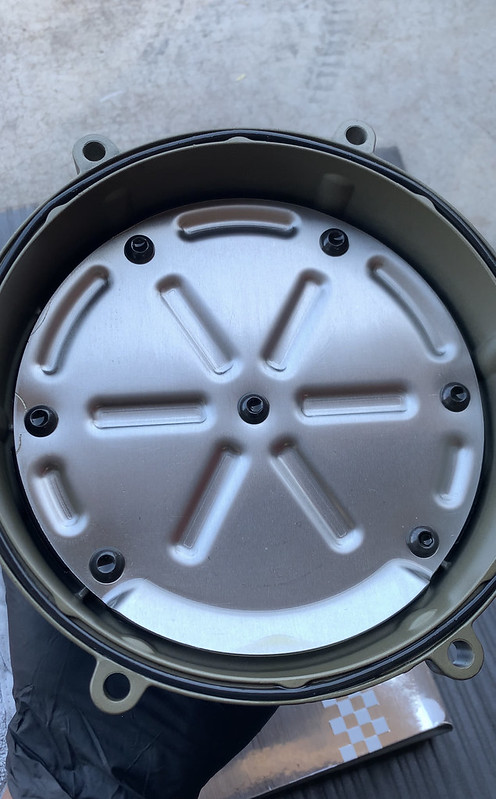
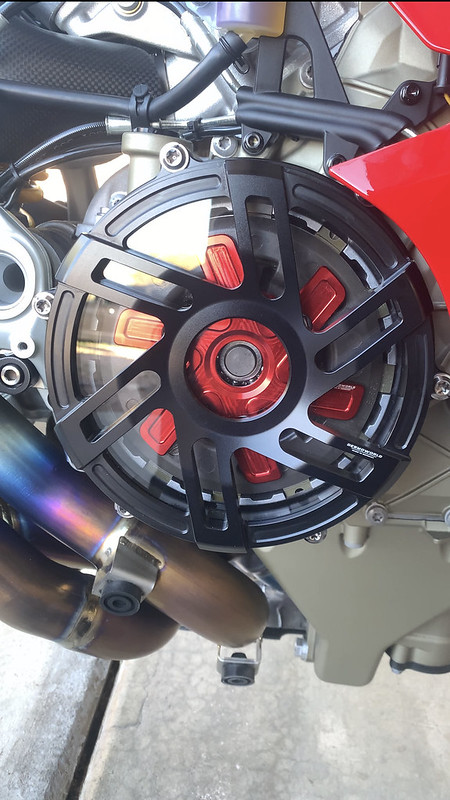
Desmoworld Clutch Cover Install
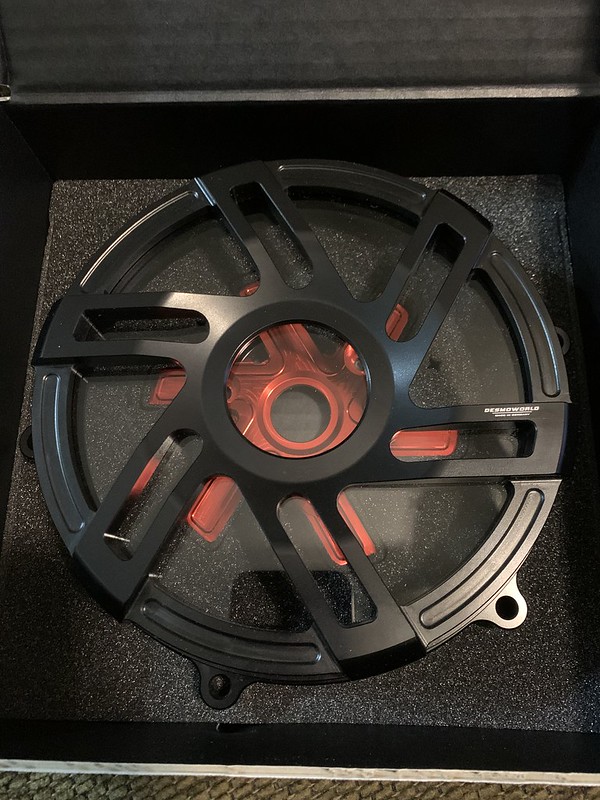
Before
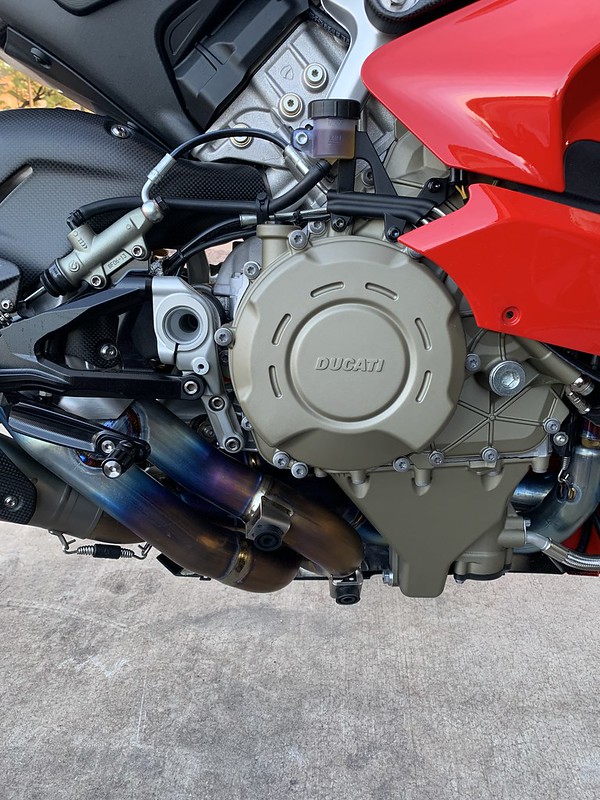
Remove the factory cover
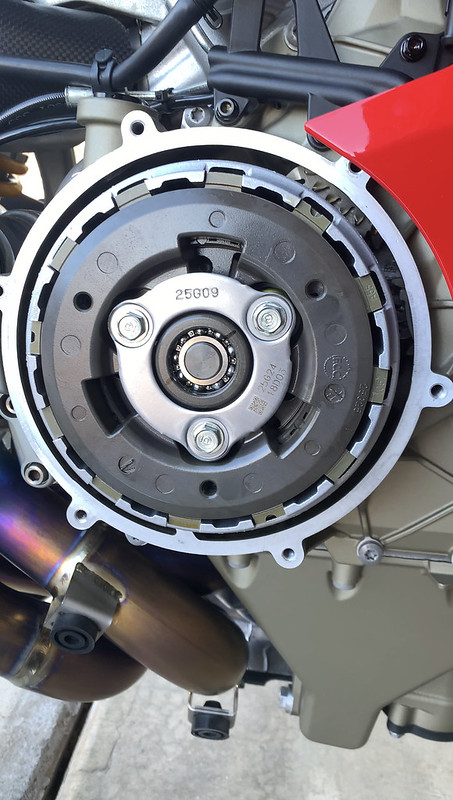
Remove the factory O ring to reuse it in the new cover
Loosen the clutch ring bolts evenly then remove

Reusing the bolts and springs on the new ring
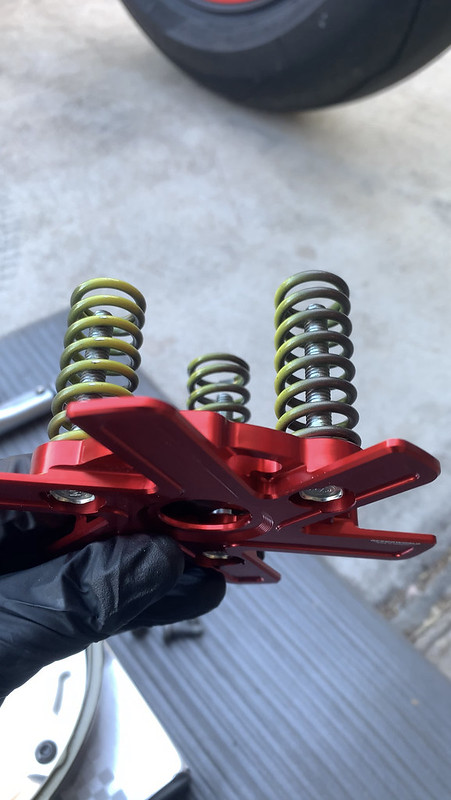
Torque to 10nm
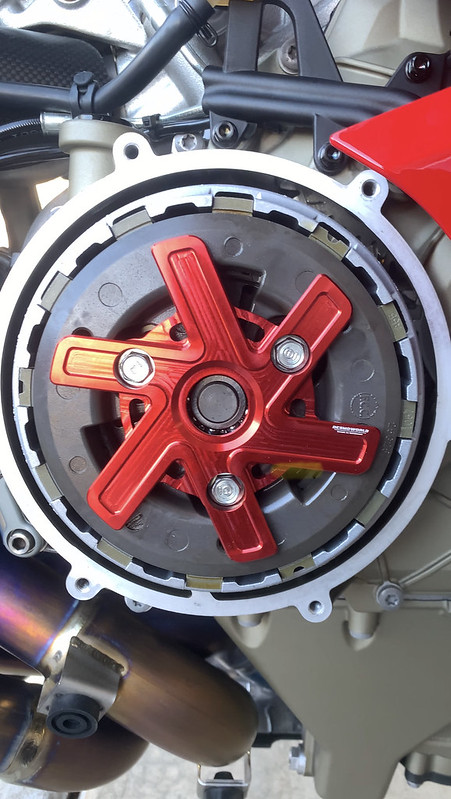
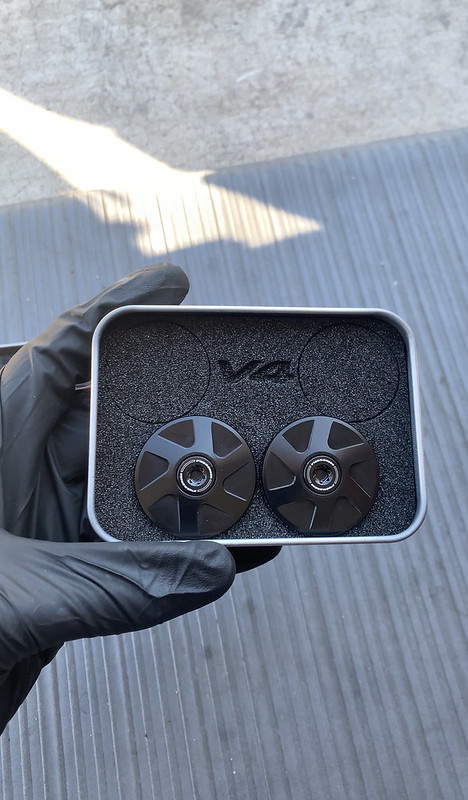
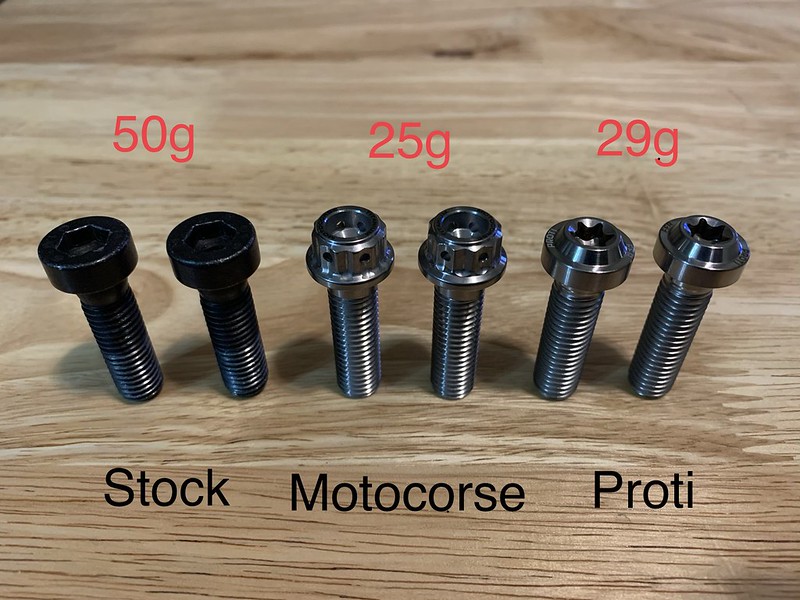
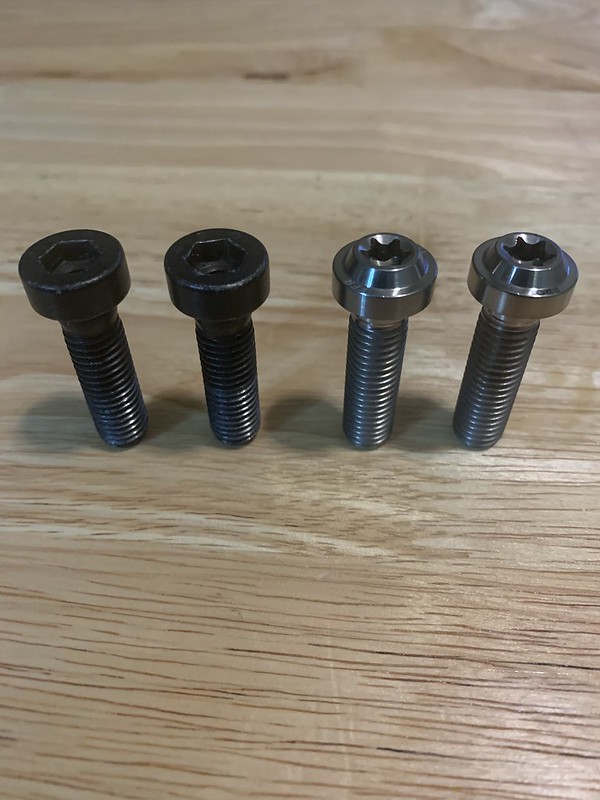
Opted for some Proti bolts for the cover
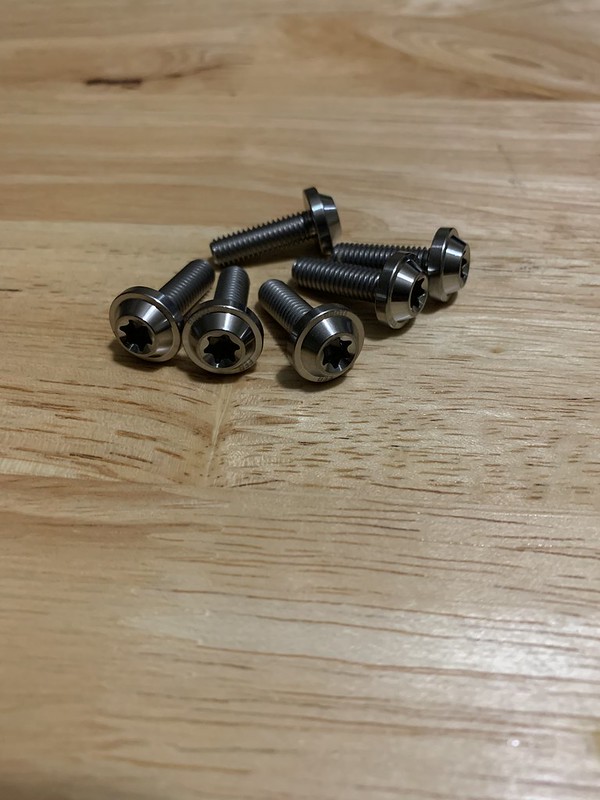
Torque to 3Nm plus 90 deg
Before
Remove the factory cover
Remove the factory O ring to reuse it in the new cover
Loosen the clutch ring bolts evenly then remove
Reusing the bolts and springs on the new ring
Torque to 10nm
Opted for some Proti bolts for the cover
Torque to 3Nm plus 90 deg
Stickers!
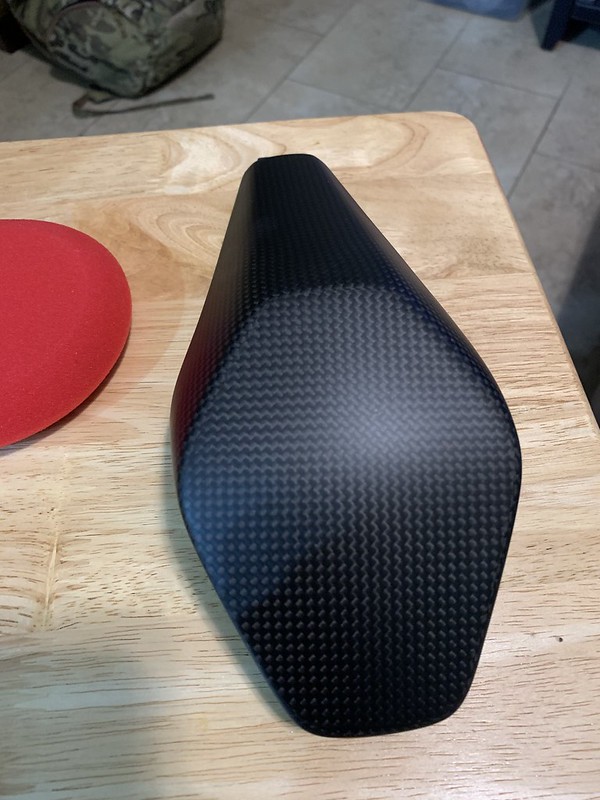
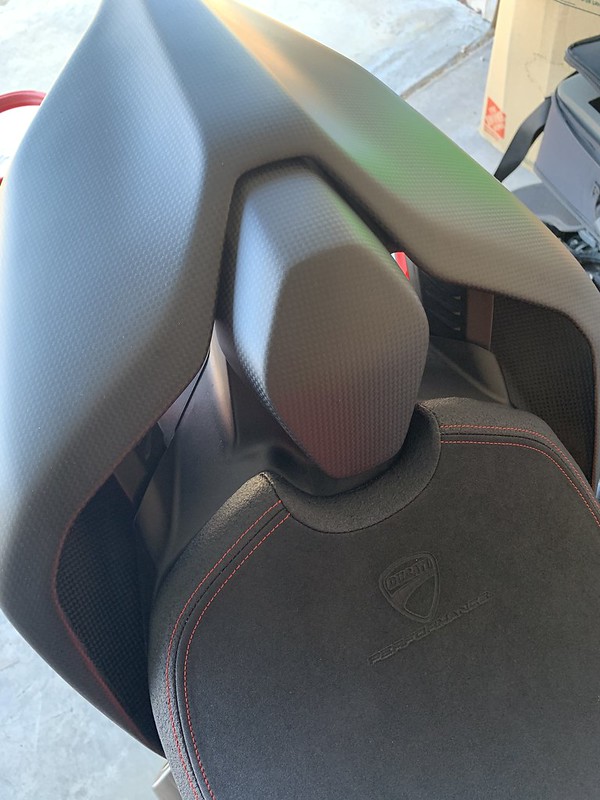
After installing the carbon set pad the tail section was looking a bit plain. I felt like it needed a splash of color. I have a buddy that has a wrap shop and here's what I came up with.
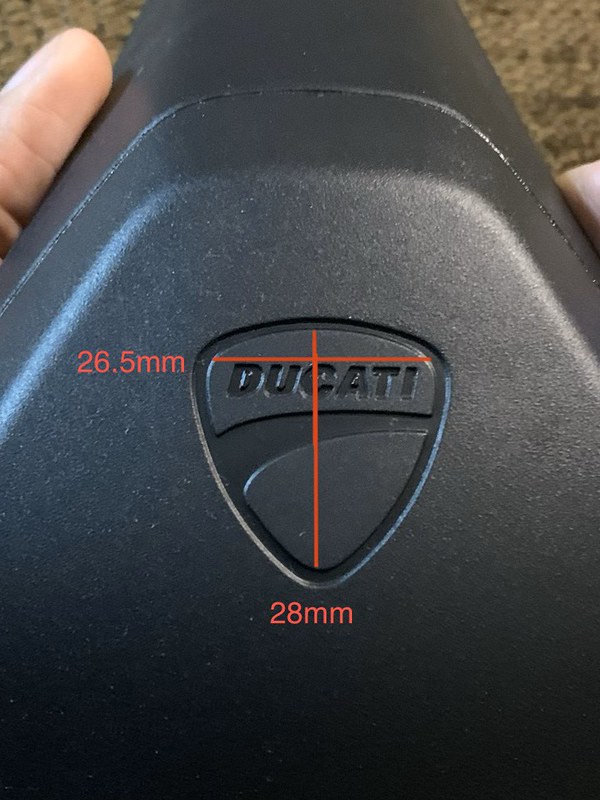
Measurements from the stock seat pad
Proof of the die cut decal
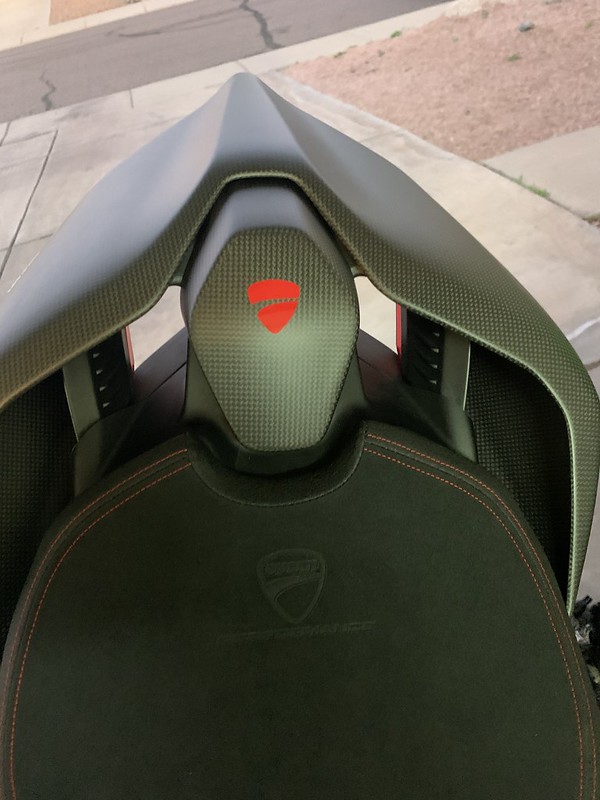
End result
After installing the carbon set pad the tail section was looking a bit plain. I felt like it needed a splash of color. I have a buddy that has a wrap shop and here's what I came up with.
Measurements from the stock seat pad
Proof of the die cut decal
End result
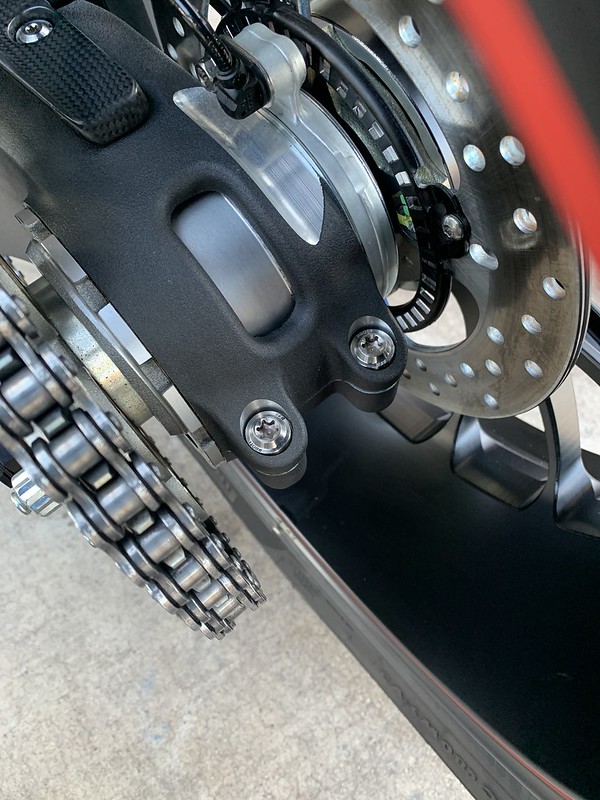
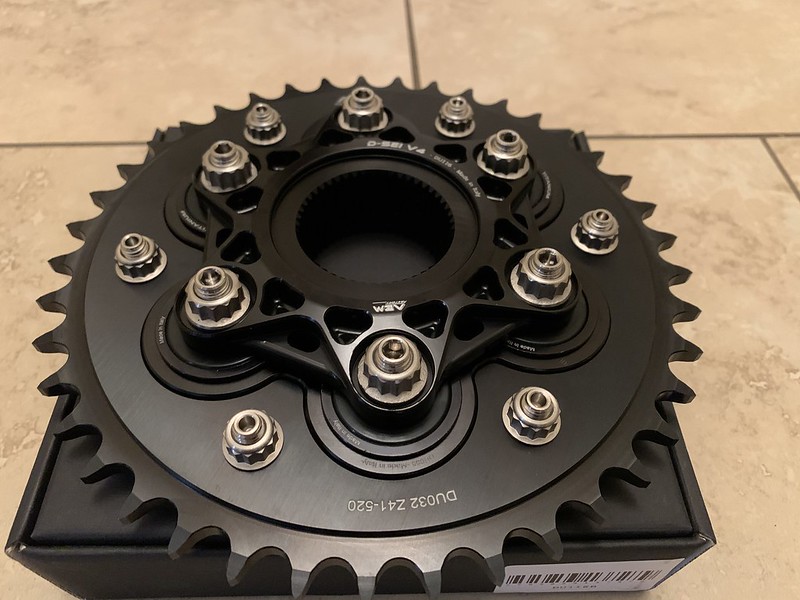
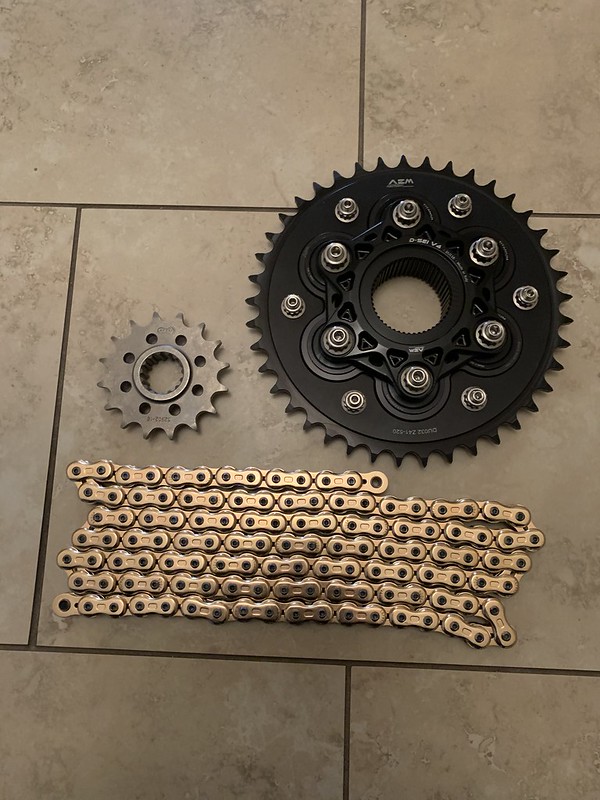
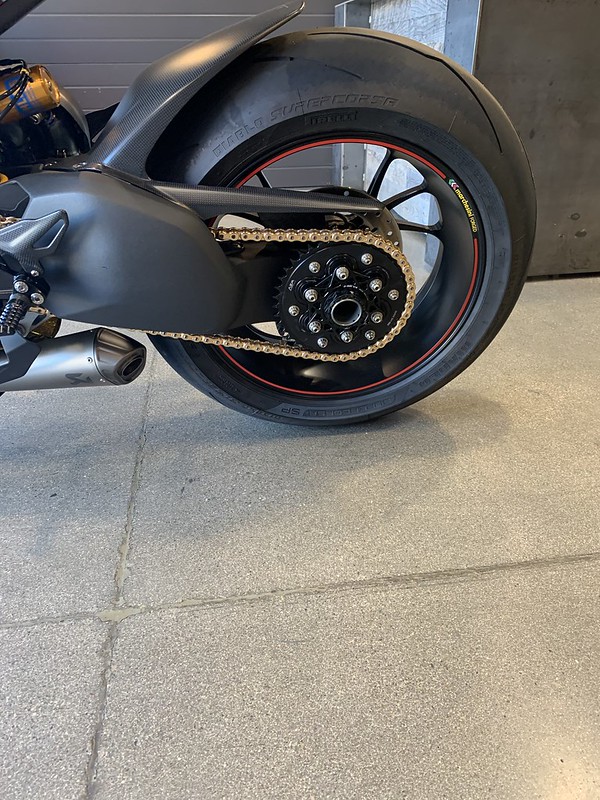
AEM QC Sprocket setup
I wanted to dress it up a bit and save some weight. I decided to get all components from the same company to avoid any potential alignment/fitment issues. I went with stock gearing to keep the ride-ability .
Here are the parts:
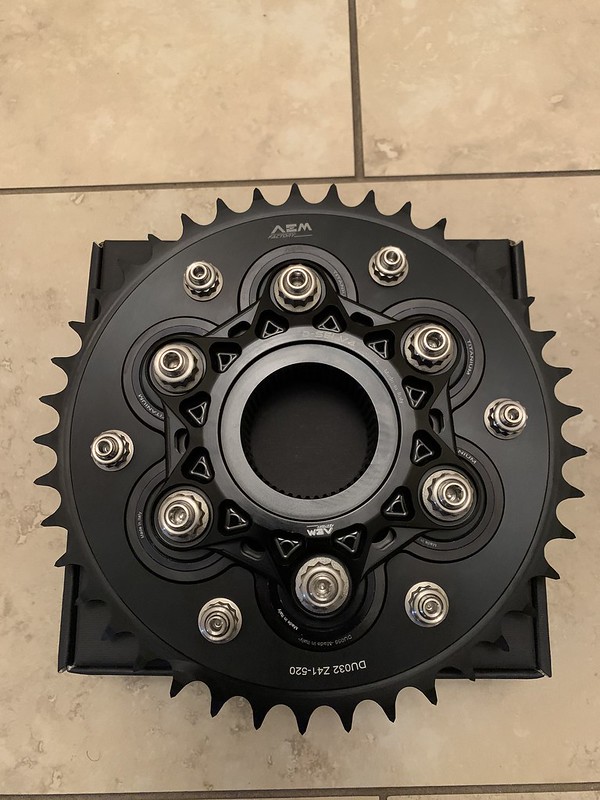
AEM Ti Cush drives
AEM Sprocket
AEM Flange
TI Hardware
EK 520GP chain
Afam front sprocket
I cleaned all the factory chain wax off
Before
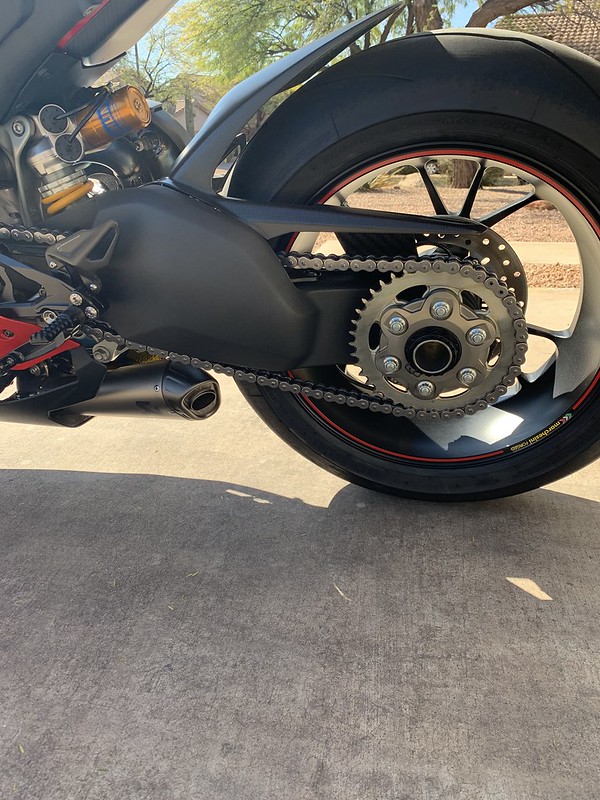
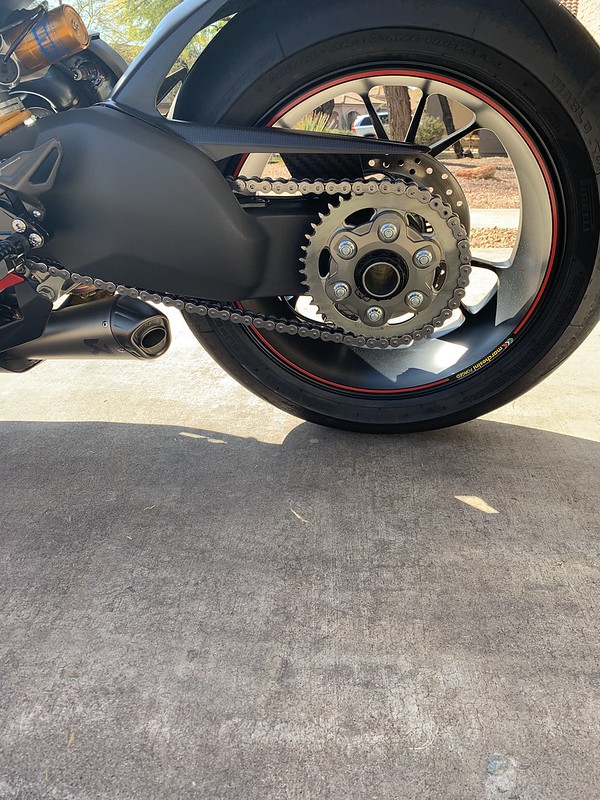
After
Here's the tech data
Weight in grams
Stock front sprocket 253g
Stock rear sprocket setup 2232g
Stock chain 114 links 2180g
Total 4665g/10.27lbs
Afam front sprocket 219g
AEM rear sprocket setup 1227g
EK 520GP chain 114 links 1723g
Total 3169g/6.98lbs
Savings of 1496g/3.29lbs
I wanted to dress it up a bit and save some weight. I decided to get all components from the same company to avoid any potential alignment/fitment issues. I went with stock gearing to keep the ride-ability .
Here are the parts:
AEM Ti Cush drives
AEM Sprocket
AEM Flange
TI Hardware
EK 520GP chain
Afam front sprocket
I cleaned all the factory chain wax off
Before
After
Here's the tech data
Weight in grams
Stock front sprocket 253g
Stock rear sprocket setup 2232g
Stock chain 114 links 2180g
Total 4665g/10.27lbs
Afam front sprocket 219g
AEM rear sprocket setup 1227g
EK 520GP chain 114 links 1723g
Total 3169g/6.98lbs
Savings of 1496g/3.29lbs
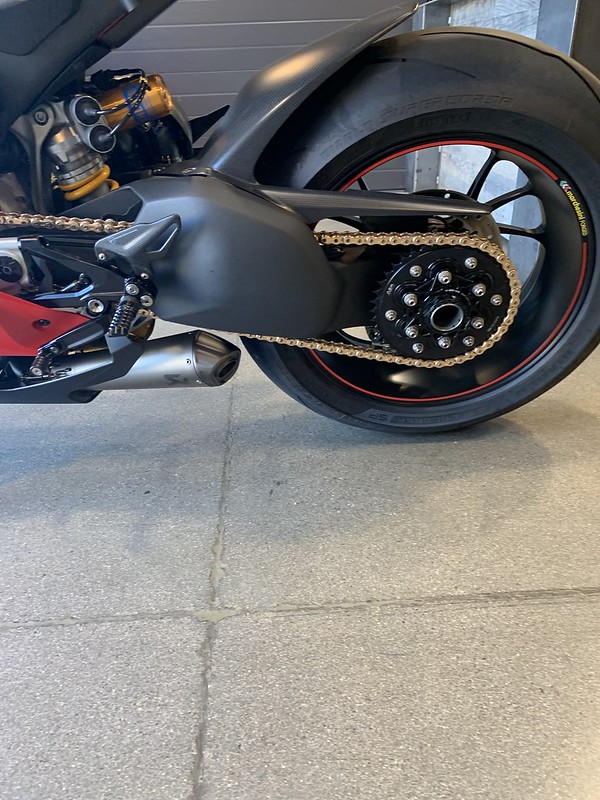
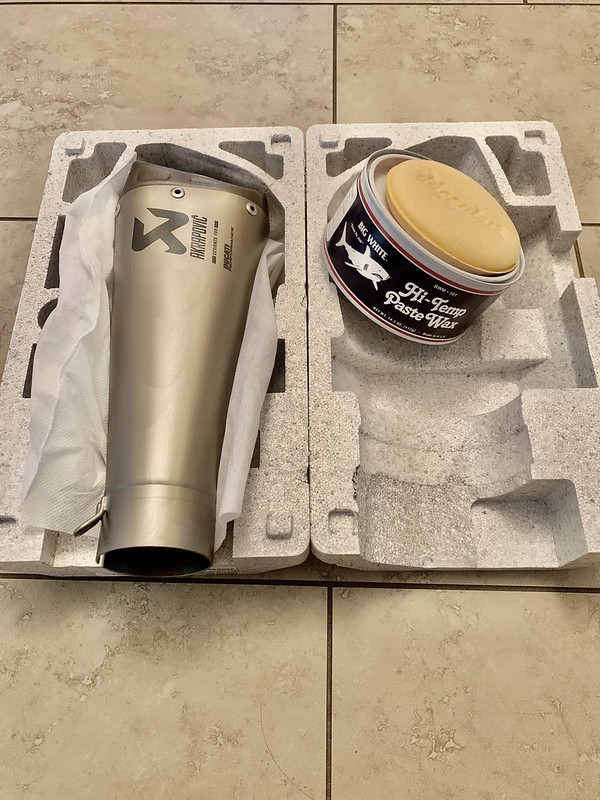
Chain sling clean up
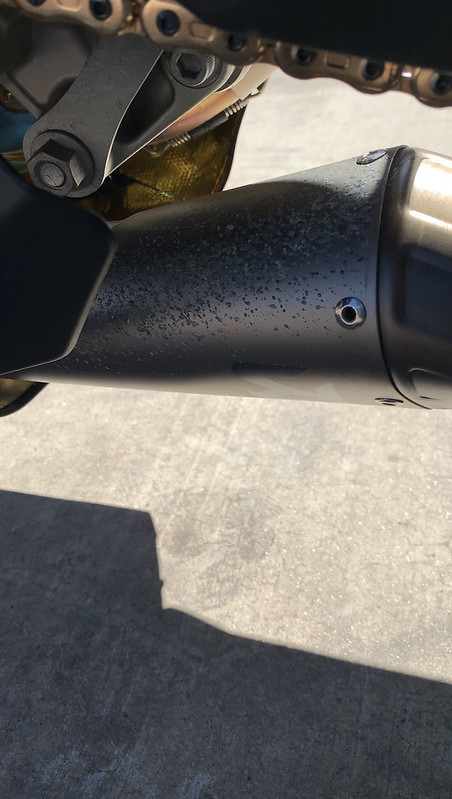
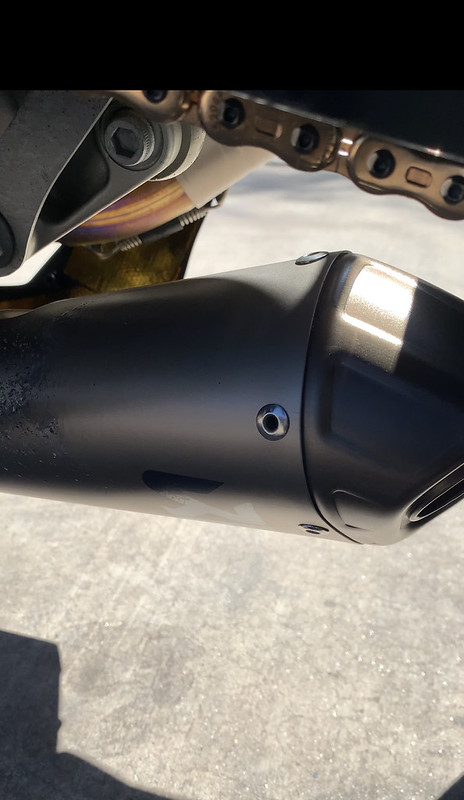
After installing the chain and putting some miles on it so I can readjust it. I got some chain sling from the factory wax that I missed. Here's how I protect the exhaust and wheels.
On the exhaust cans I used a high temp paste wax that is rated to 250 deg. This will aid when removing chain wax or dirt.
This is after the first ride. Why is this stuff so sticky geez.
I only use this product on Ti exhaust. Its basically the "old" formula plexus.
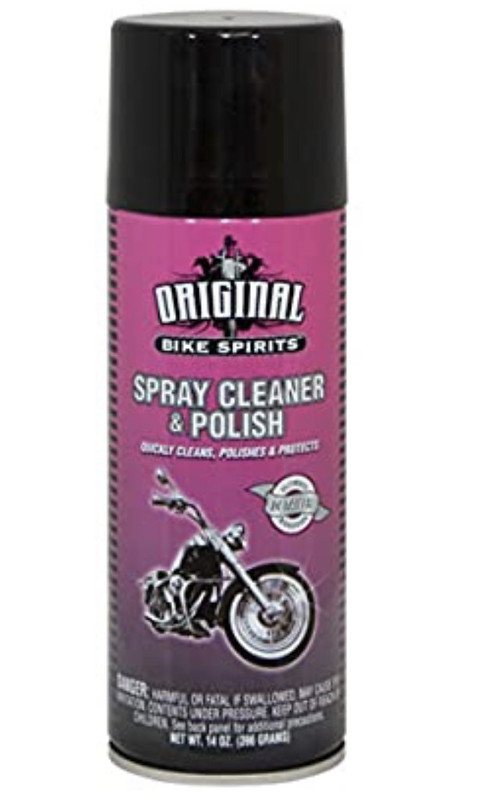
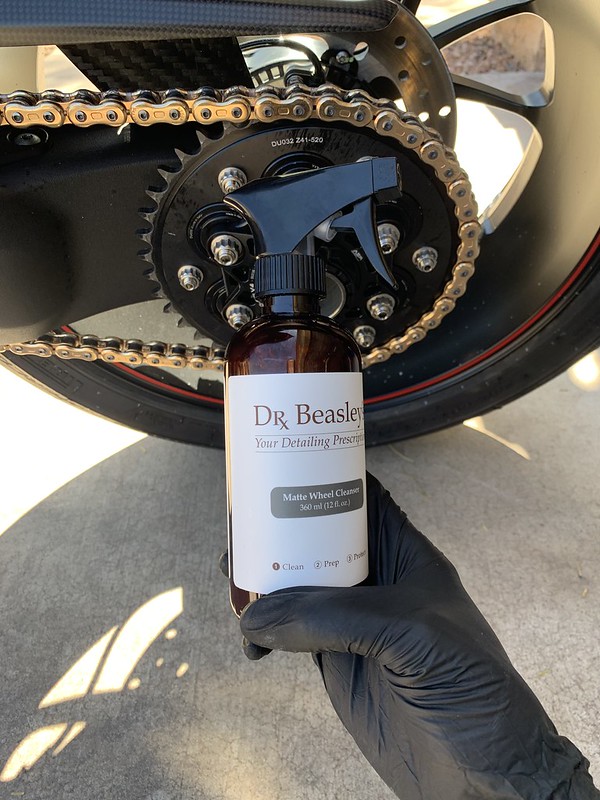
I use this to keep the wheels clean and matte.
After installing the chain and putting some miles on it so I can readjust it. I got some chain sling from the factory wax that I missed. Here's how I protect the exhaust and wheels.
On the exhaust cans I used a high temp paste wax that is rated to 250 deg. This will aid when removing chain wax or dirt.
This is after the first ride. Why is this stuff so sticky geez.
I only use this product on Ti exhaust. Its basically the "old" formula plexus.
I use this to keep the wheels clean and matte.
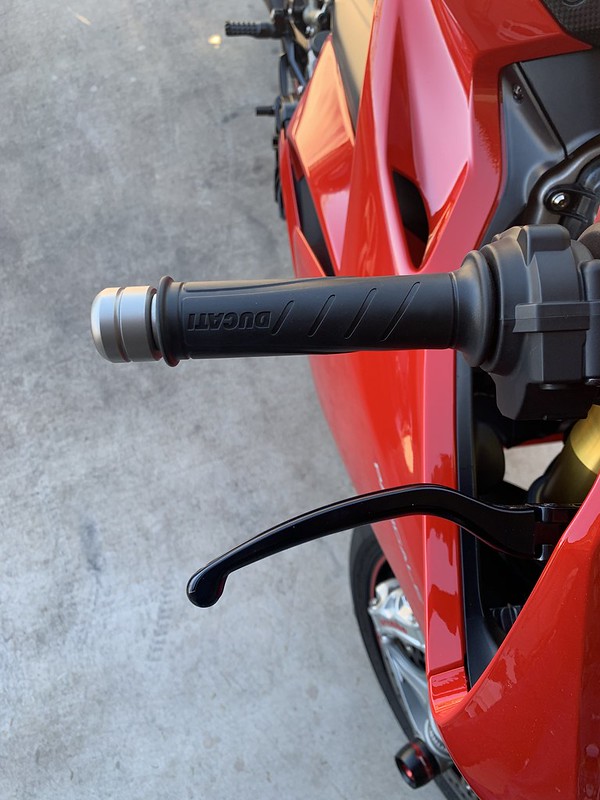
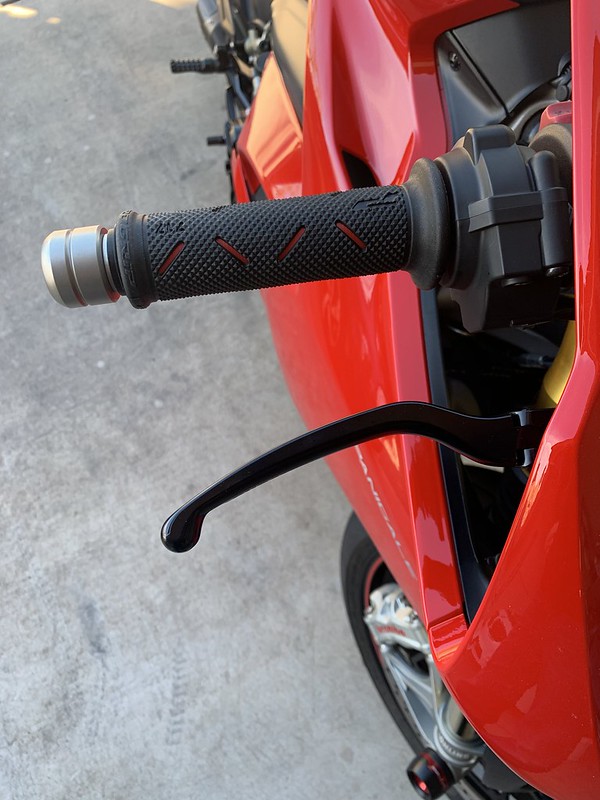
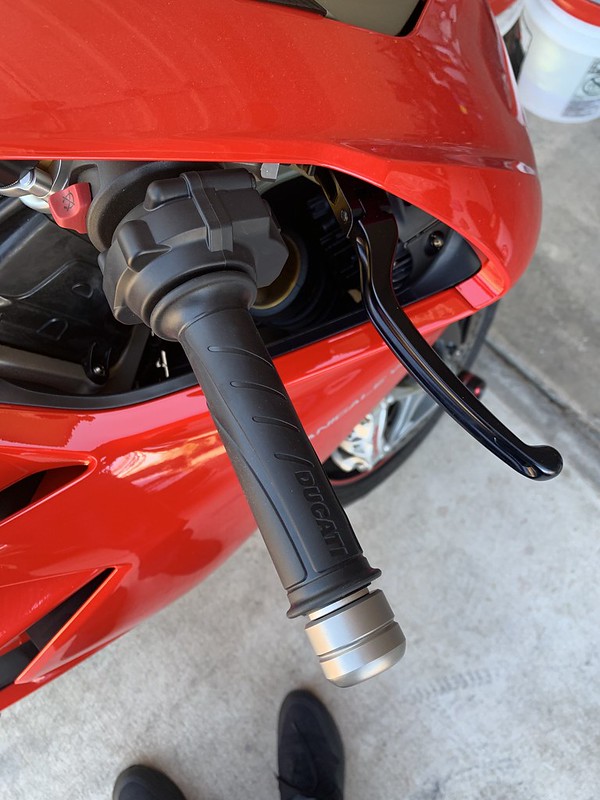
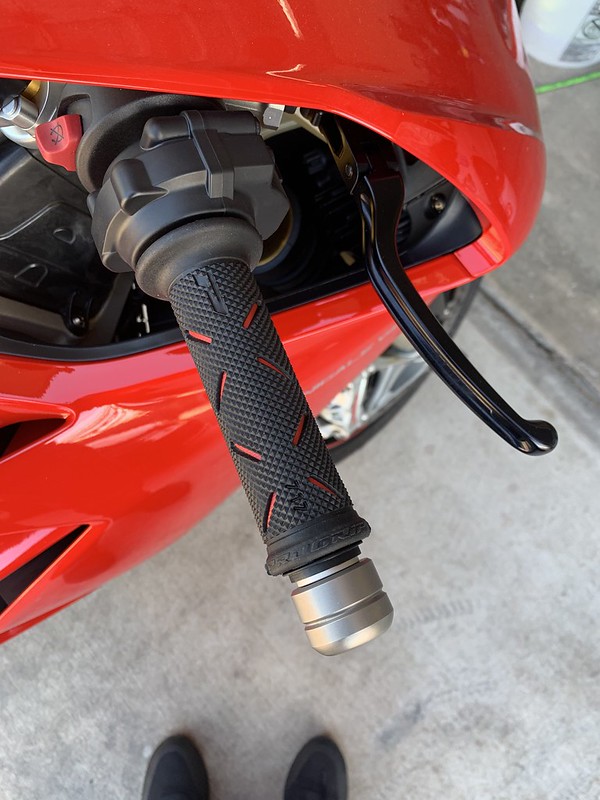
DP Pro Grip
The 18-19 V4 and V4S come with the standard black Ducati grips. They are a bit hard and on longer rides they make my throttle hand go numb. These are a softer and they help with dampening the vibrations. They also have that pop of red.
Ducati part # 96280611AA
These are the same as Pro Grip 717

The 18-19 V4 and V4S come with the standard black Ducati grips. They are a bit hard and on longer rides they make my throttle hand go numb. These are a softer and they help with dampening the vibrations. They also have that pop of red.
Ducati part # 96280611AA
These are the same as Pro Grip 717

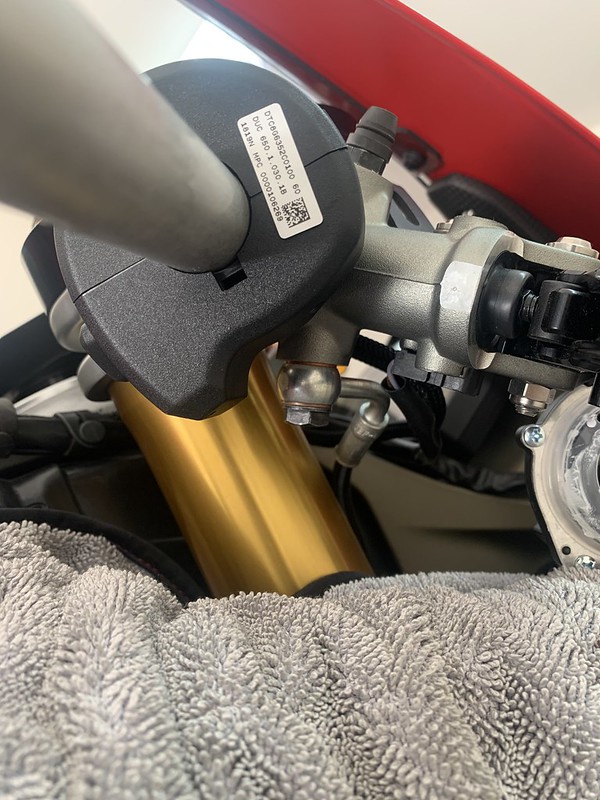
Ilmberger Ignition cover
I wanted to get rid of the plastic cover with all the writing on it. (Who uses those other two key positions anyway) So I got this carbon piece without the writing.
Per usual I cleaned and coated it.
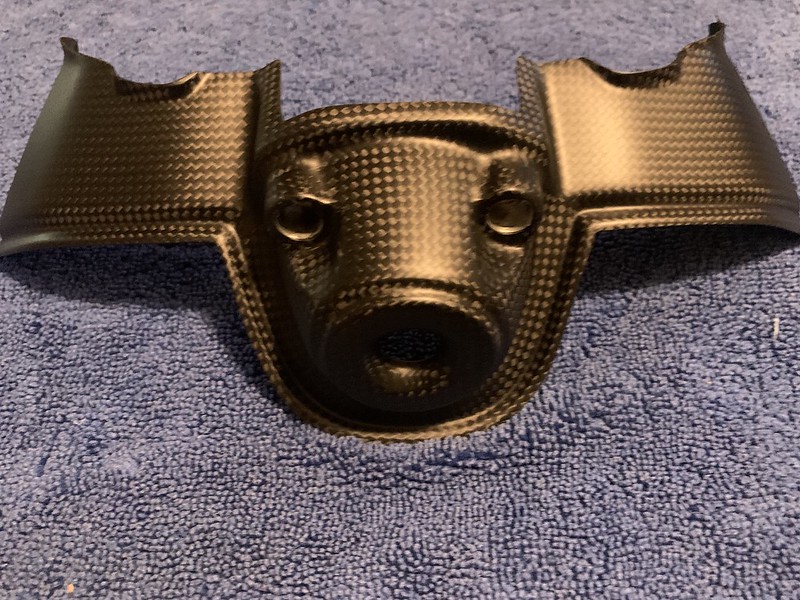
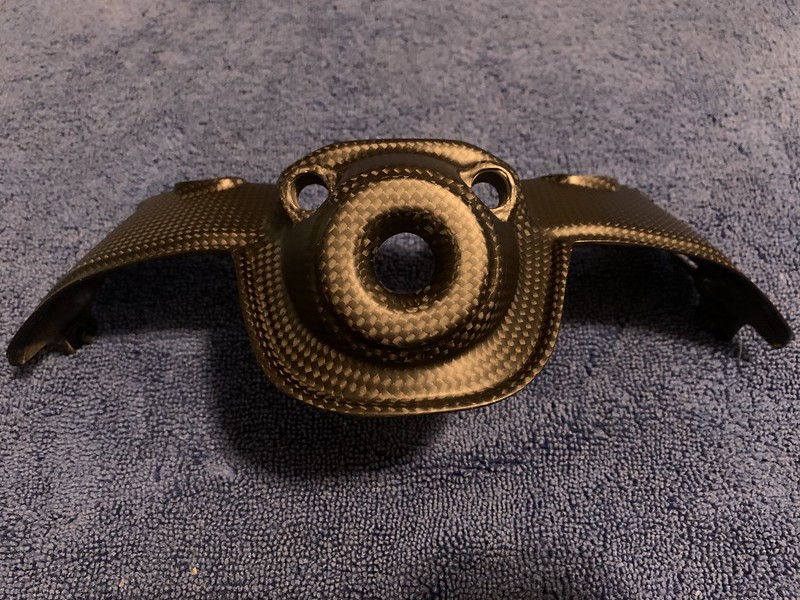
The fitment was good it lined up with the ignition studs and the inner fairing covers with no issues.
I wanted to get rid of the plastic cover with all the writing on it. (Who uses those other two key positions anyway) So I got this carbon piece without the writing.
Per usual I cleaned and coated it.
The fitment was good it lined up with the ignition studs and the inner fairing covers with no issues.
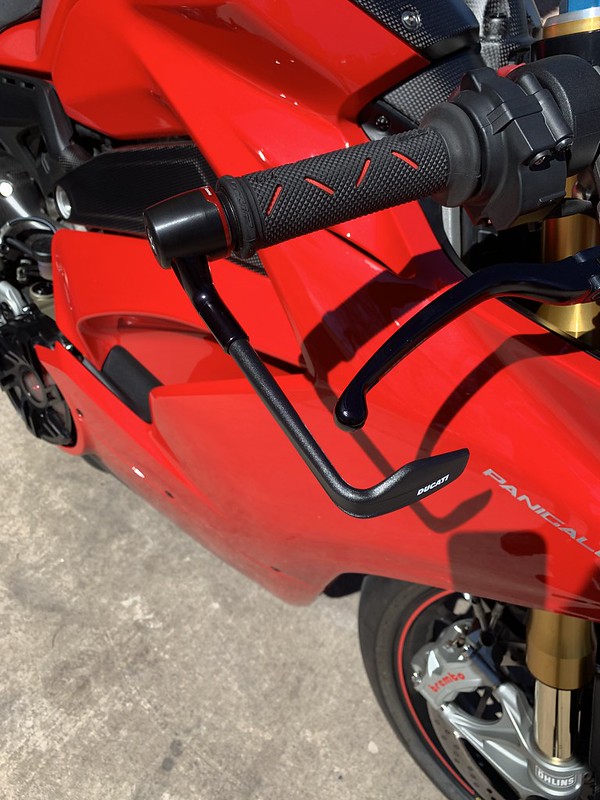
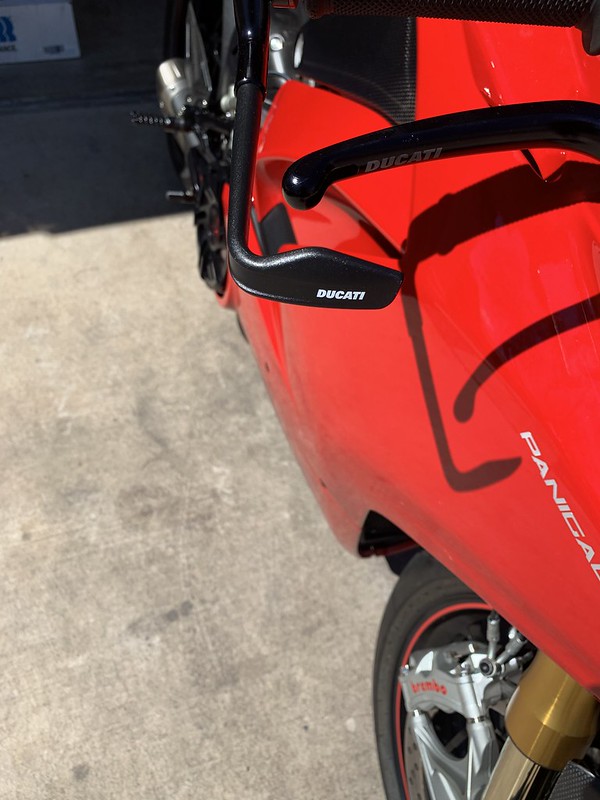
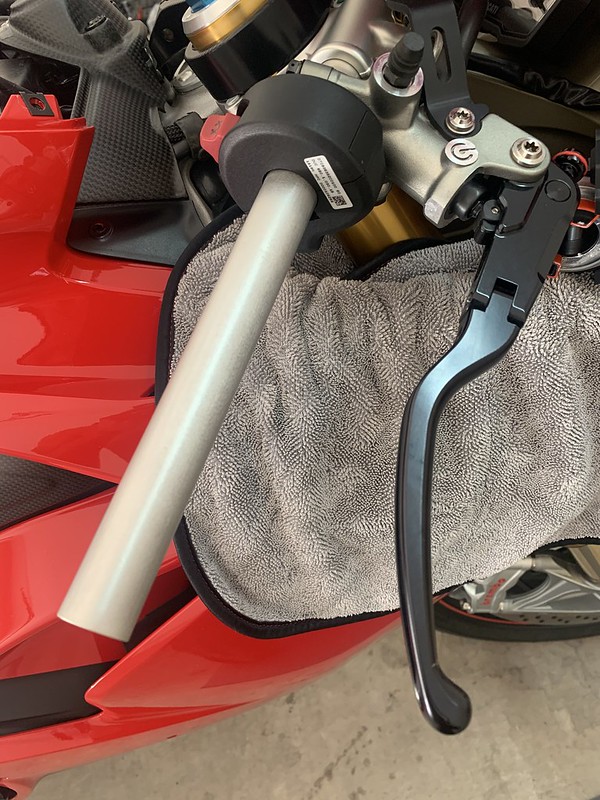
DP Rizoma brake lever guard
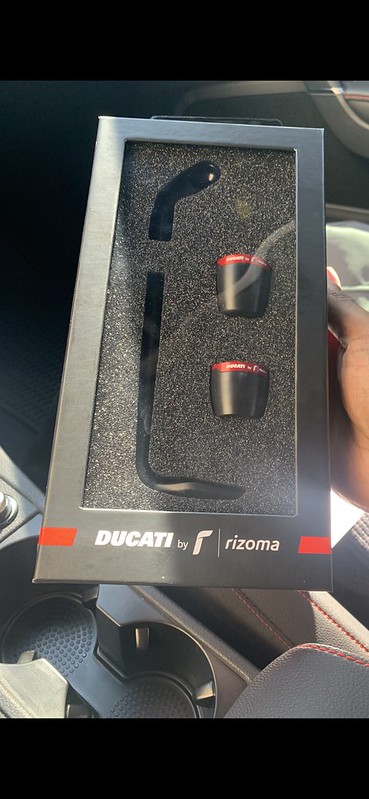
I got this initially without the adapter set but didn't like the fitment so I ordered it and now it fits much better.
Ducati part # 96180661A
I definitely need this. So when I'm racing through the grocery store parking lot none of the shopping carts accidentally activate my brake.")
I got this initially without the adapter set but didn't like the fitment so I ordered it and now it fits much better.
Ducati part # 96180661A
I definitely need this. So when I'm racing through the grocery store parking lot none of the shopping carts accidentally activate my brake.
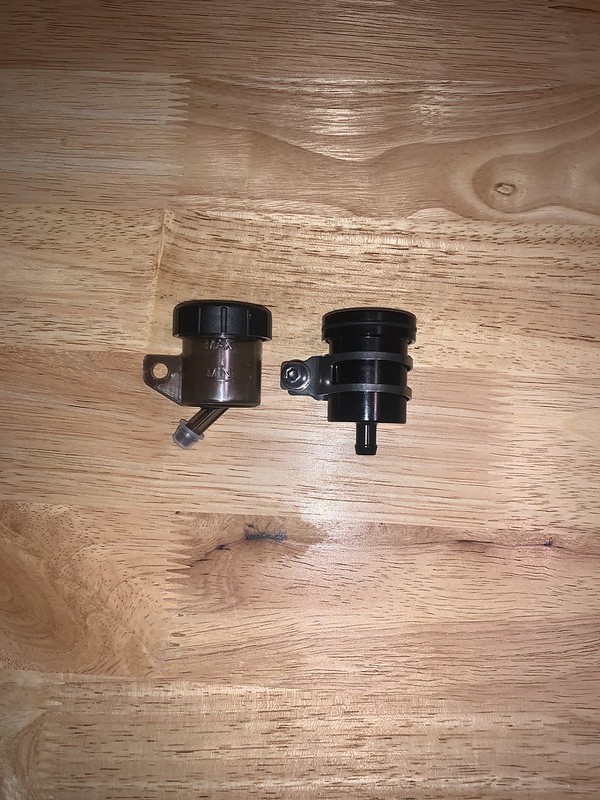
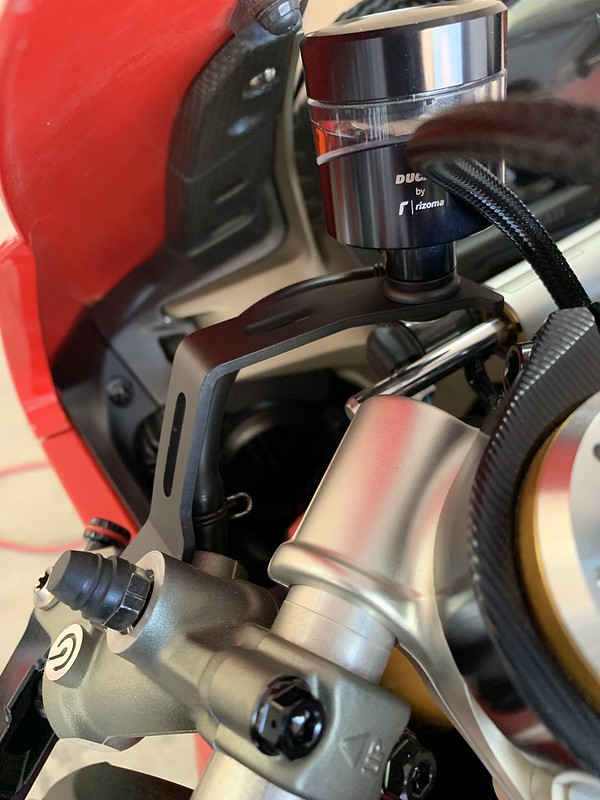
Rear reservoir swap
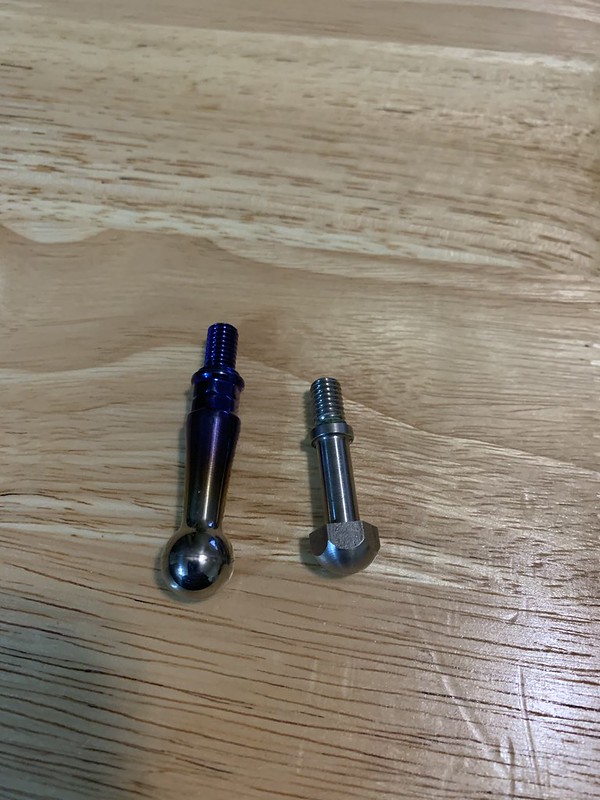
I didn't like the look of the factory rear reservoir so I searched for a replacement. I bought the Rizoma CT015B but didn't like the fit. The res didn't fit flush in the stock res bracket. Then I remembered that Brembo makes a smoke version of the stock reservoir which comes on the new SF V4. So here it is and it flows with the rest of my theme well. Side note now I don't have to see the dark brake fluid anymore ha.
Notice the distance between the body of the res and the mounting bolt
Before
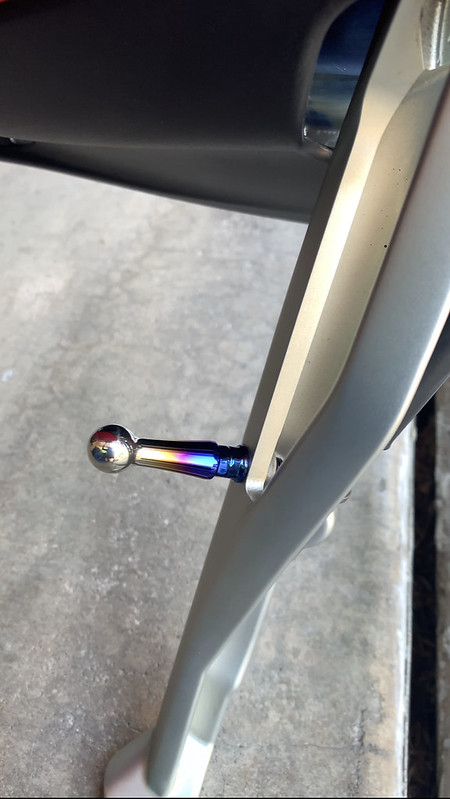
After
I later replaced the mounting bolt with a drilled ti one.

I didn't like the look of the factory rear reservoir so I searched for a replacement. I bought the Rizoma CT015B but didn't like the fit. The res didn't fit flush in the stock res bracket. Then I remembered that Brembo makes a smoke version of the stock reservoir which comes on the new SF V4. So here it is and it flows with the rest of my theme well. Side note now I don't have to see the dark brake fluid anymore ha.
Notice the distance between the body of the res and the mounting bolt
Before
After
I later replaced the mounting bolt with a drilled ti one.
lolI definitely need this. So when I'm racing through the grocery store parking lot none of the shopping carts accidentally activate my brake.
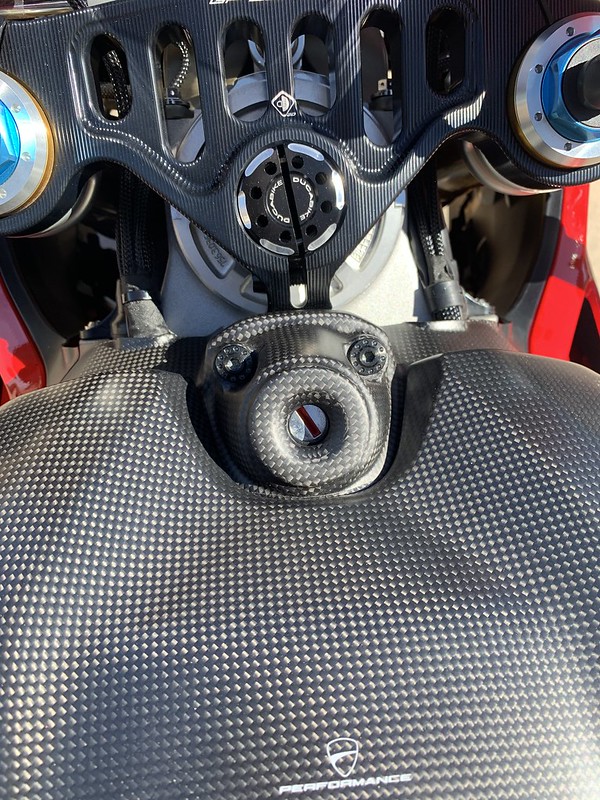
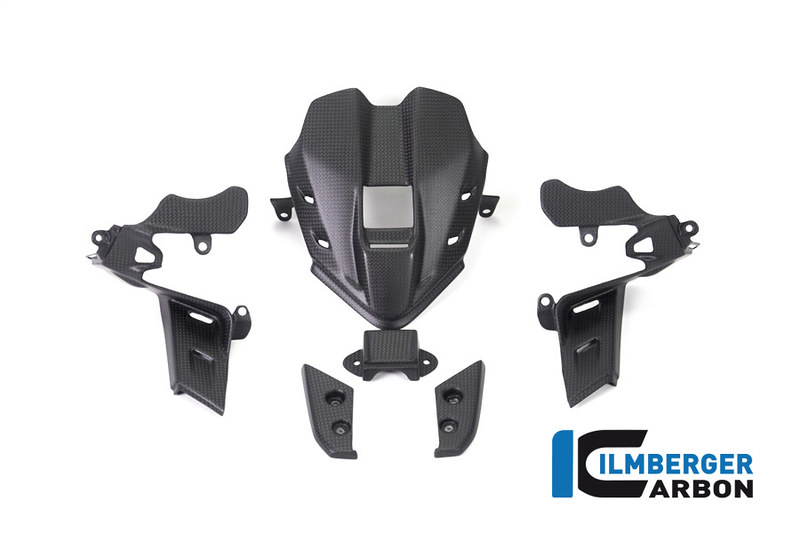
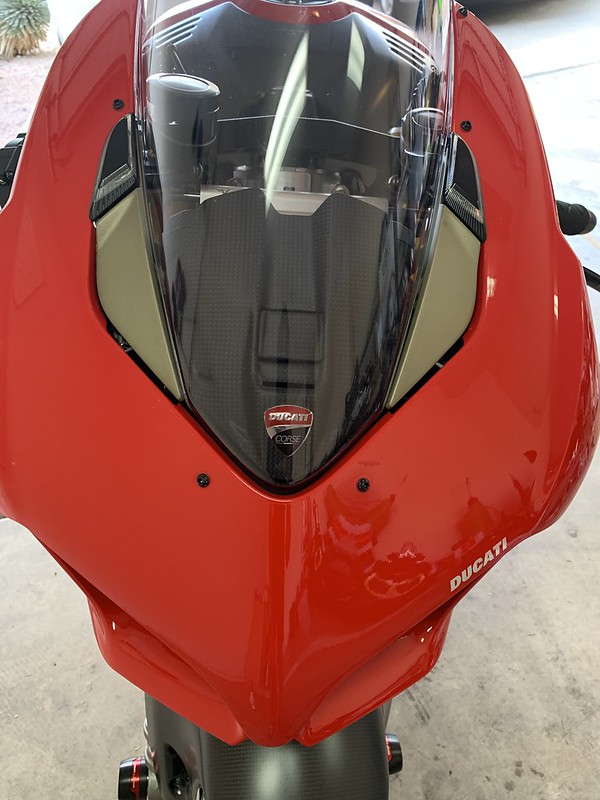
Ilmberger instrument cover
Install rating Difficulty: 5/10 Patience: 12/10
In a effort to get rid of all the plastic on the bike I got this cover.
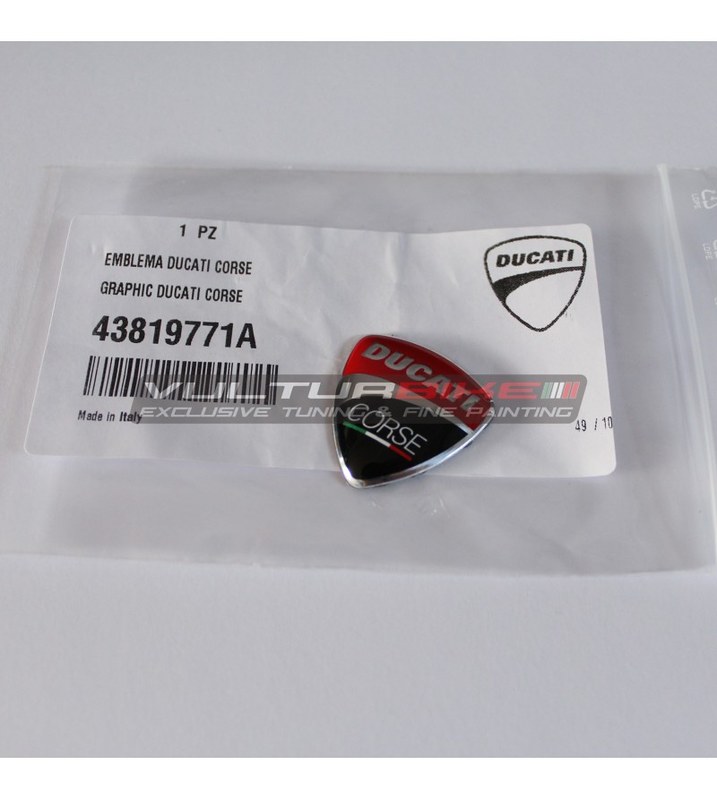
I wanted to add a little touch so I got the Ducati Corse emblem 43819771A to put on it.
Remove the factory cover.
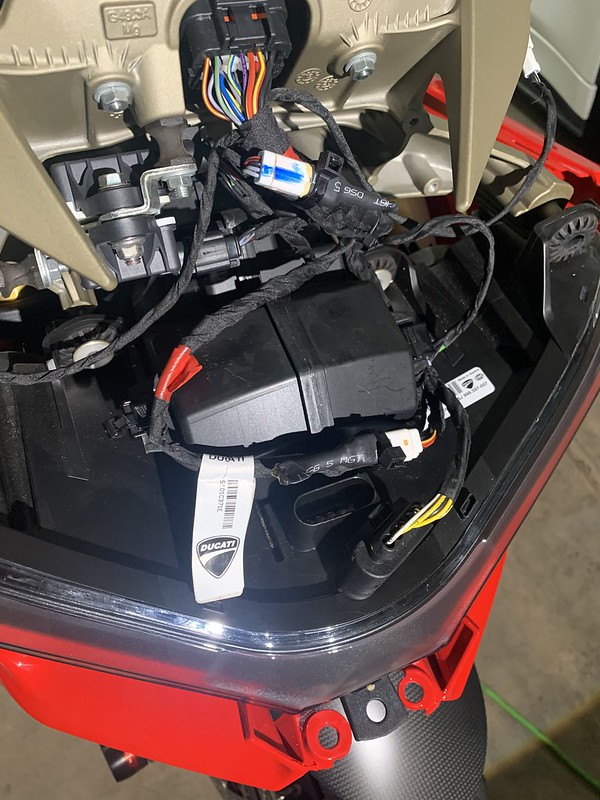
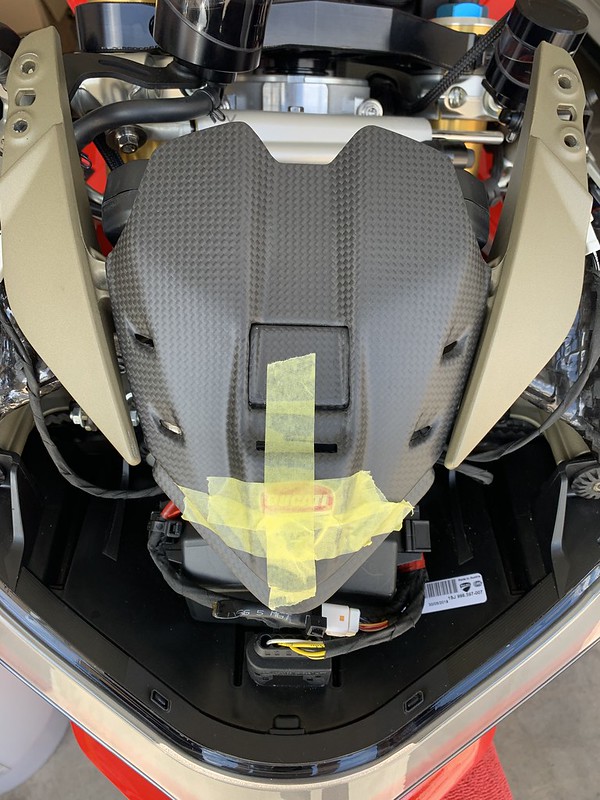
I found it much easier to install the carbon piece with the headlight removed. Its such a tight fit be sure to tape up the carbon so the fairing stay doesn't scratch it up.
The emblem is domed so I flattened it a bit and used better 3m adhesive.
Let the adhesive cure and voila.
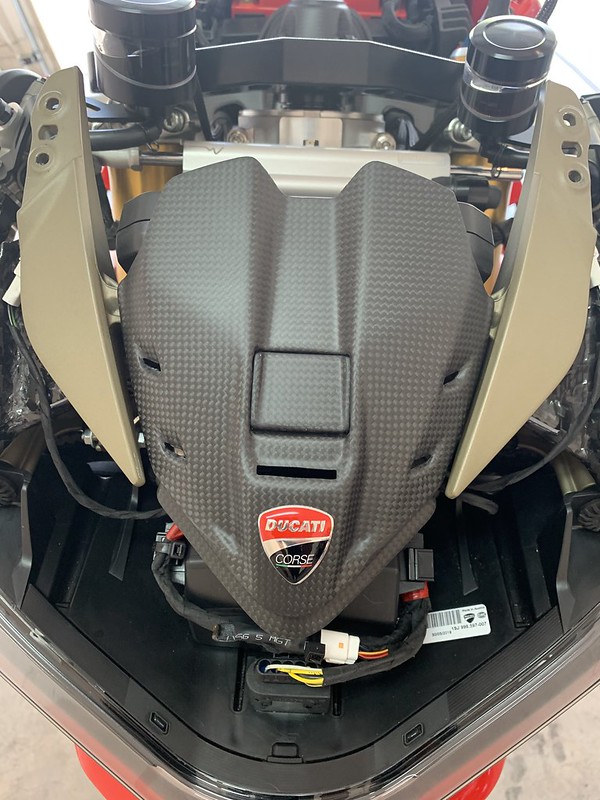
Now put it back together
Install rating Difficulty: 5/10 Patience: 12/10
In a effort to get rid of all the plastic on the bike I got this cover.
I wanted to add a little touch so I got the Ducati Corse emblem 43819771A to put on it.
Remove the factory cover.
I found it much easier to install the carbon piece with the headlight removed. Its such a tight fit be sure to tape up the carbon so the fairing stay doesn't scratch it up.
The emblem is domed so I flattened it a bit and used better 3m adhesive.
Let the adhesive cure and voila.
Now put it back together
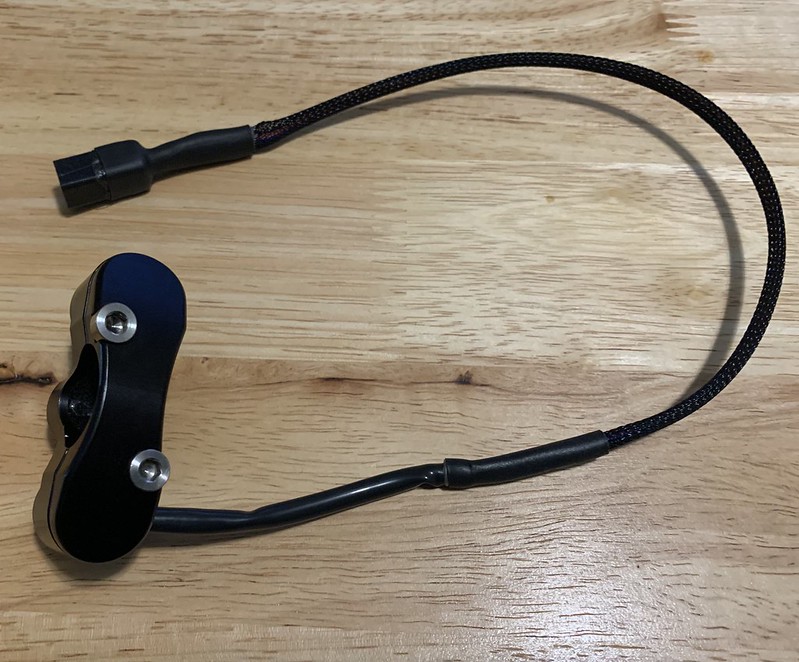
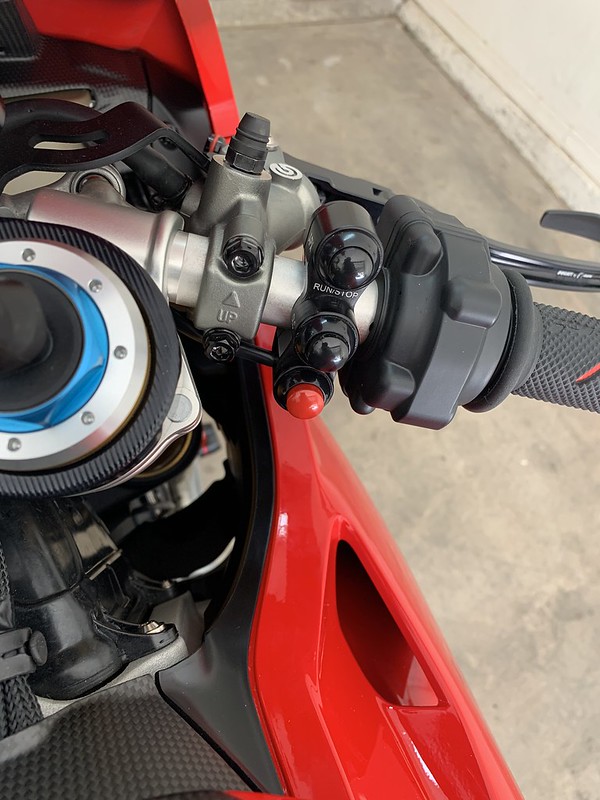
Apex Racing development switch
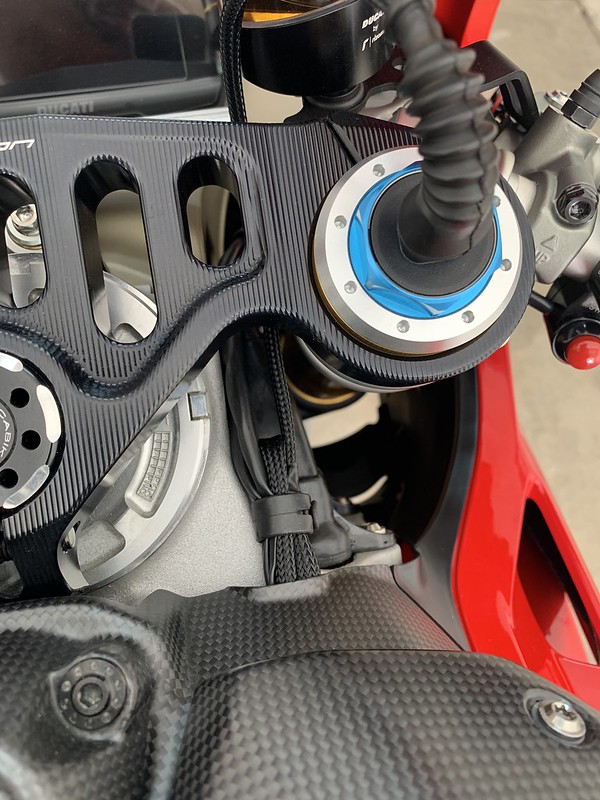
The theme of jazzing up the cockpit continues with this custom Start/Run switch. I wanted something simple light weight and customize-able. So I got this and they swapped around the colors for me. Even comes standard with ti bolts. (You know how much I love ti dress up bolts) The buttons are all mil spec with gold contacts etc. I had them use the same braided mesh loom that originally comes on the bike so it looks factory.


On to the install.
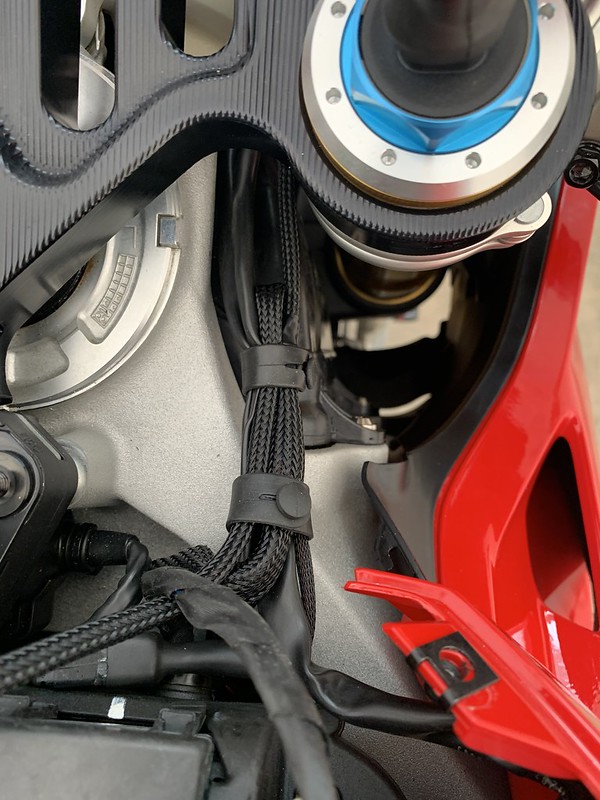
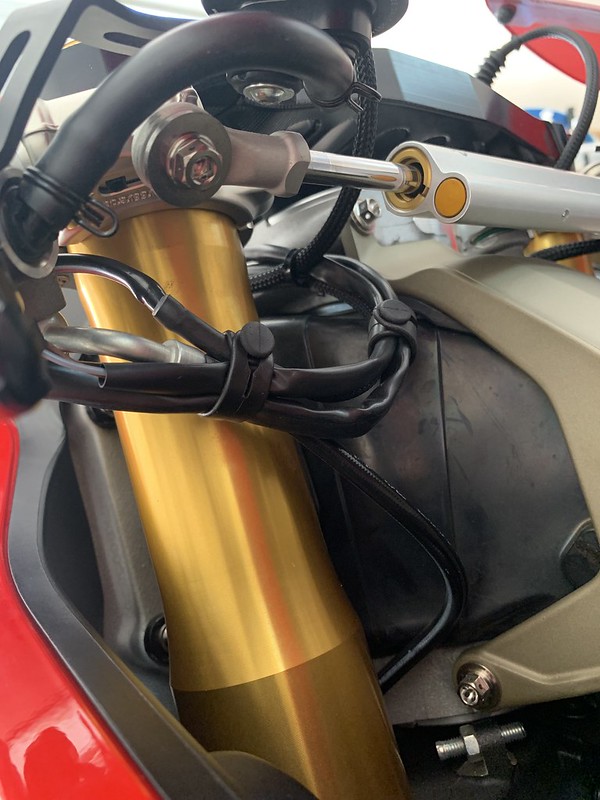
I started with noting where the factory rubber cable ties are located. Remove them to create some slack to remove the throttle.
Remove the throttle you will need that tri star bit.
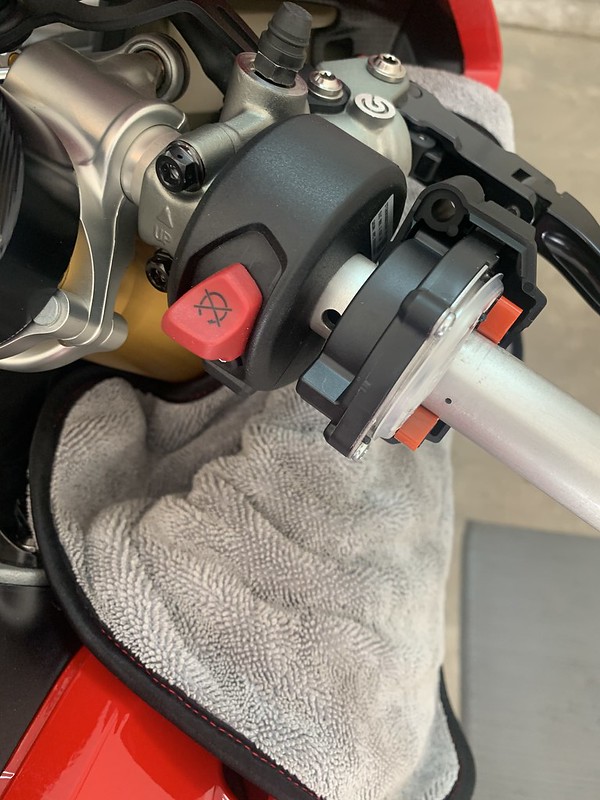
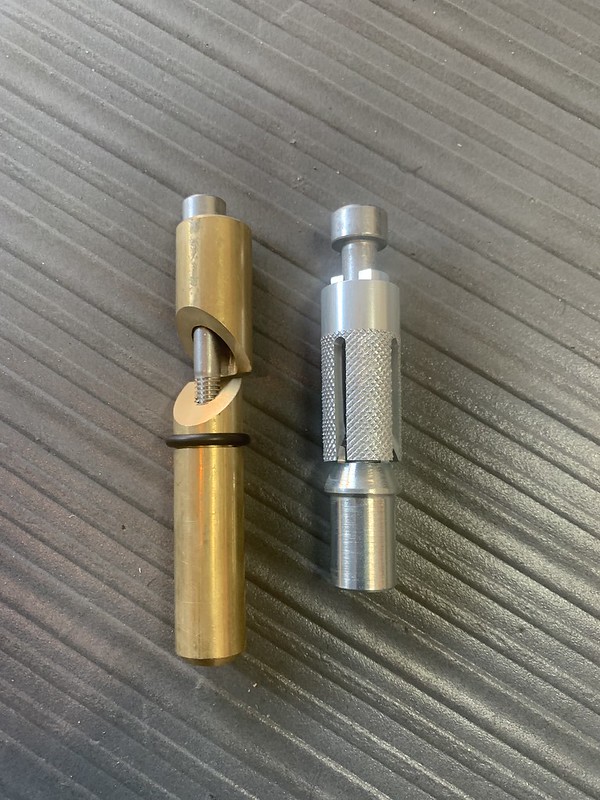
To get the Start/Run switch off you will either need the ducati special tool part# 887134967 or equivalent. I used a thin flathead screw driver.
Dont forget to unplug this connector
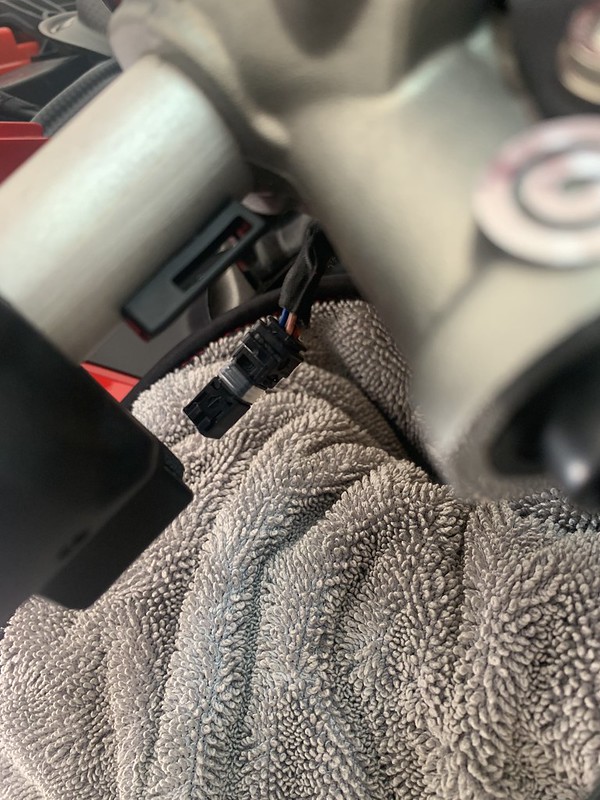
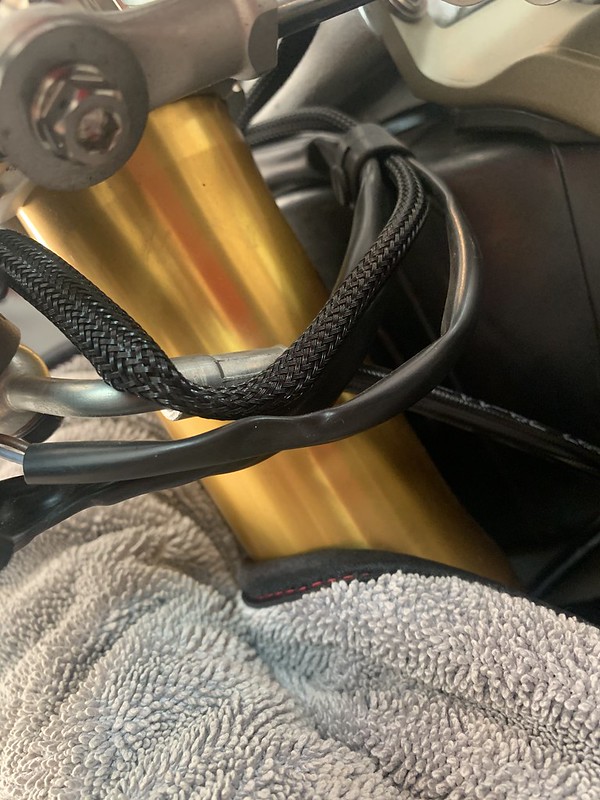
On the new switch the connector sits underneath the battery cover. Here is how I did the loom.
Here's everything tided up
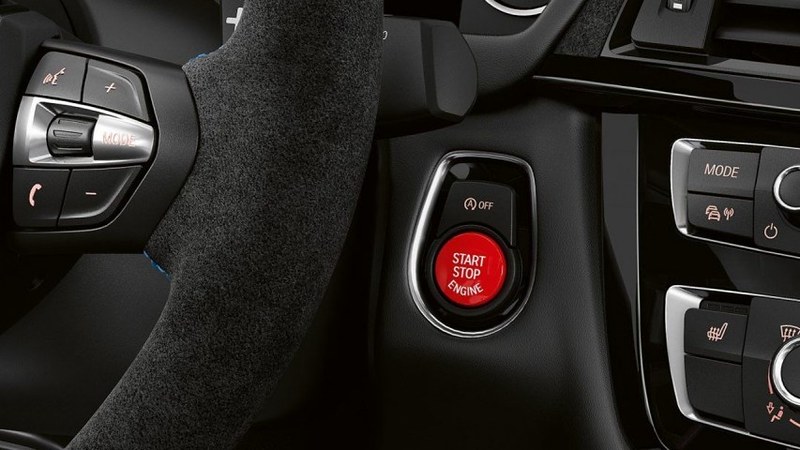
The inspiration for the button colors came from my cars interior.
The theme of jazzing up the cockpit continues with this custom Start/Run switch. I wanted something simple light weight and customize-able. So I got this and they swapped around the colors for me. Even comes standard with ti bolts. (You know how much I love ti dress up bolts) The buttons are all mil spec with gold contacts etc. I had them use the same braided mesh loom that originally comes on the bike so it looks factory.
On to the install.
I started with noting where the factory rubber cable ties are located. Remove them to create some slack to remove the throttle.
Remove the throttle you will need that tri star bit.
To get the Start/Run switch off you will either need the ducati special tool part# 887134967 or equivalent. I used a thin flathead screw driver.
Dont forget to unplug this connector
On the new switch the connector sits underneath the battery cover. Here is how I did the loom.
Here's everything tided up
The inspiration for the button colors came from my cars interior.
Those Titanium Bolts that came with the switch and the braided wiring loom are very nice, looks like it came from the factory
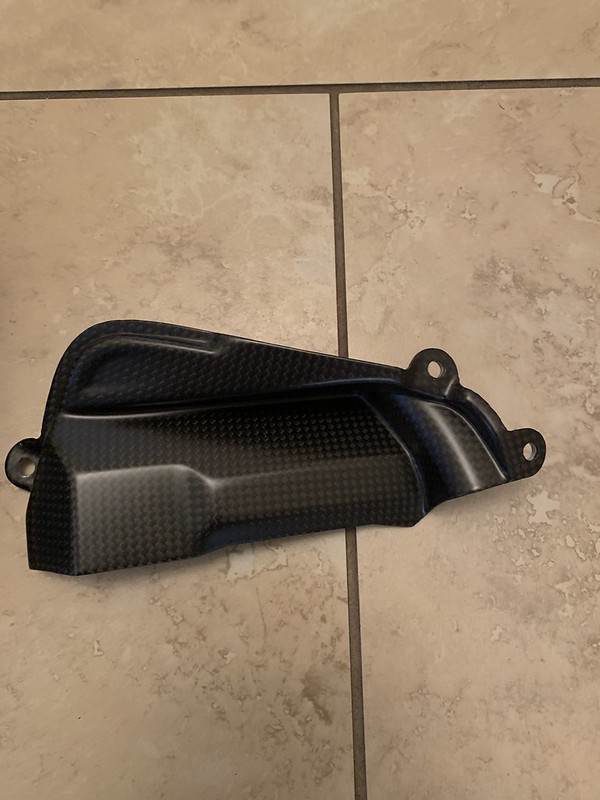
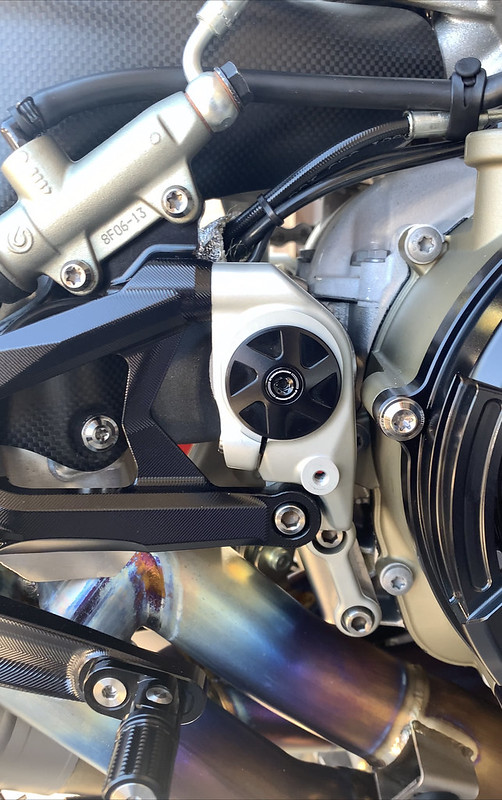
To aid in installation you should remove the tank and loosen the rear subframe. I also removed the front sprocket cover. A bunch of tedious stuff but it helped a lot.
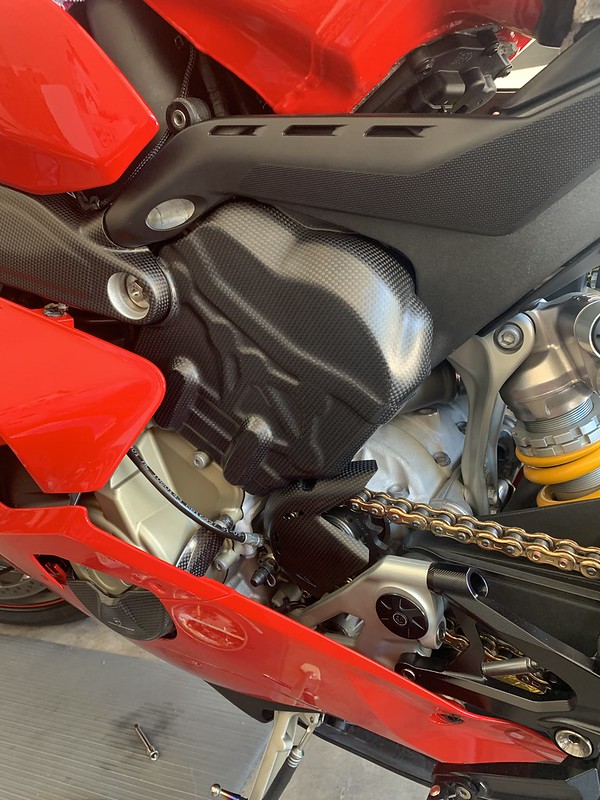
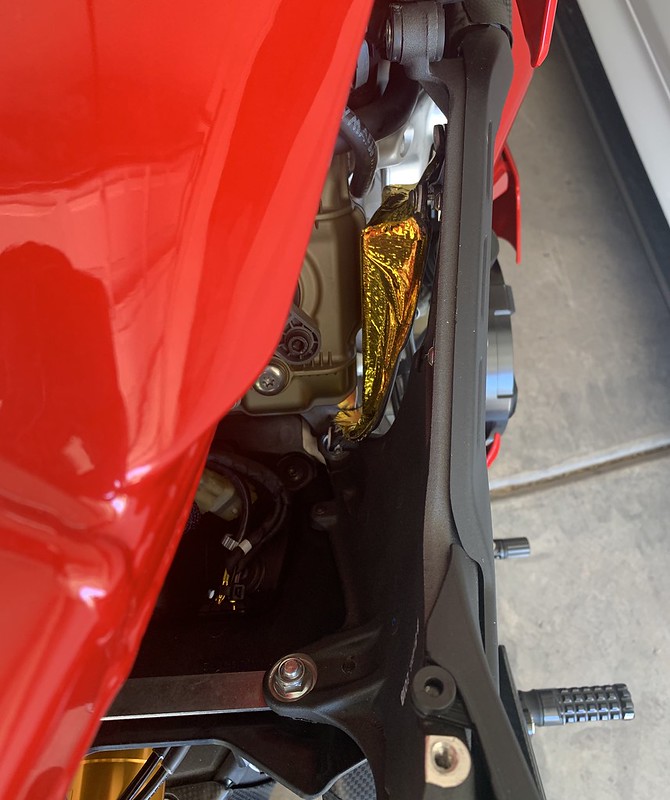
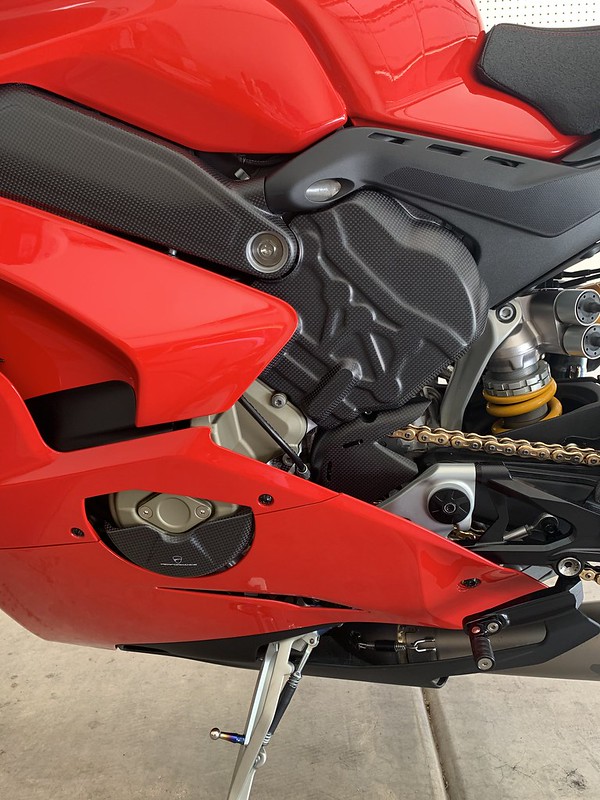
Finished product
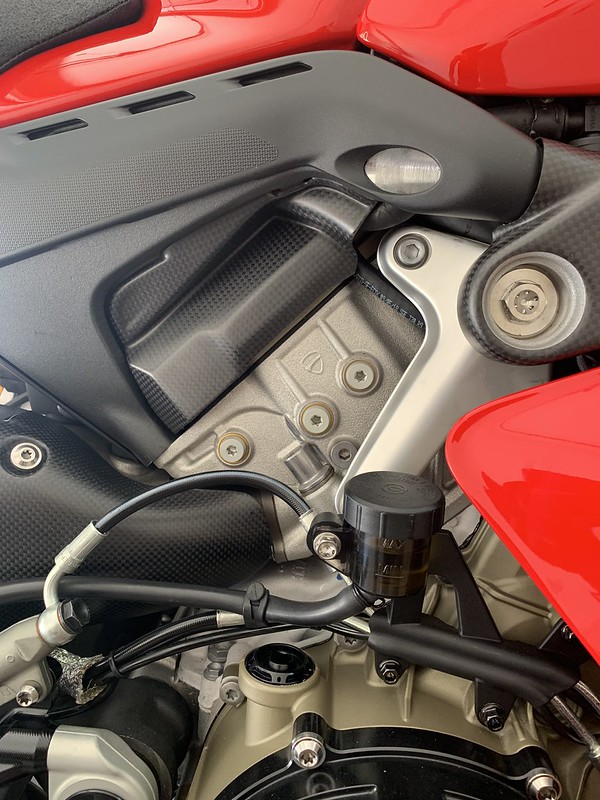
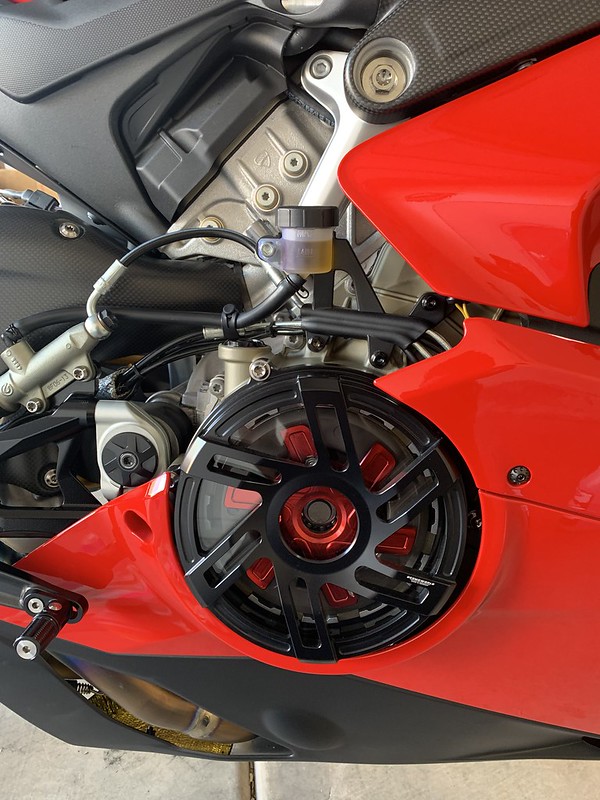
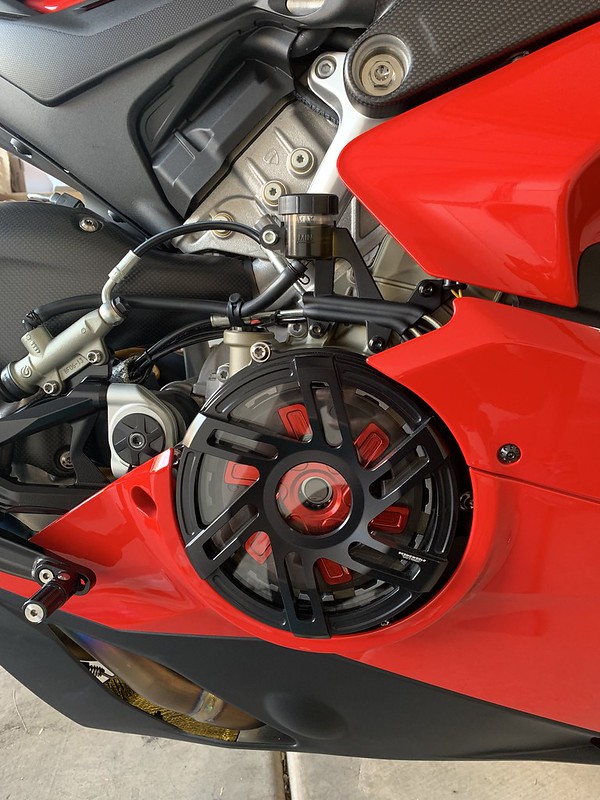
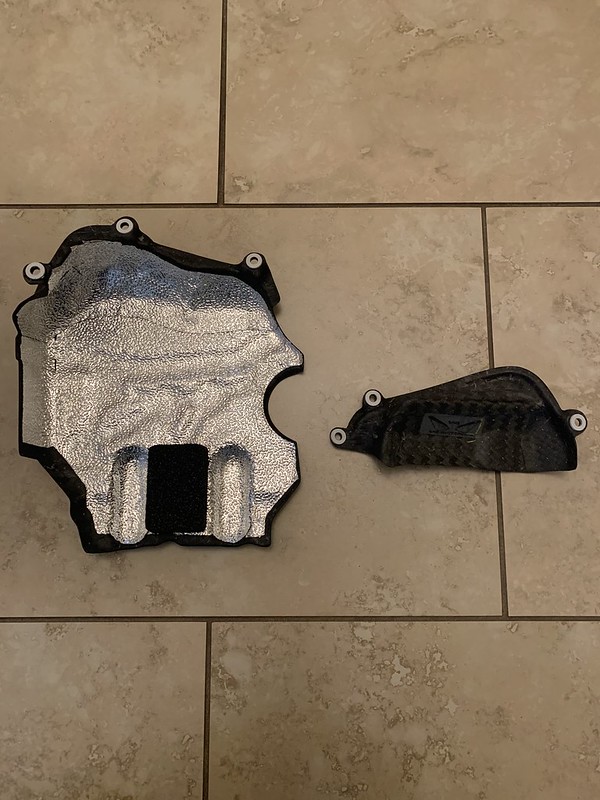
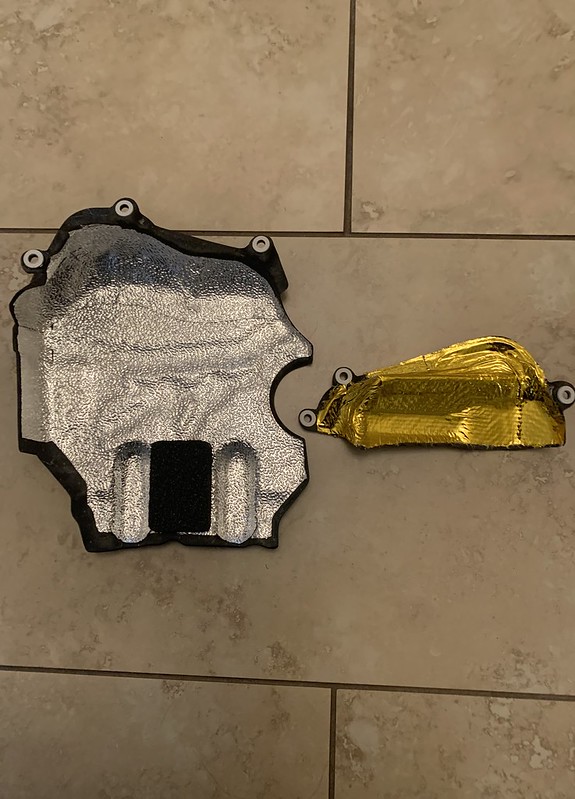
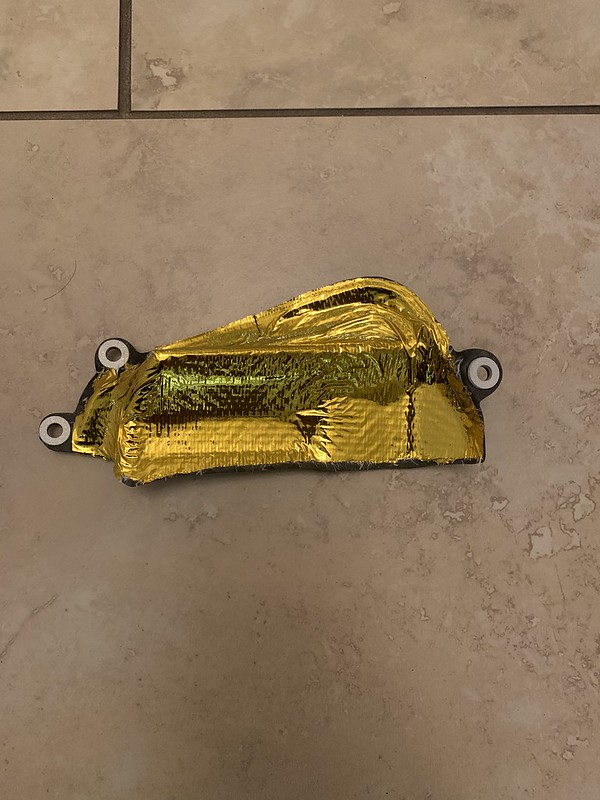
FYI
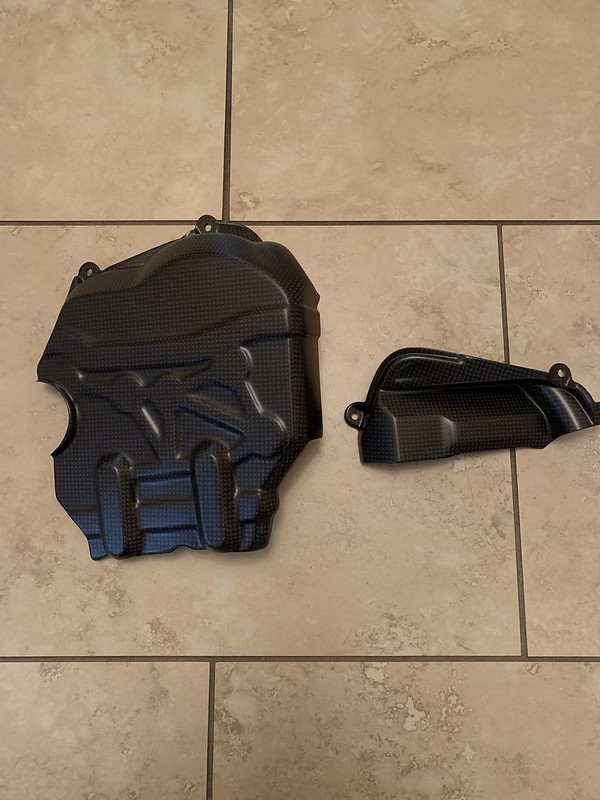
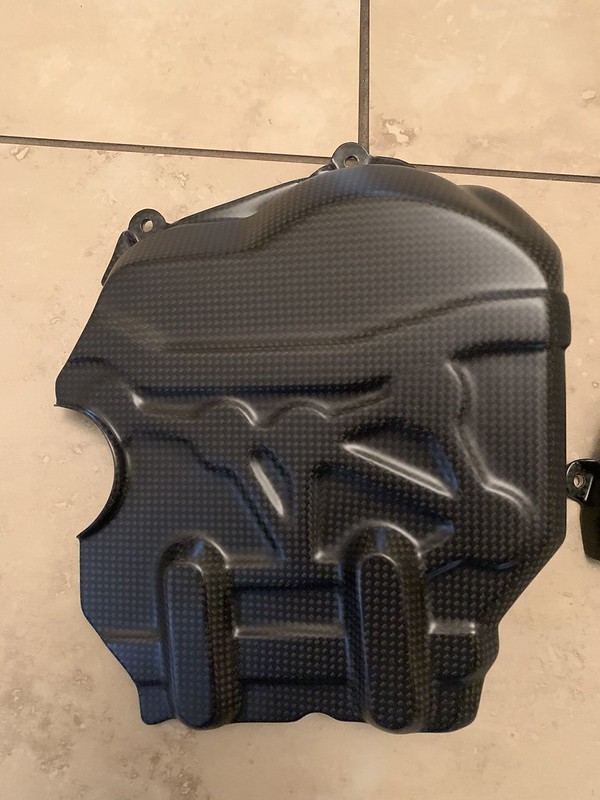
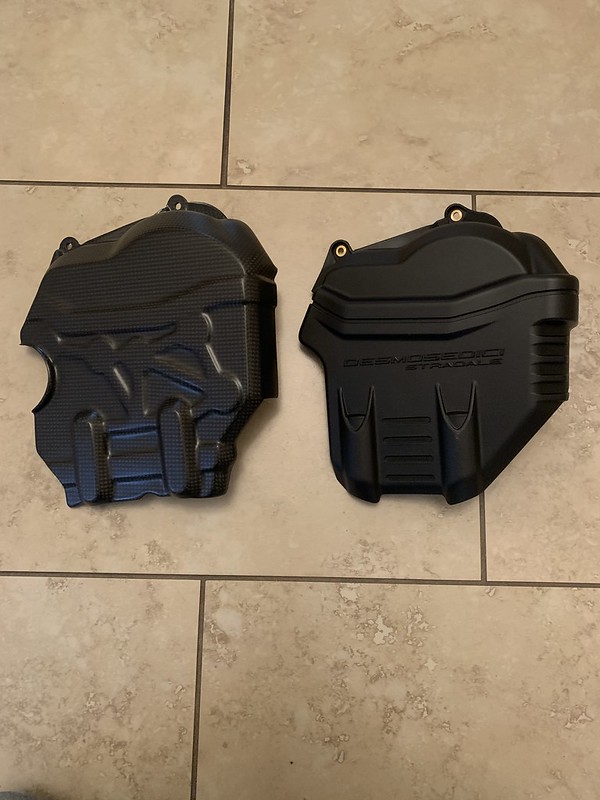
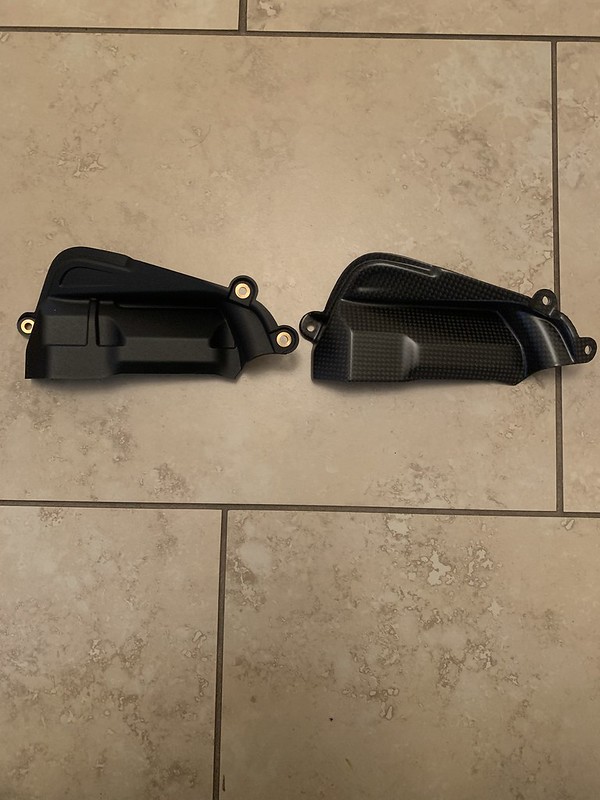
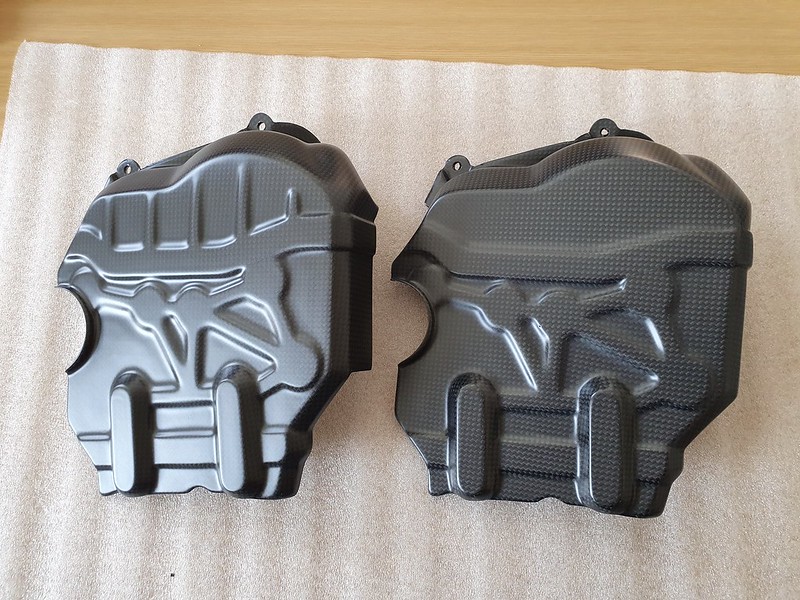
Here are the differences between Ver 1 and Ver 2.
Ver 1 on left Ver 2 on right.
Version 1 is what the cylinder head looks like underneath. Version 2 is like a mix of the cylinder head and the stock cover.
Finished product
FYI
Here are the differences between Ver 1 and Ver 2.
Ver 1 on left Ver 2 on right.
Version 1 is what the cylinder head looks like underneath. Version 2 is like a mix of the cylinder head and the stock cover.