HKMP7's V4S Journal

BMW Alpina

FOUNDING Member & Administrator
Staff member
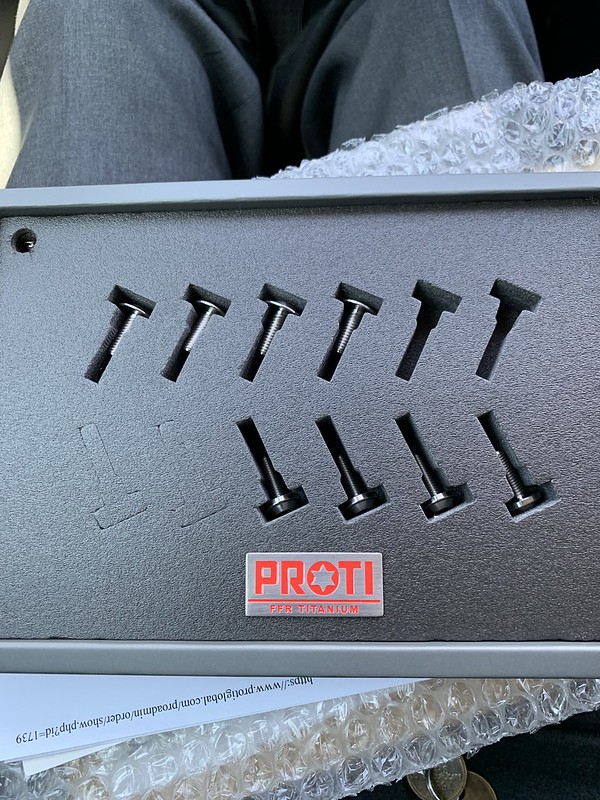
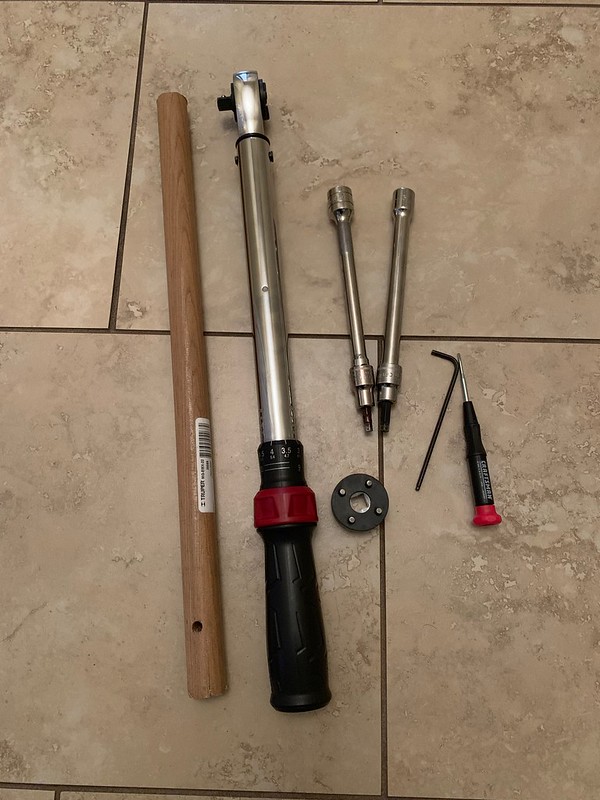
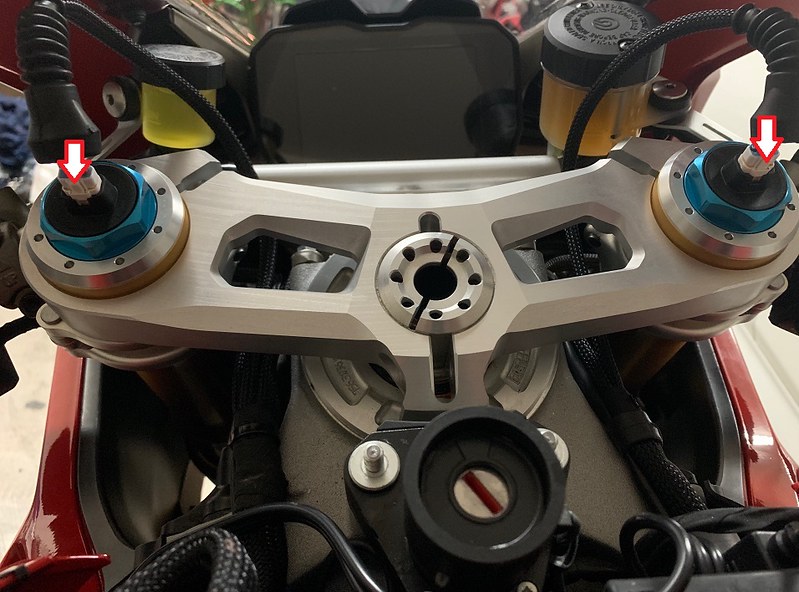
That is VERY NICE, especially the way they print the word "SPECIAL PARTS" like it got bended by the fast rotation of the nut
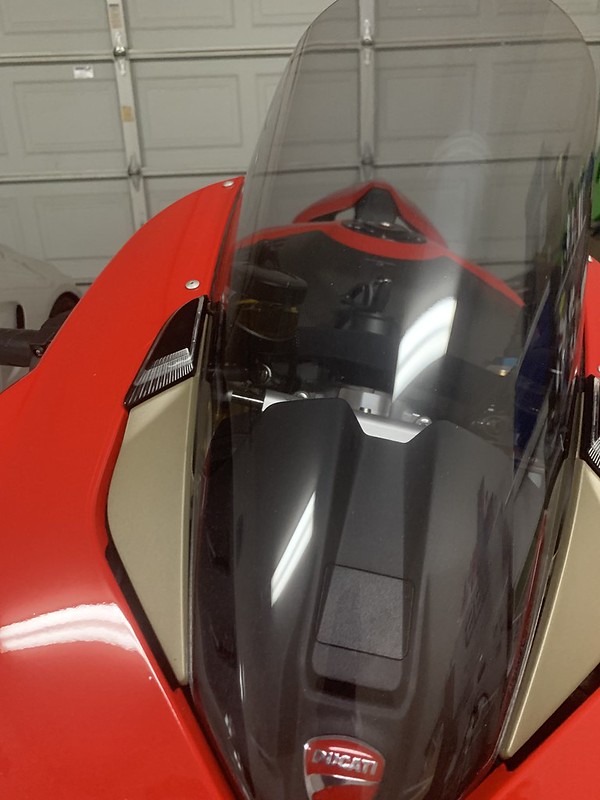
 šŸ¤©
 

HKMP7

First 9 & Moderator
Staff member
Ducati Performance Tall windscreen
I usually do a clear screen but my local Ducati shop had both in stock so I was able to compare them side by side. The smoke one isn't that dark so I went with it.

P.S. The screen came in with some scratches on it so I did polish them out lol.
 

HKMP7

First 9 & Moderator
Staff member
After all the hours of prep and getting the bike dialed in it was finally ready to hit the streets. I didnā€™t just want to take some iPhone pictures so I hired a pro photographer to shoot it.


This one is my favorite the ā€œRossiā€ look back lmao


Parting shot
 

HKMP7

First 9 & Moderator
Staff member
Ducabike Top Triple install
Hello All,

I have a install guide for the Ducabike top triple clamp. You can use this for other brands as well. This is how I did it.
Tools needed
3mm Allen
4mm Allen
6mm Allen
Small Electronics flathead Screwdriver
Torque Wrench
Rubber mallet
Steering stem special tool
Piece of round or flat wood. or (brute strength lol)

You will need a few things.

V4 V4S V4 Speciale V4R

Ducabike Top Triple I ceramic coated mine so it will stay nice

Some tools like these

Remove the battery cover and ignition cover

Now to remove the triple clamp bolts
On the brake lever side you will need to loosen this bolt because the reservoir is blocking access.

Clutch lever side has just enough room

If you have a V4S or Speciale you will need to remove the electronic suspension connectors.
Lift the rubber boot

Heres were you use the small flat head depress the tabs slides out


Should look like this
 

HKMP7

First 9 & Moderator
Staff member
Piece of wood or brute strength?
I couldn't budge it so I opted for a round piece of wood. I placed it under the triple and gave it a few taps on each side until it was free.


Now use the special tool remove the steering stem nut
P.S. why is there so much grease lol clean the area that doesn't need it.

Replace with your shiny need Ducabike Stem Nut torque to spec


Now on to install the top clamp. The clipons have a notch

This tab goes in the notch

Once you get it on a few taps with a rubber mallet to seat it. Torque bolts to spec


Re install the stuff you removed
Then admire your work

 
Last edited:

HKMP7

First 9 & Moderator
Staff member
My Ducati Performance Carbon tank protector was peeling from day one so the dealership replaced it. The second one I installed and it did the same thing. I know I installed it correctly so I think the carbon ones are just bad. So I got the other option.

I cleaned the area then prepped it with a alcohol base paint prep spray you can use 60-90% rubbing alcohol as a substitute.

The template it comes with is pretty cool

I used some 3M adhesion promoter so it will stay put.


HKMP7

First 9 & Moderator
Staff member
Ducati Performance Carbon battery cover
I love the way this looks. It brings a bit of contrast to all the red paint. Also gives me Motogp vibes with the vents.
I ceramic coated it with a matte coating so its protected without adding any gloss.


While I was picking up that super cool battery cover I ran into this.
I know there are mixed feelings about the winglets I personally think they are friggin awesome.
I always felt the MV Agusta F4 was the most beautiful bike ever made. Now I have relegated the F4 to second place. Bravo Ducat
i
 

HKMP7

First 9 & Moderator
Staff member
Ducati Performance Carbon generator cover


Stock bolt vs bolt that comes with the kit

Had to move the clutch line slighty


HKMP7

First 9 & Moderator
Staff member
Ducati Performance Carbon fender
Got rid of the plastic front fender.


I bought a extra matte fender kit from the tankslapper so lets get it installed.

Before

After


HKMP7

First 9 & Moderator
Staff member
Proti Bolts
More Ti Diet

Front fender bolts before and after

Air Intake duct bolts before and after


BMW Alpina

FOUNDING Member & Administrator
Staff member
LUCKILY (for my wallet), the "Ducati Performance" logo on the Front Carbon Fiber Fender is on the rear/back side of the fender so not visible unless I bow down and took a peek,
otherwise, I would be forced to purchased it since my Ducati factory carbon fiber fender that came with my bike (despite the same exact shape and finish) does not have that "coveted" logo šŸ˜Œ
 

HKMP7

First 9 & Moderator
Staff member
Fail.
Apparently I'm not the only person that has lost one of these caps. So much so Ducati changed it they now have a metal washer built in. Smh.
New superseded part on the left old part on the right.
 

HKMP7

First 9 & Moderator
Staff member
Ilmberger Matte Carbon Tail
I wanted to break up some of the red and add a bit of style.

So I removed the factory tail section so I could remove this rubber insert.

Install it here in the new carbon tail.

The fit was spot on

I felt the carbon would be too plain so I bought 2 different factory decals

I decided to stick with the brush silver factory V4 Ducati decals. Notice how the stickers have a "tail" with a curve on them. Im sure its to help the factory workers line up the stickers with the curvature of the fairing. Pretty cool.

Got the decals on. Now we ceramic coat to protect it.

Finished look


BMW Alpina

FOUNDING Member & Administrator
Staff member
Futurismoto Rear Blinkers
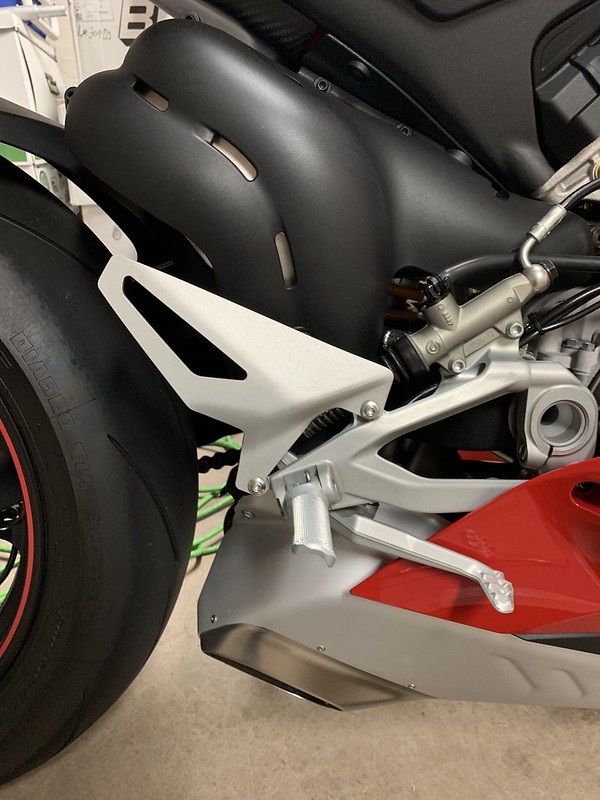
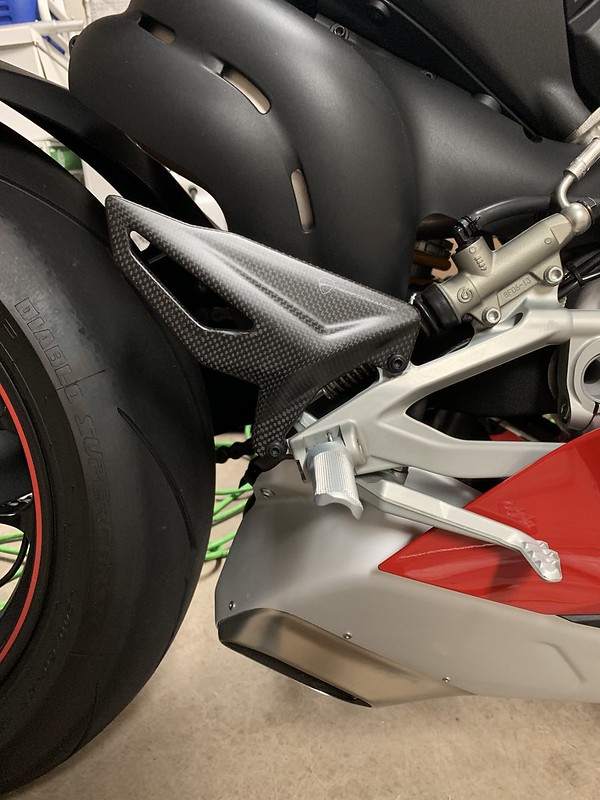
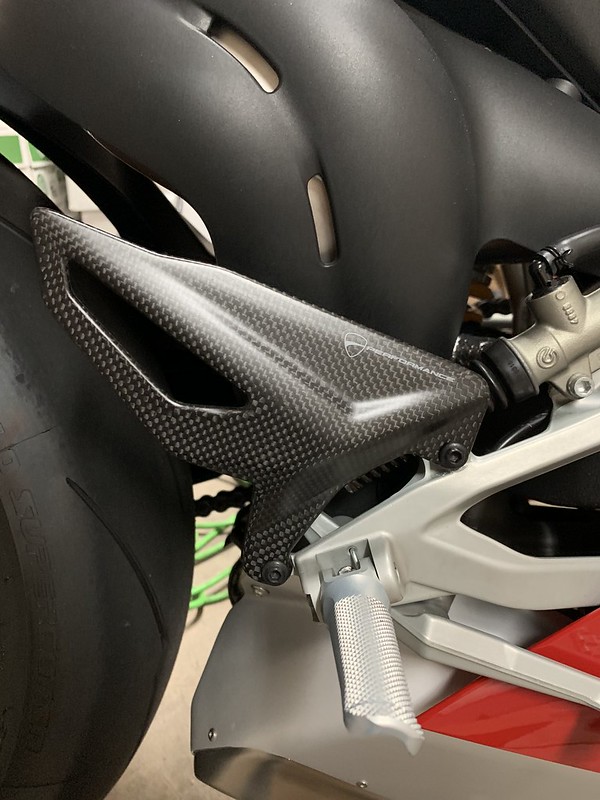
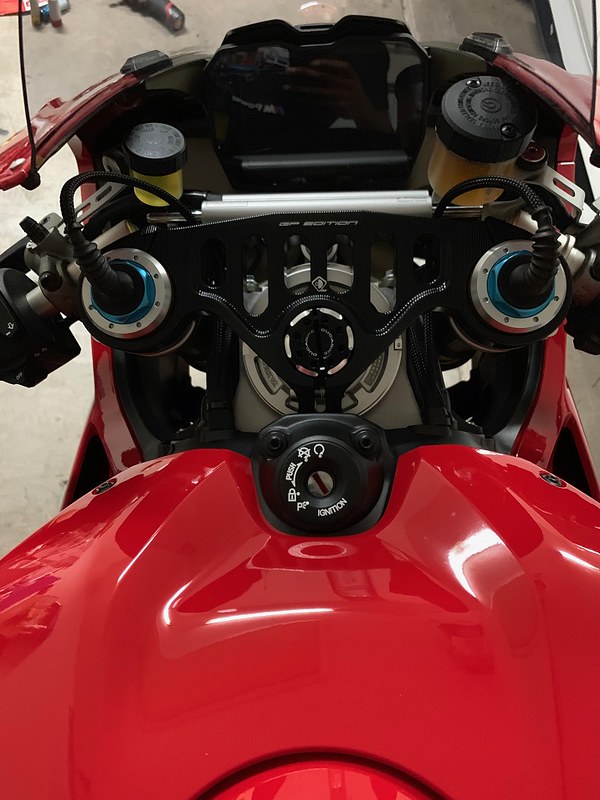
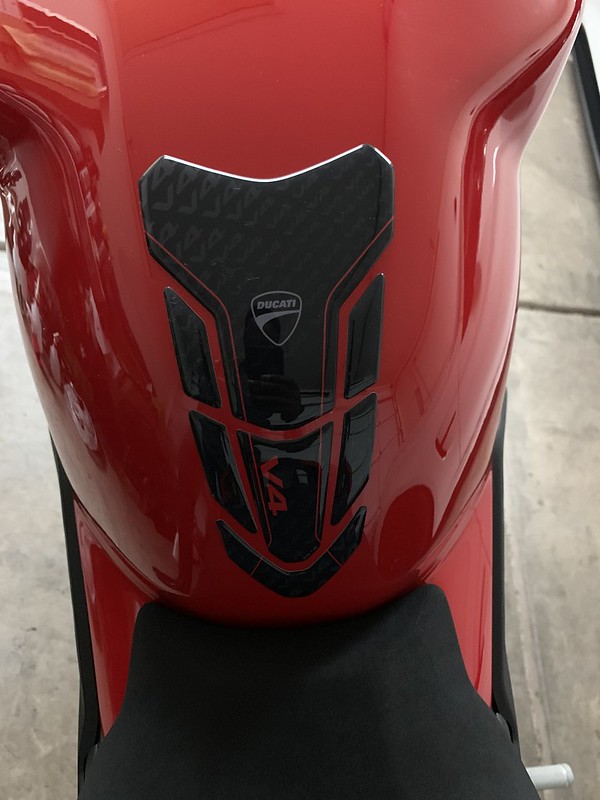
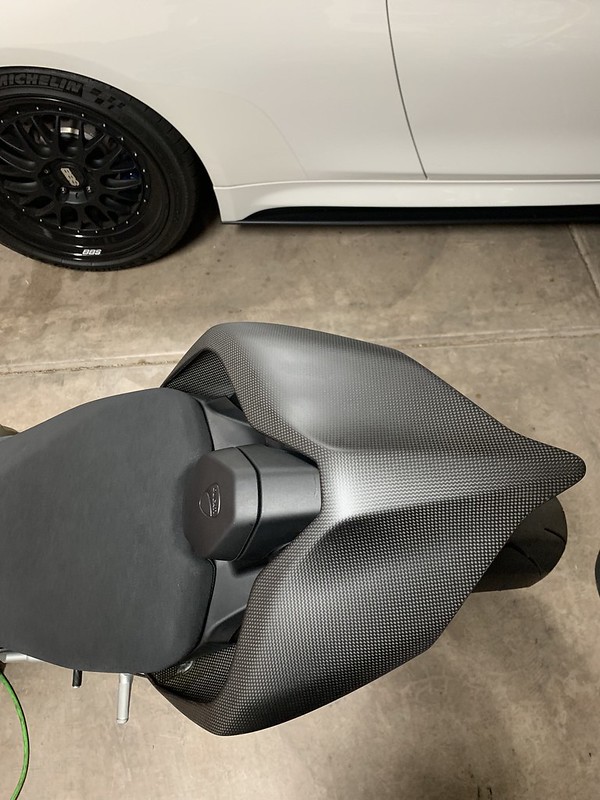
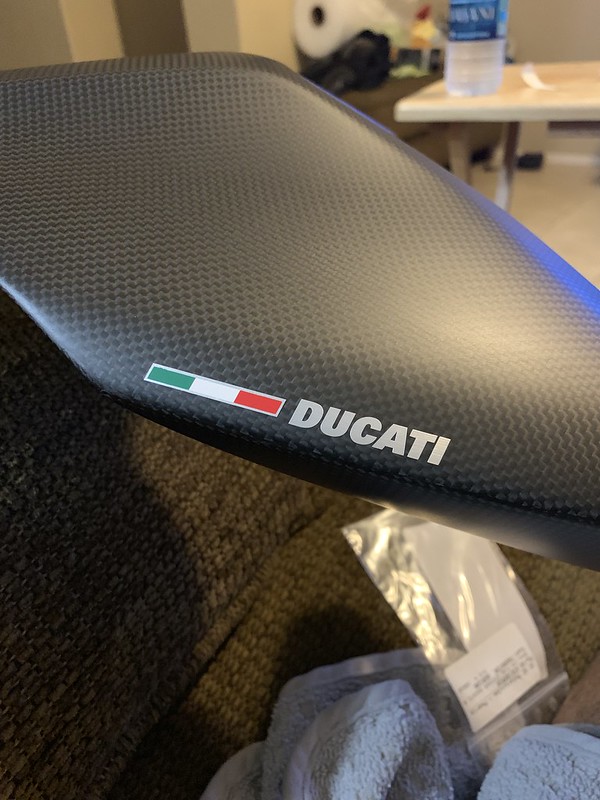
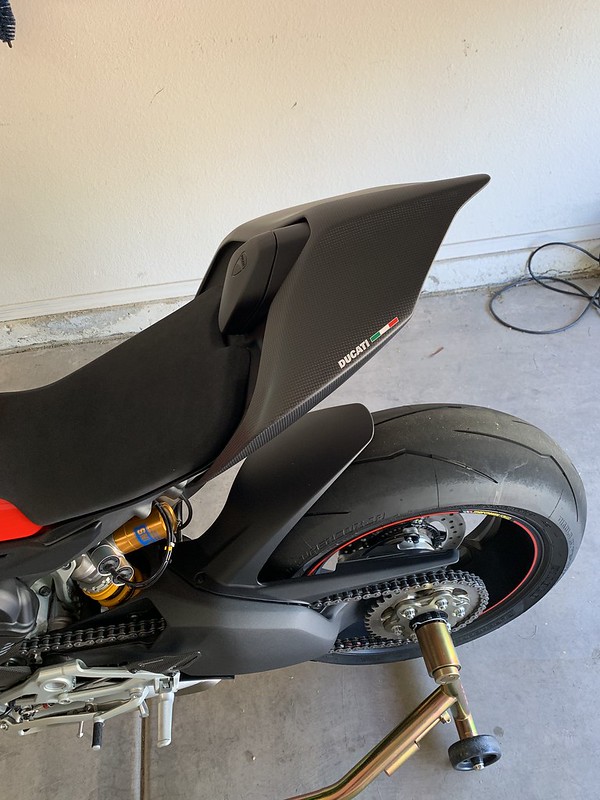
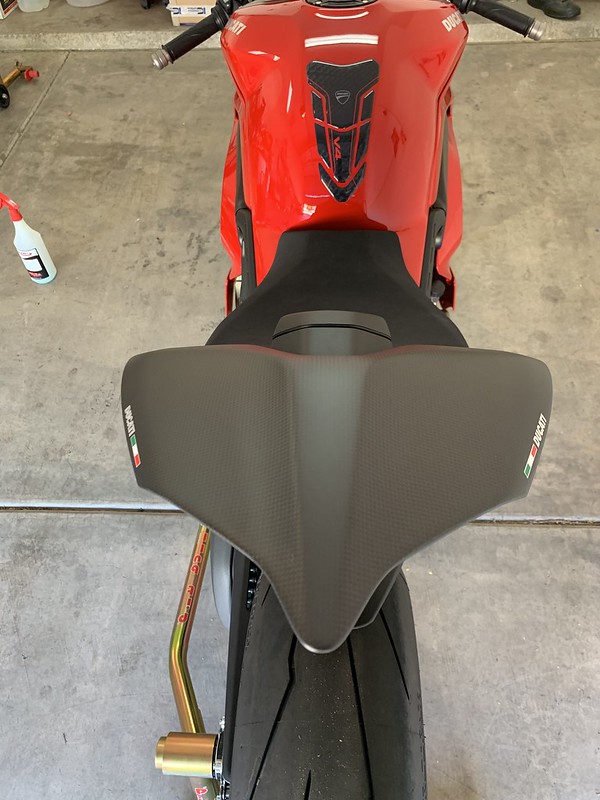
This really cleans up the rear of the bike

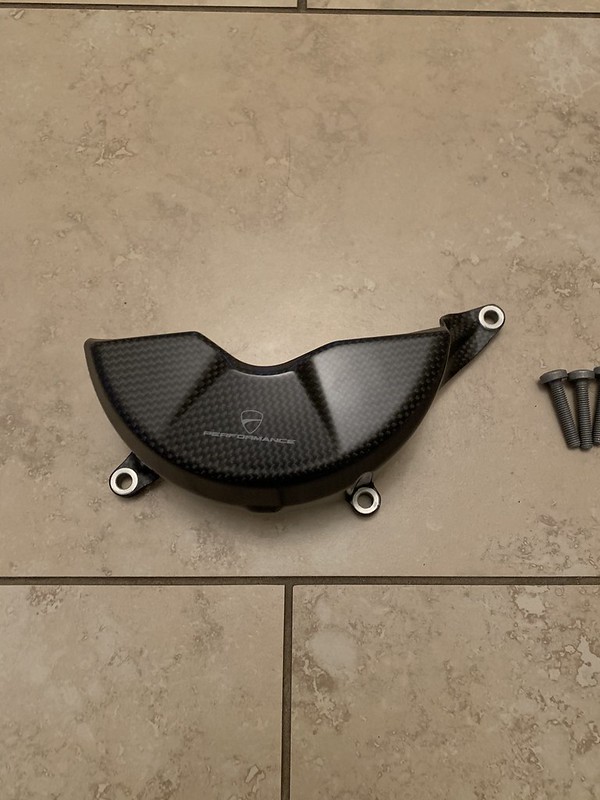
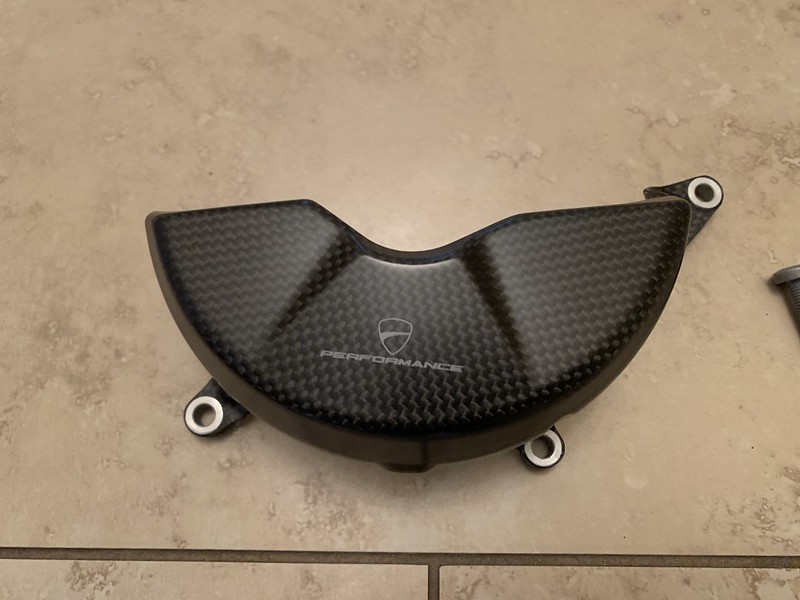
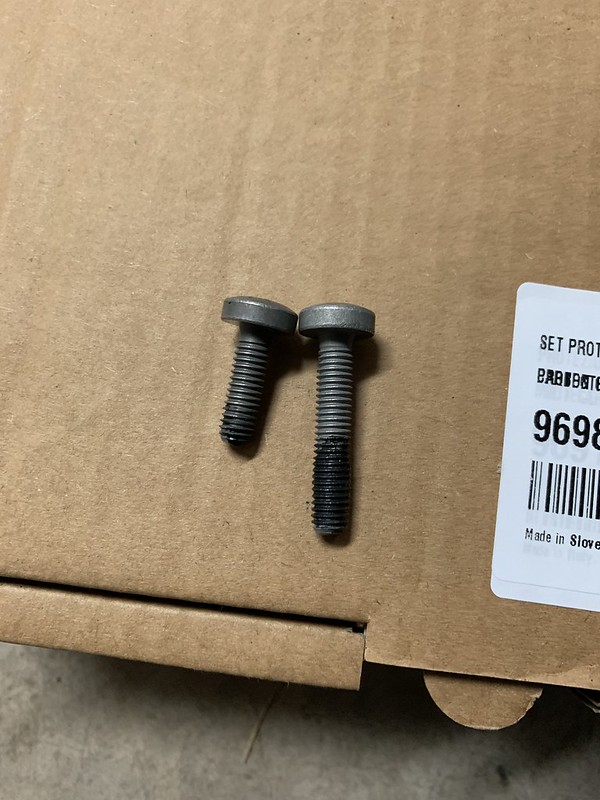
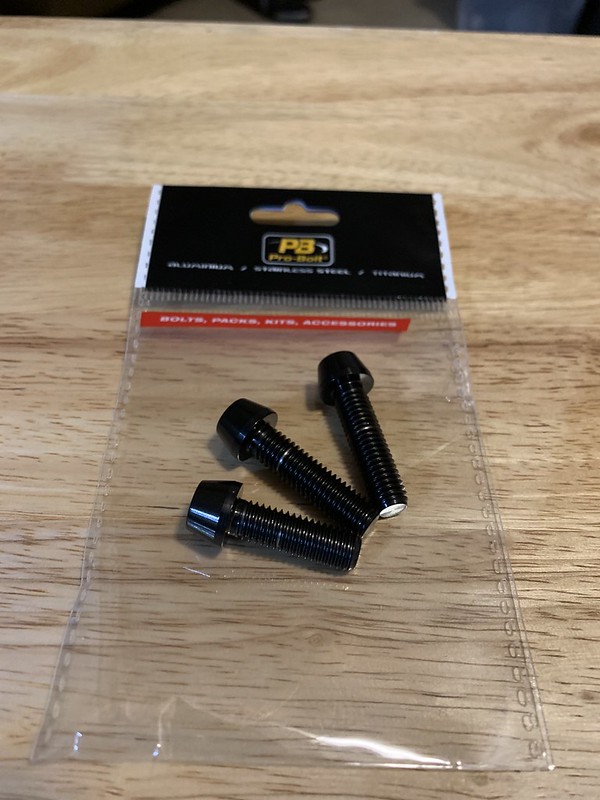
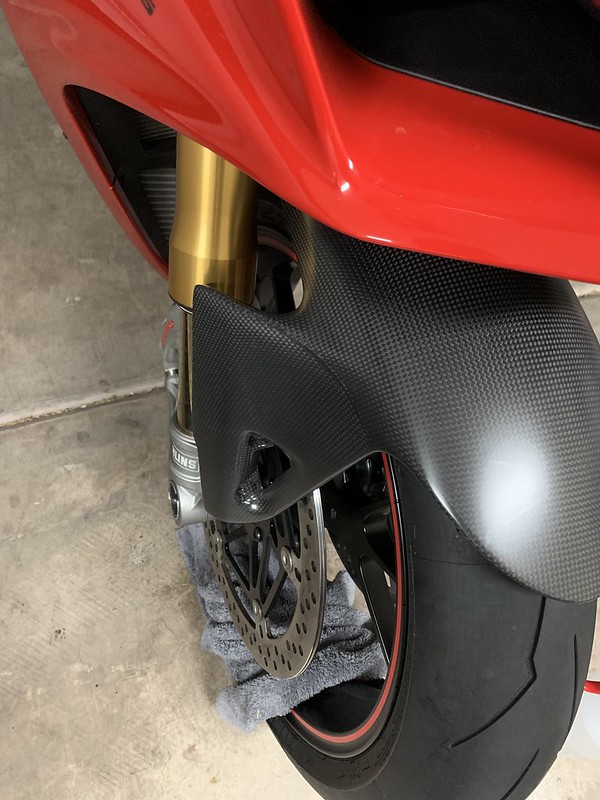
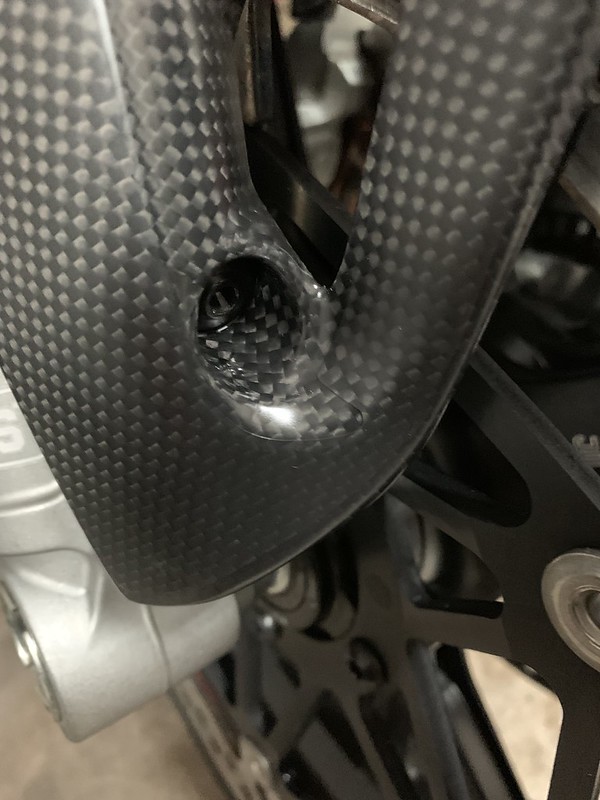
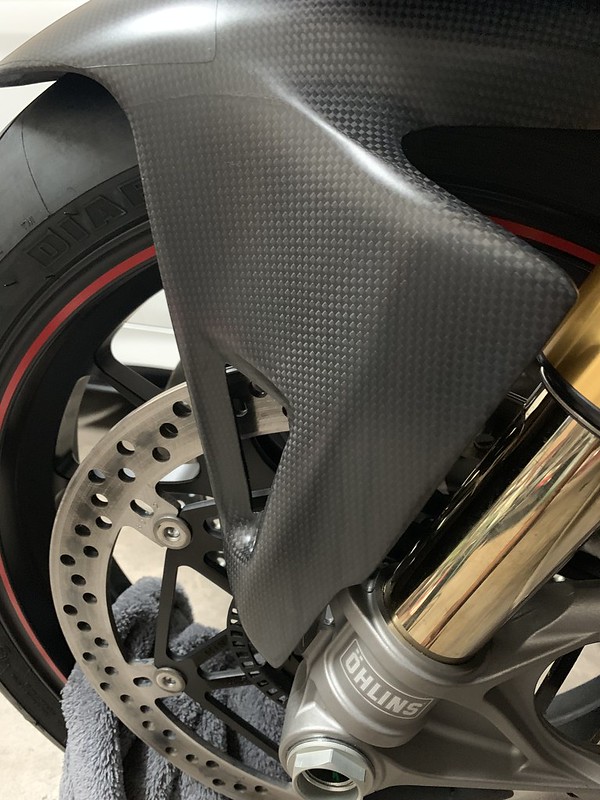
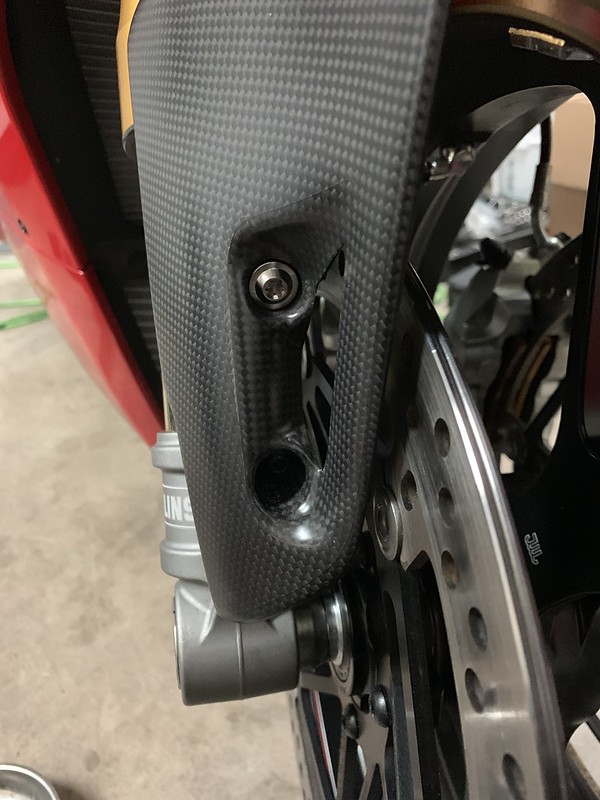
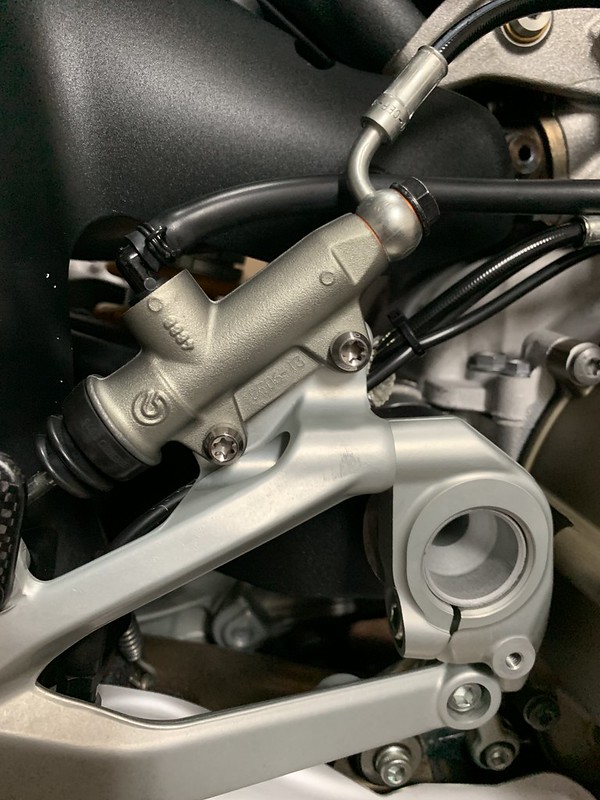
Replaced the bolts that came with these for some Ti ones.

Hi HKMP7,
The Futurismoto rear blinker is very nice, does it a plug and play ? or does it require resistor? It looks like it has several LED per side, is this correct? They must be brighter than the stock blinker.Thanks
 

HKMP7

First 9 & Moderator
Staff member
Hi HKMP7,
The Futurismoto rear blinker is very nice, does it a plug and play ? or does it require resistor? It looks like it has several LED per side, is this correct? They must be brighter than the stock blinker.Thanks
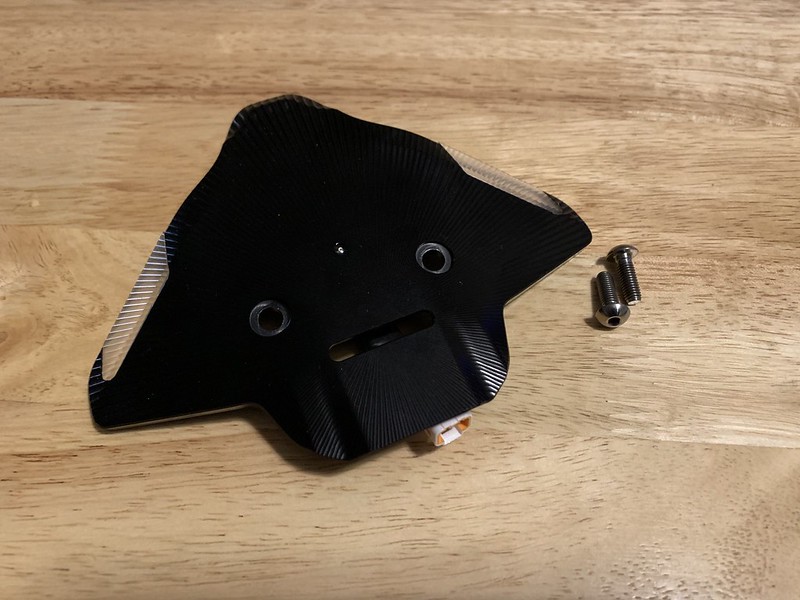
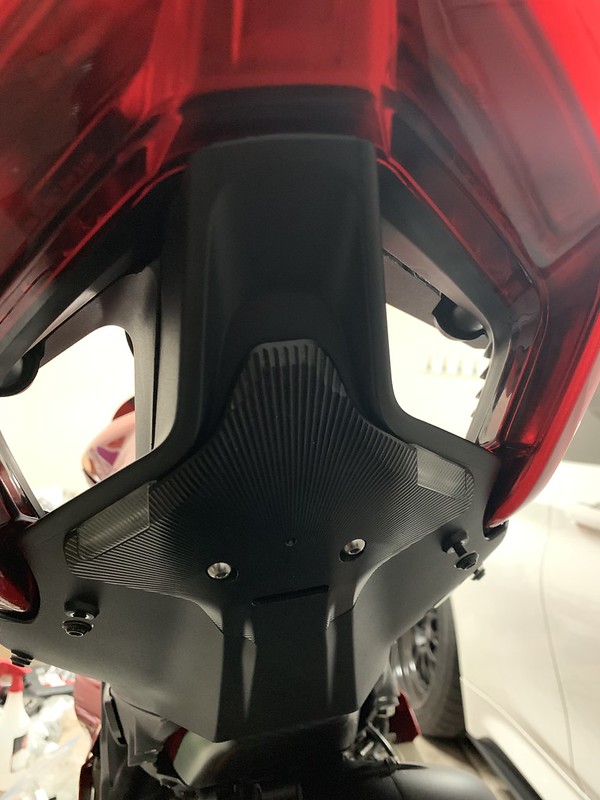
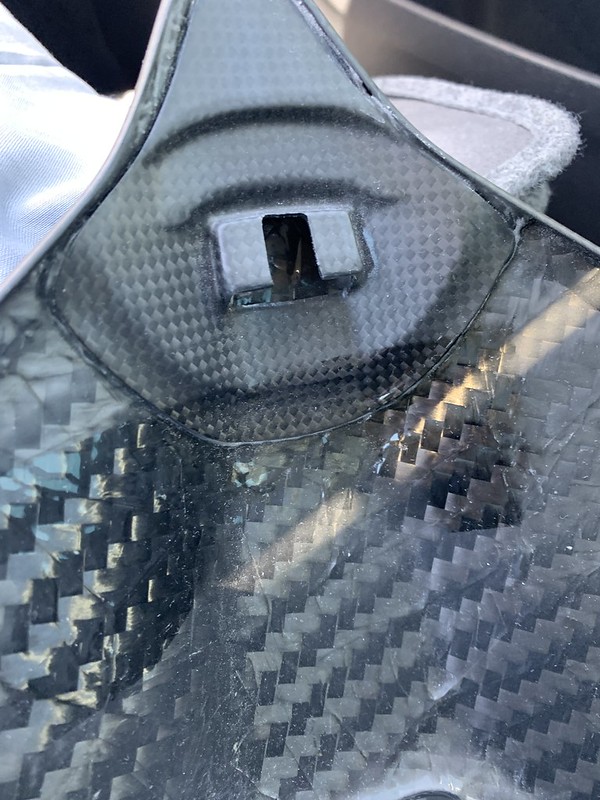
Plug n play no resistors. Its 1 very bright led per side and a small plate light led. Definitely brighter than stock.
 
Top