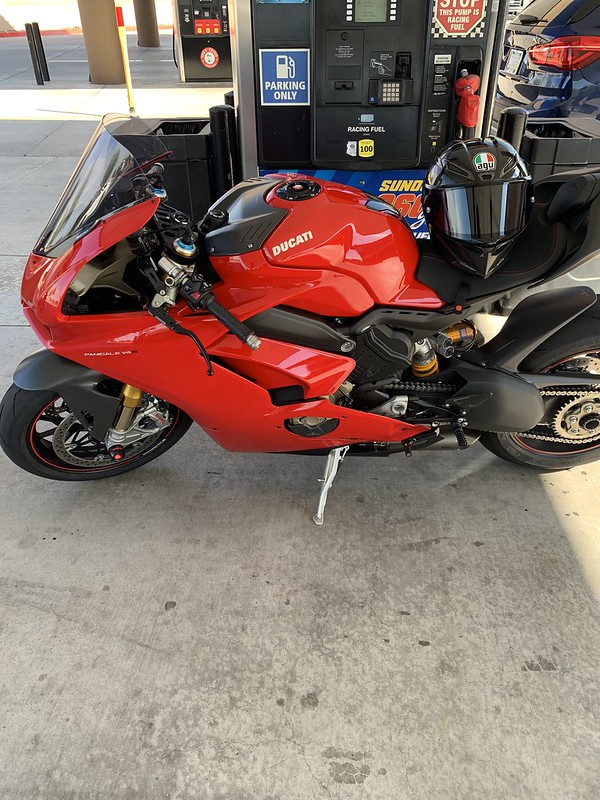
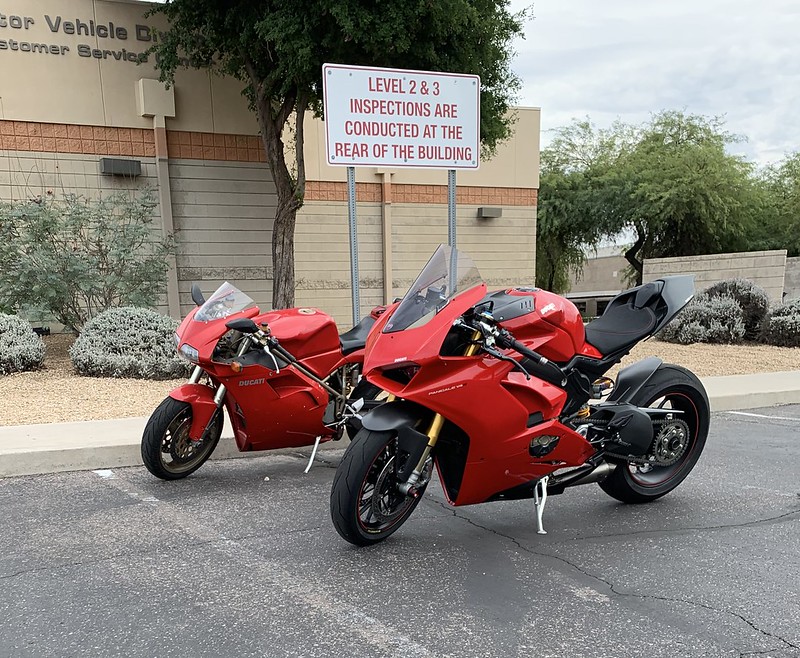
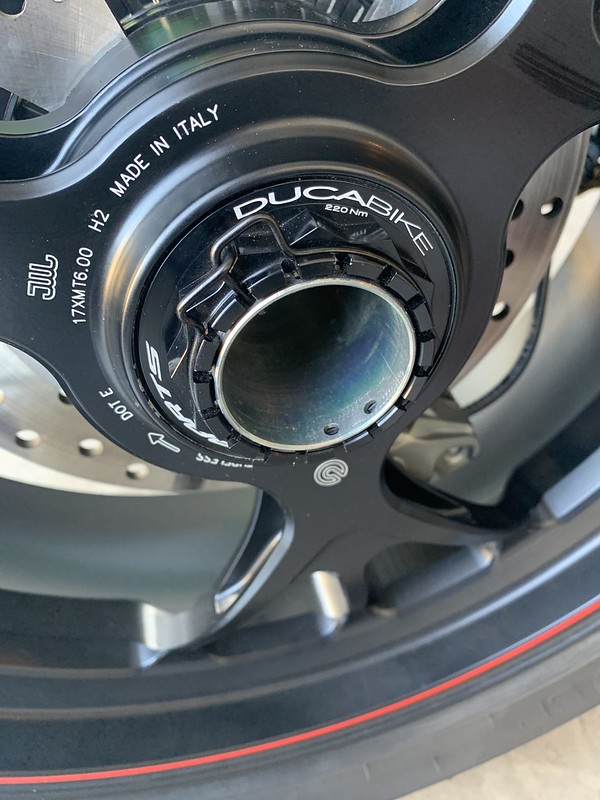
GiaMoto Rearsets
I think the controls are the most important part on the motorcycle so rearsets were the next mod for me. I don't like the folding pegs on the factory ones also they aren't nearly as precise. I had some "must haves" on the new rearsets they were the following:
1. Uses bearings
2. Uses factory brake light switch
3. Doesn't have the grid style adjustments
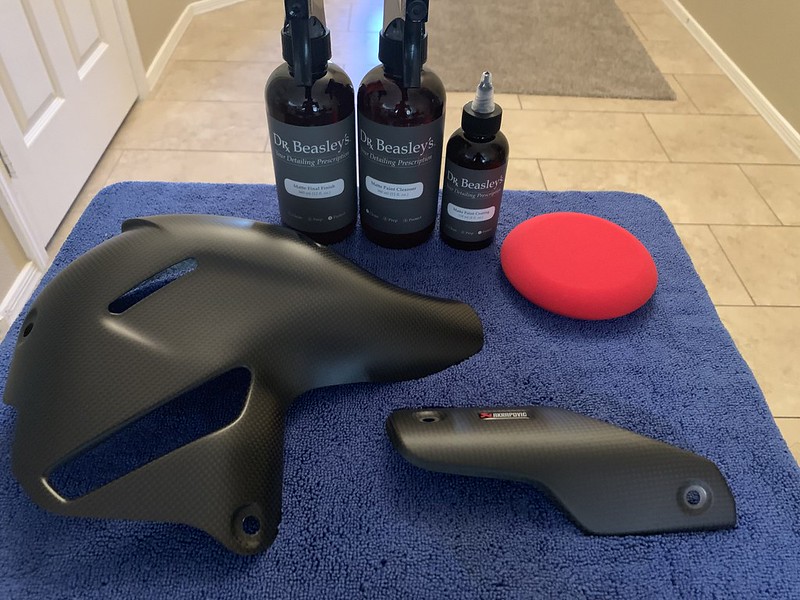
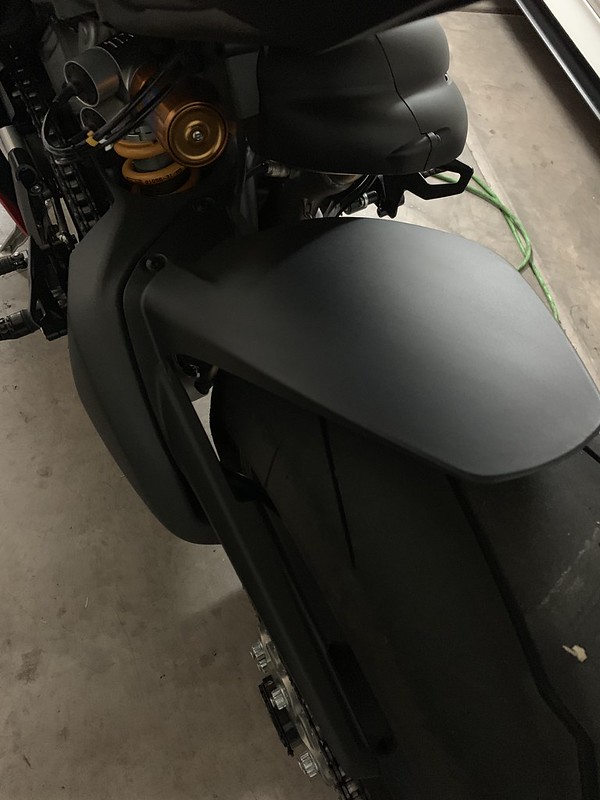
4. Compatible with DP Carbon heel guards
5. All Black yes Im a poser lol
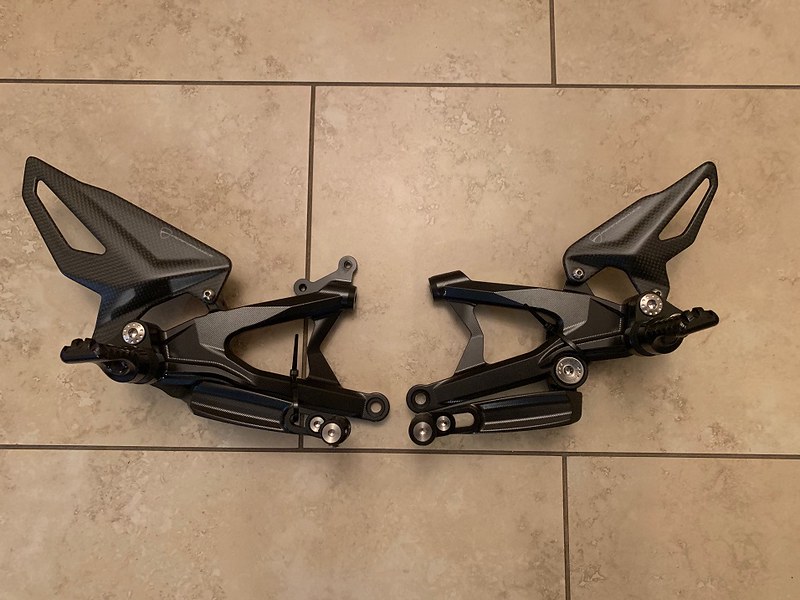
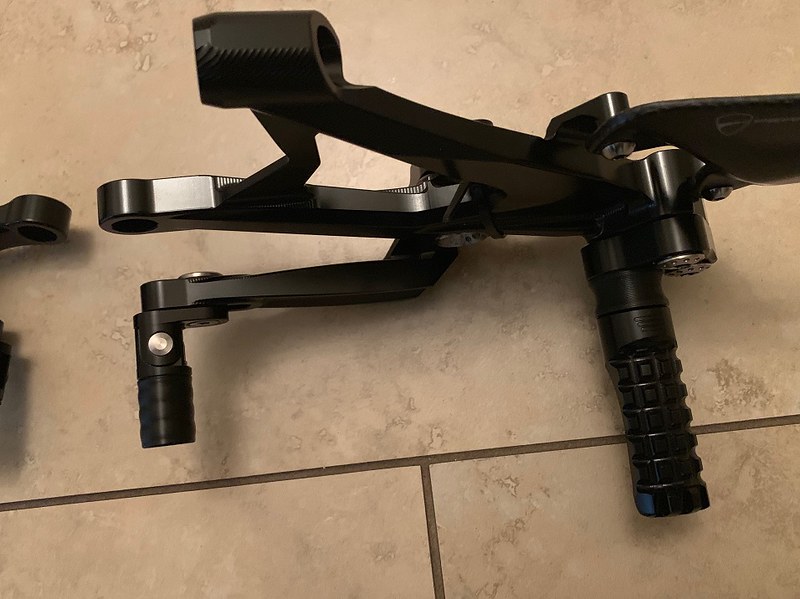
So that's how I ended up with these. GiaMoto V4 Rearsets
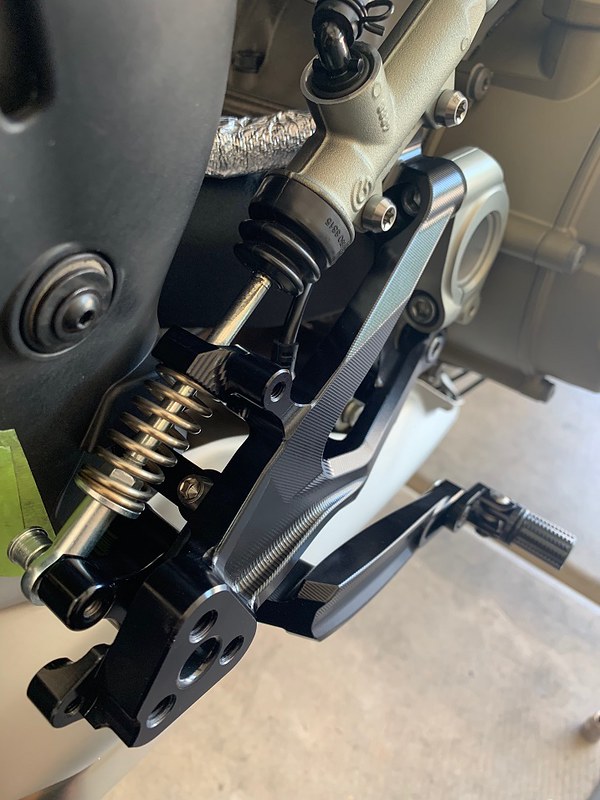
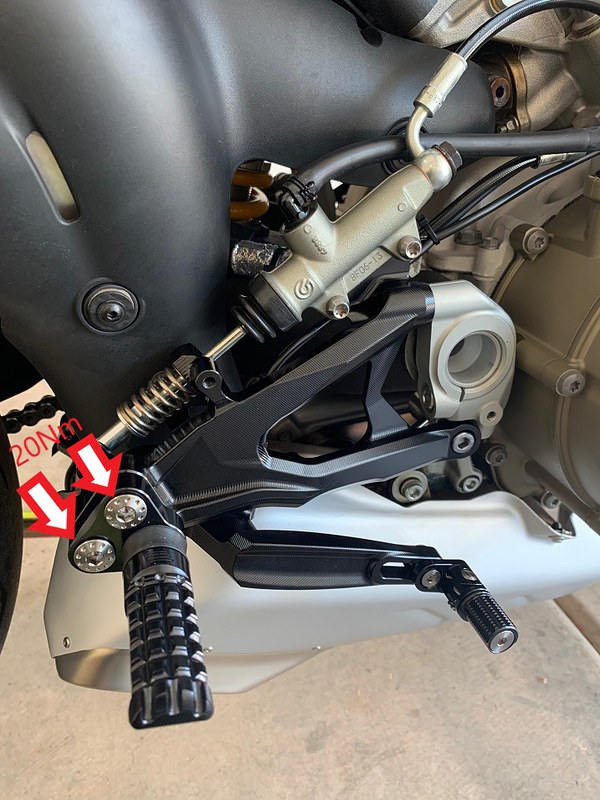
The shifter side is very simple and straight forward so I only took pictures of the brake side because its a bit more involved. Now on the the install.
Tools needed
3mm Allen
4mm Allen
5mm Allen
6mm Allen
10mm open ended wrench "cresent wrench"
11mm open ended wrench "cresent wrench"
Torque wrench
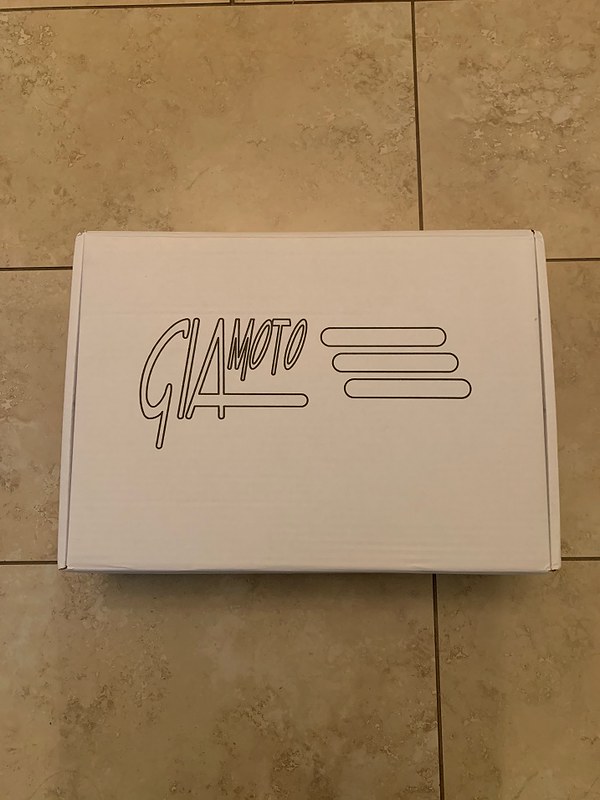
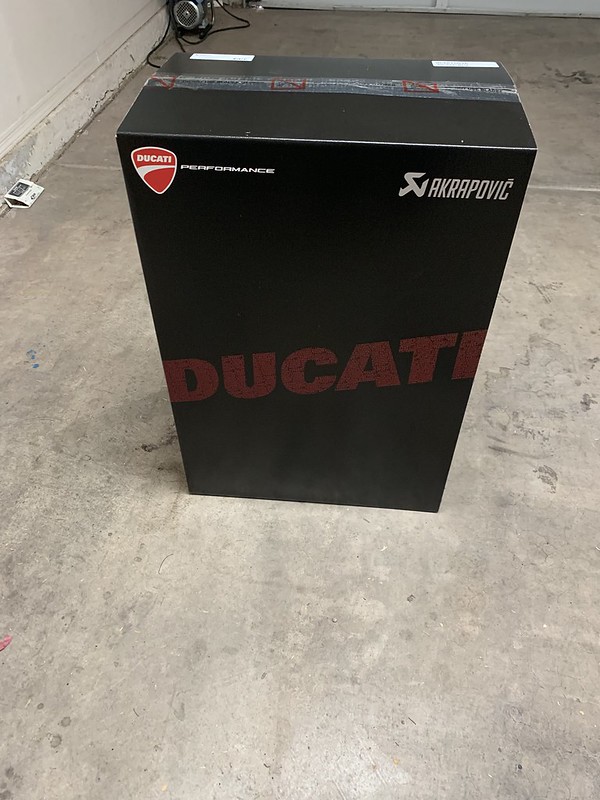
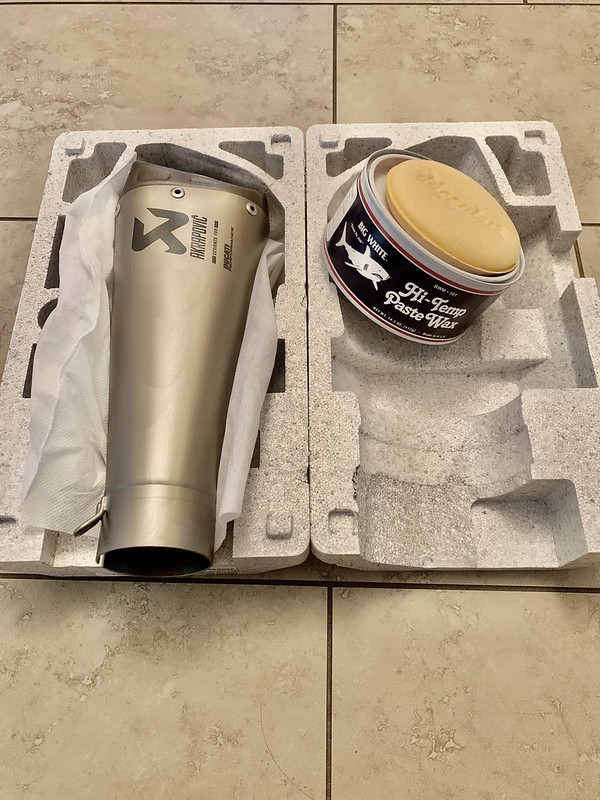
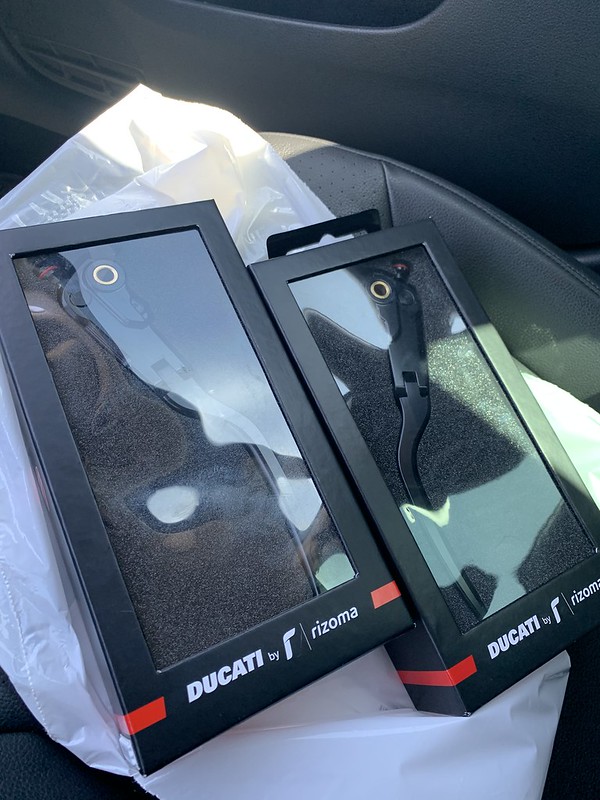
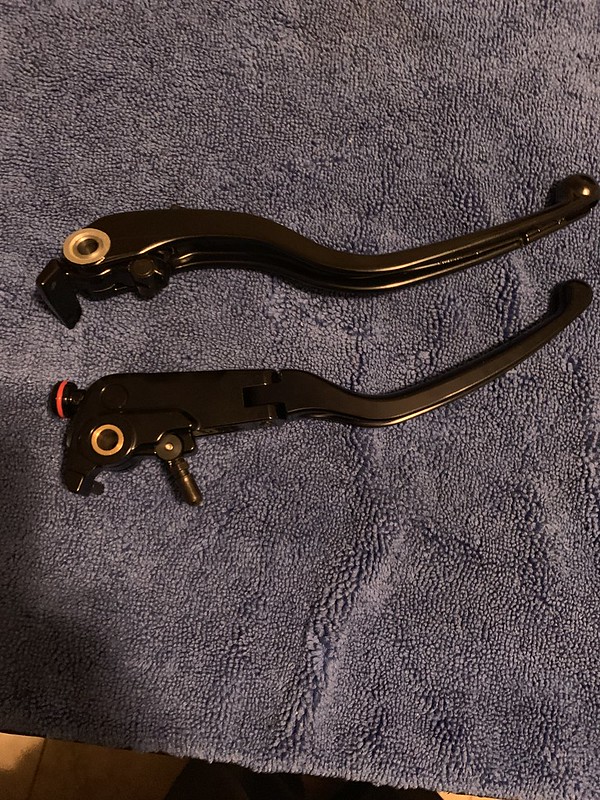
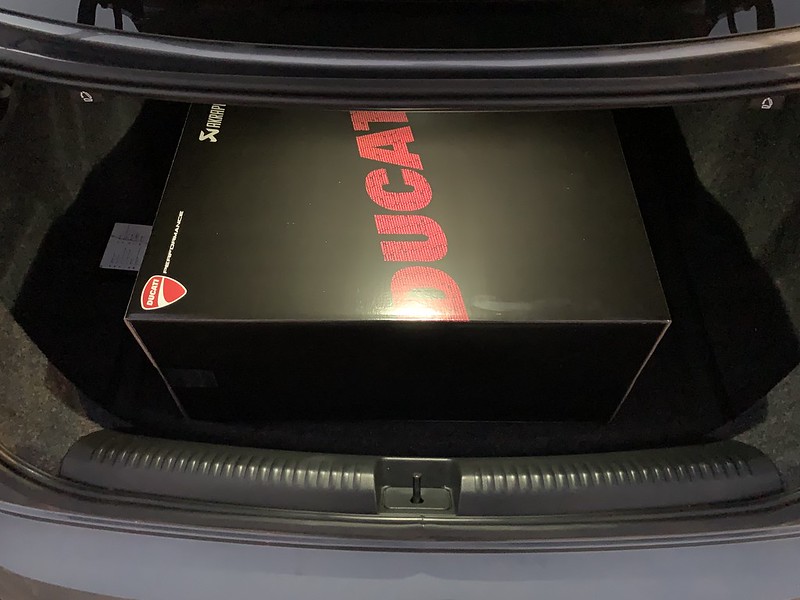
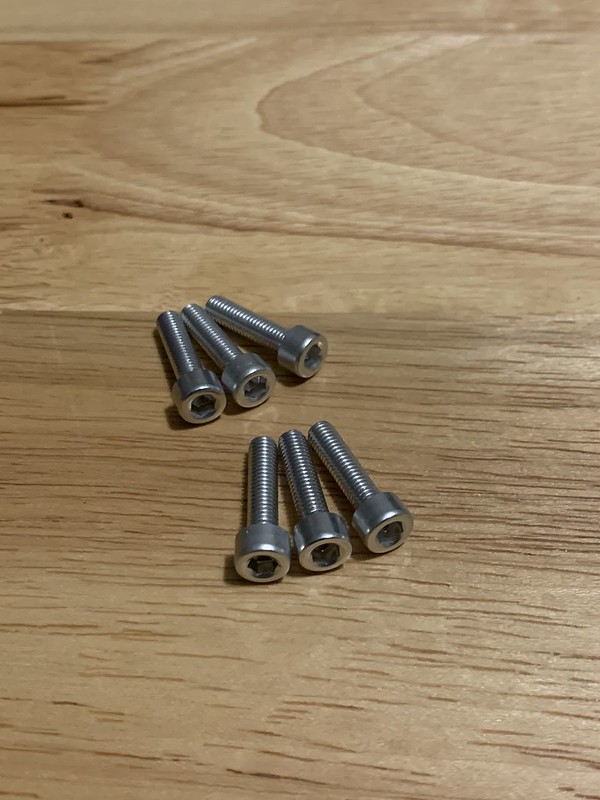
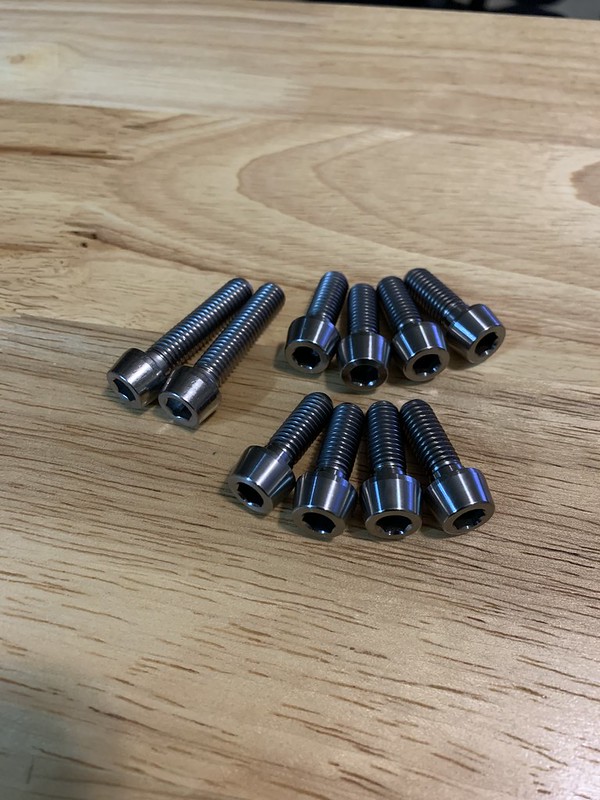
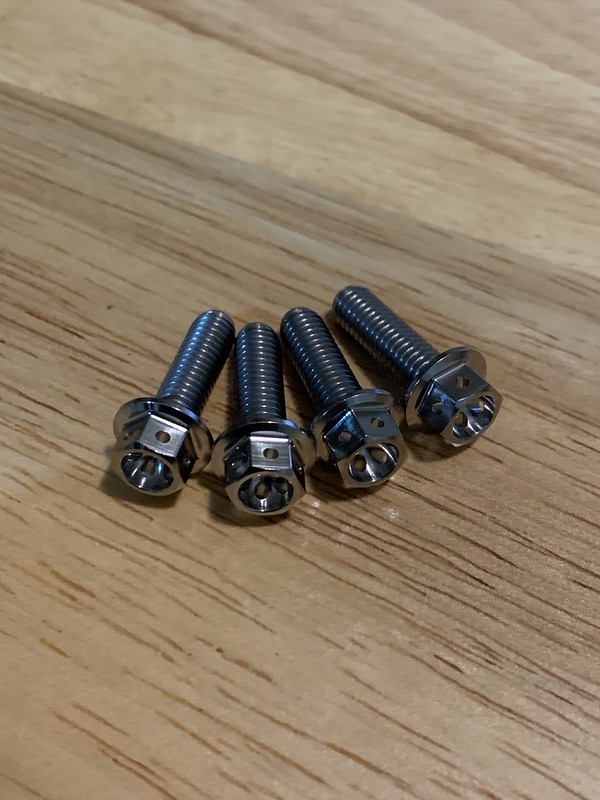
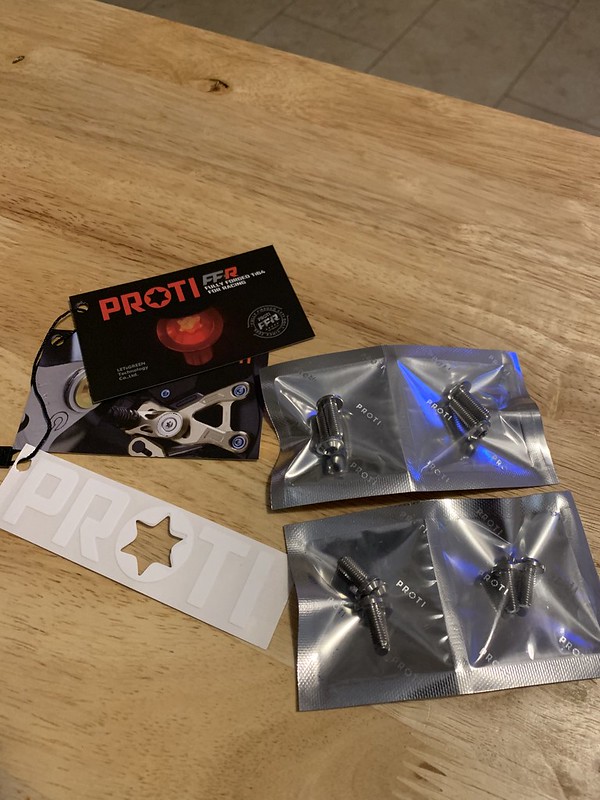
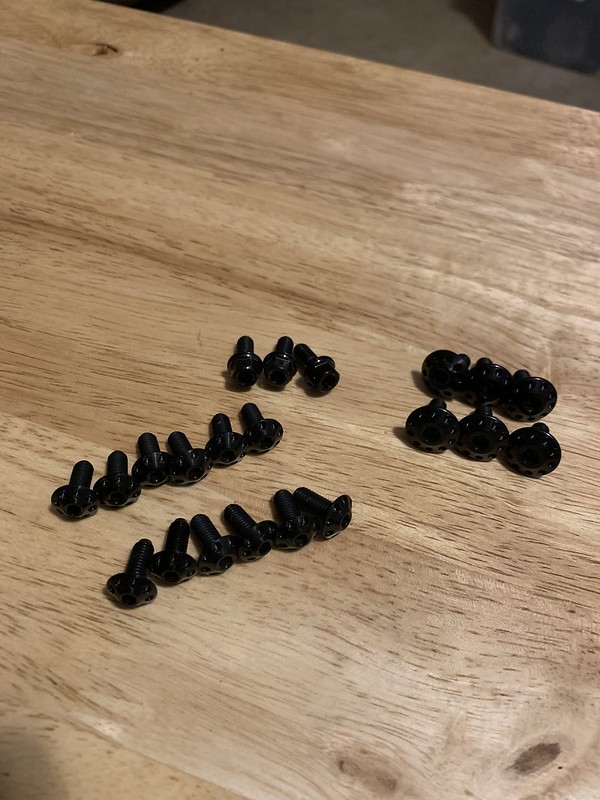
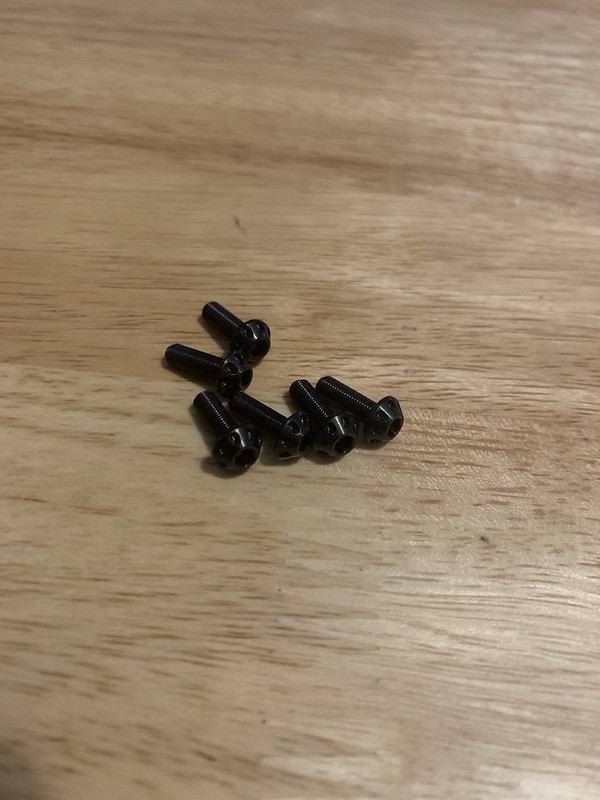
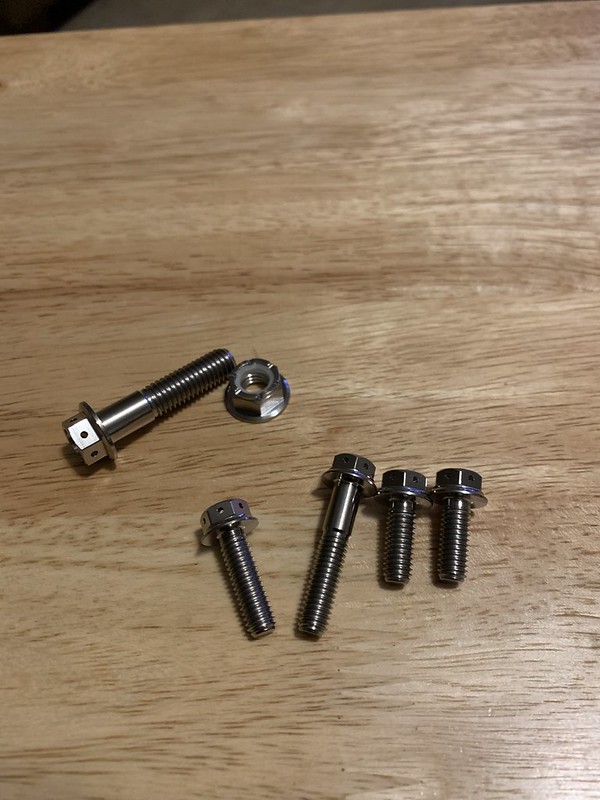
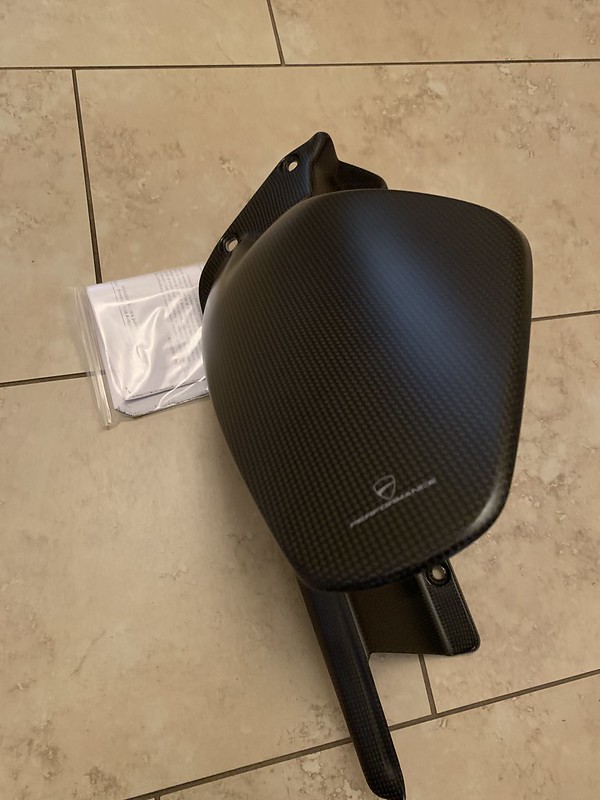
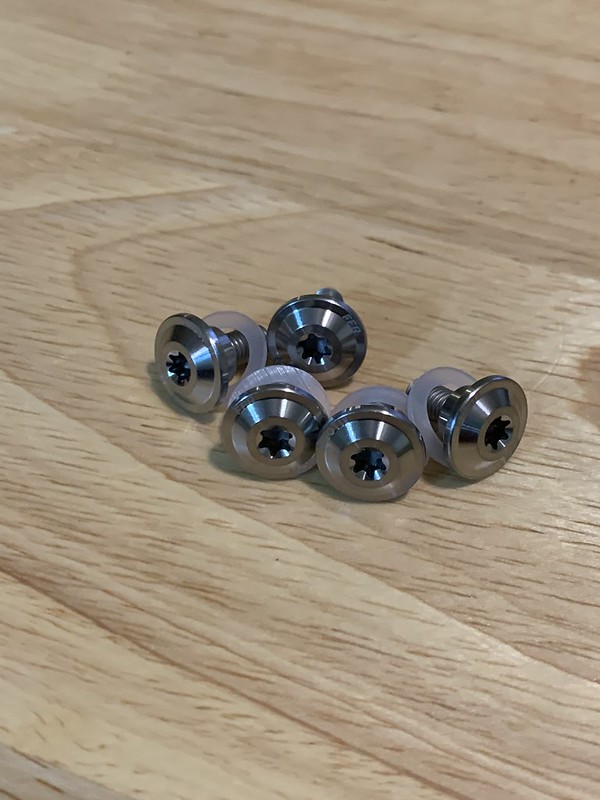
What's in the box
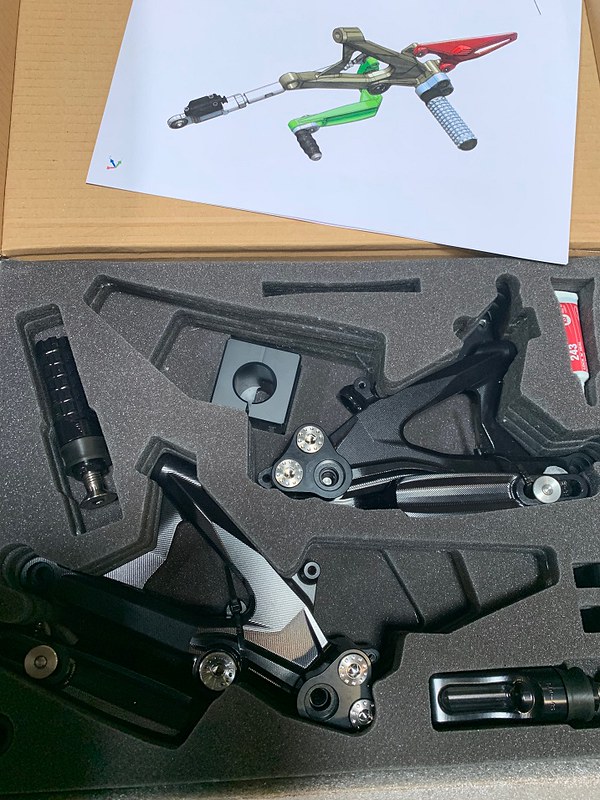
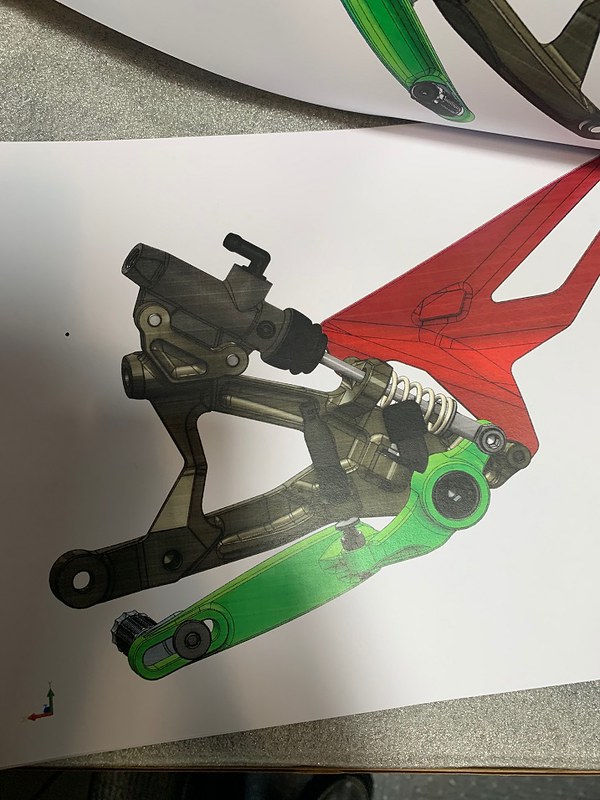
I love that they included some of the design drawings adds a premium touch
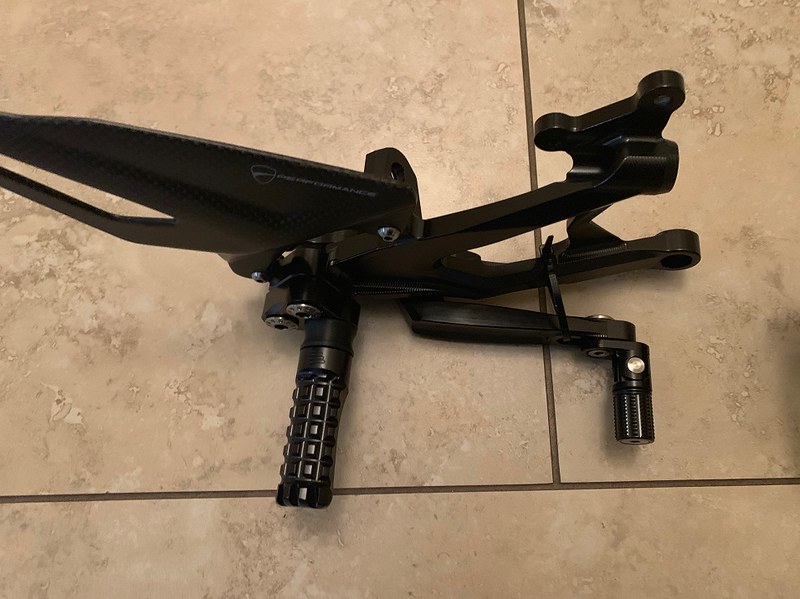
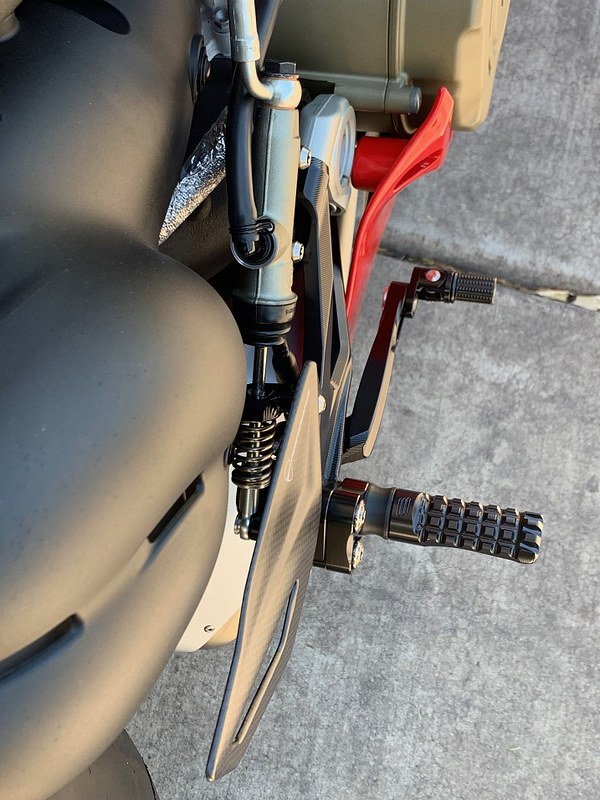
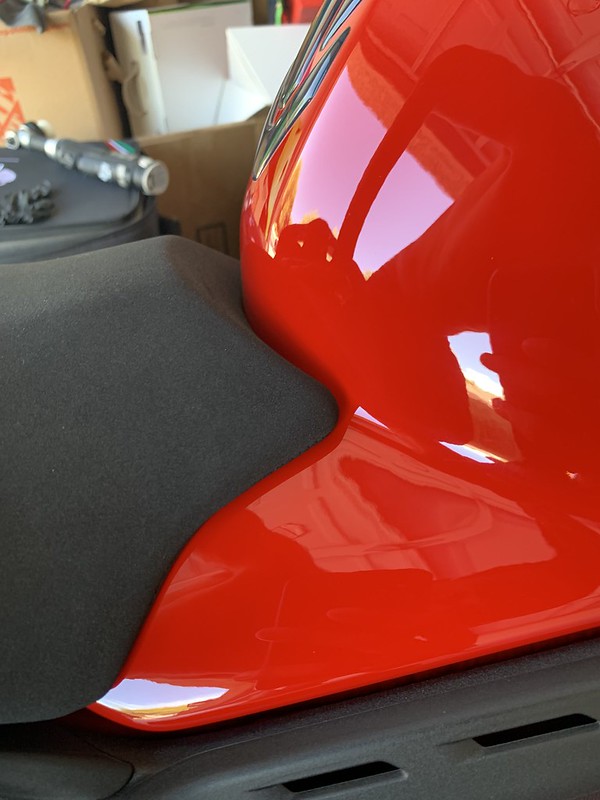
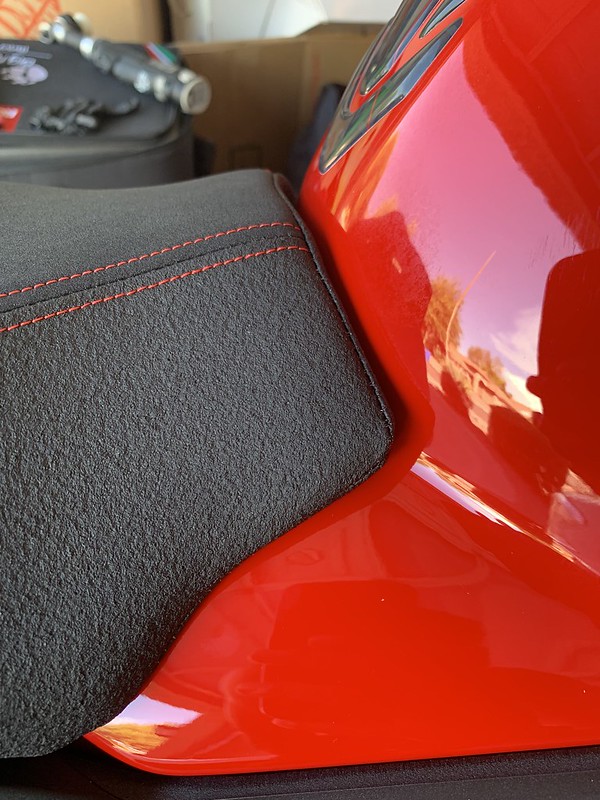
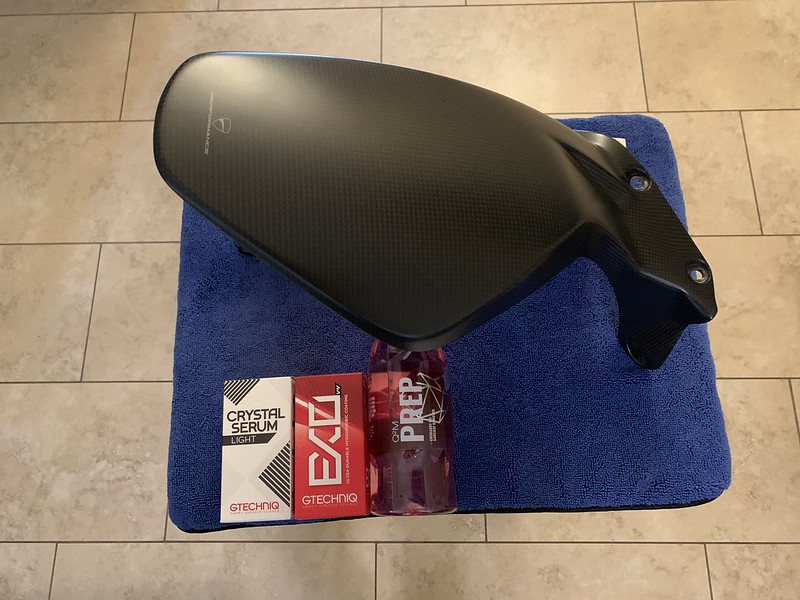
You will have to do a bit of trimming to get the DP heel guards to fit perfect
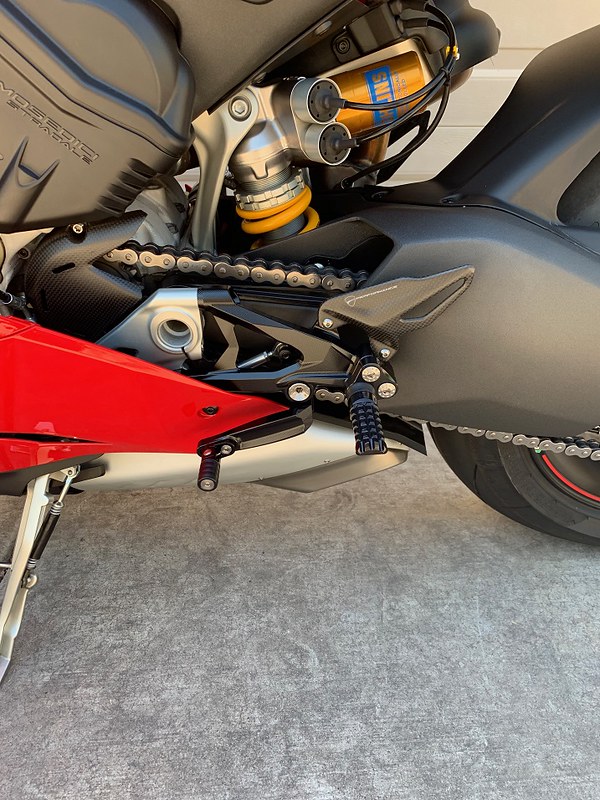
I opted for the folding toe pieces
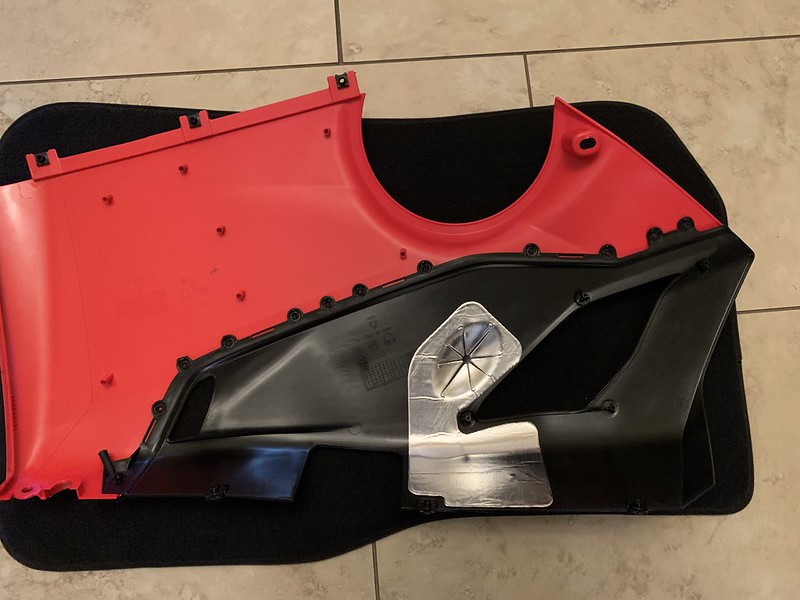
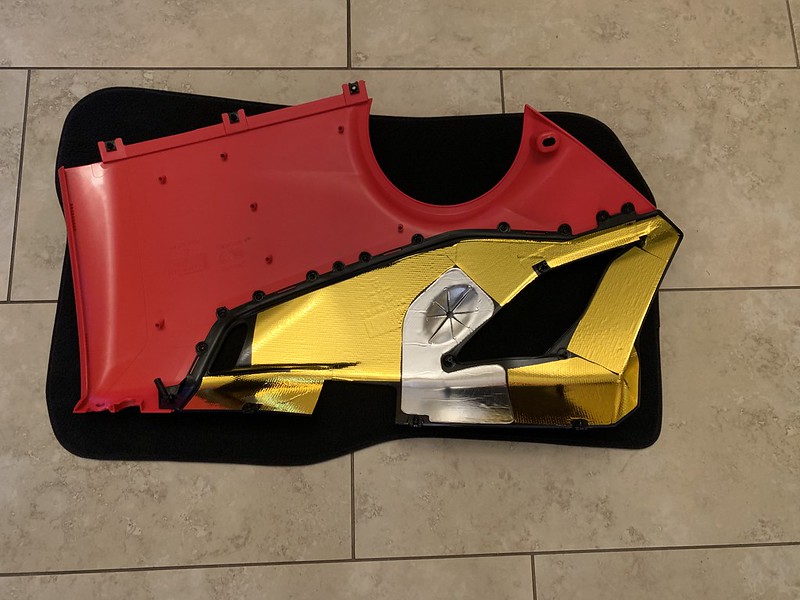
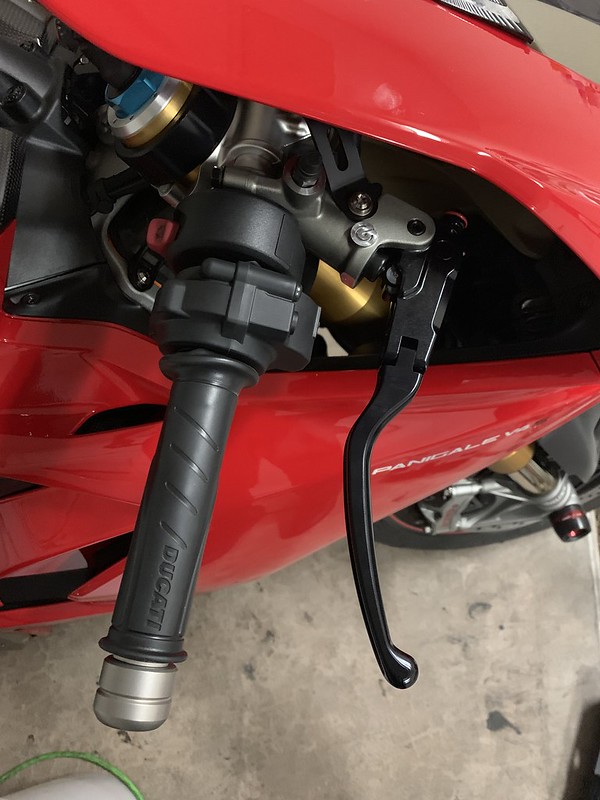
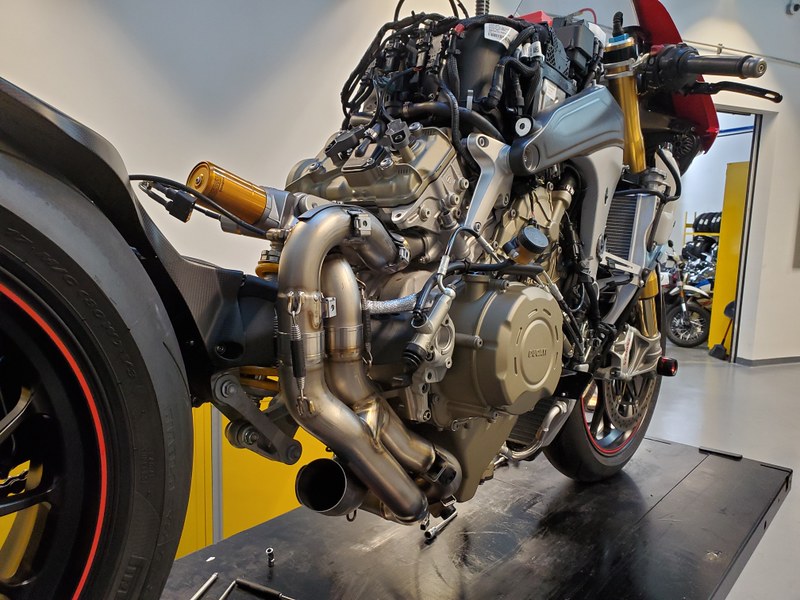
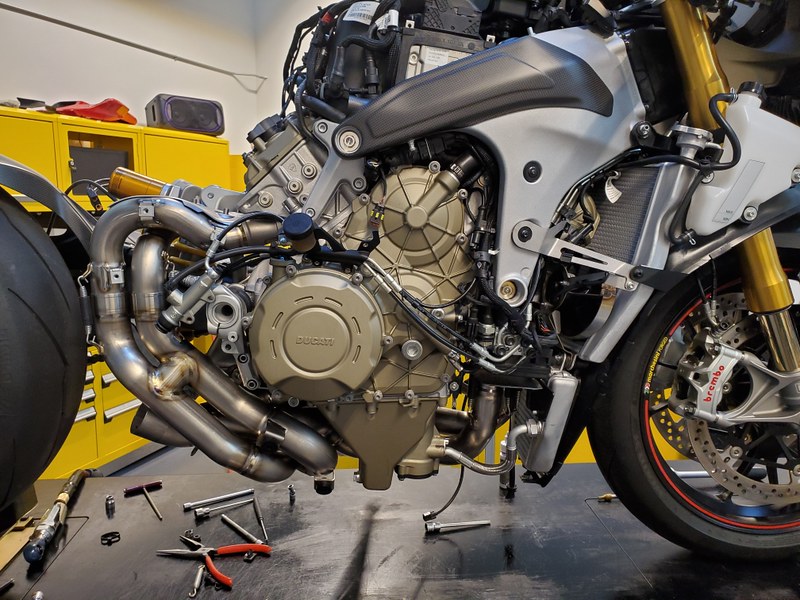
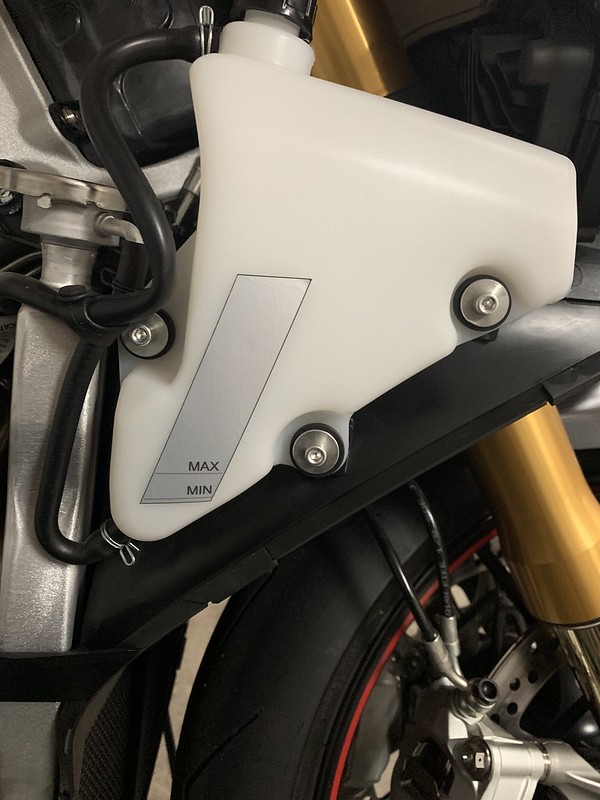
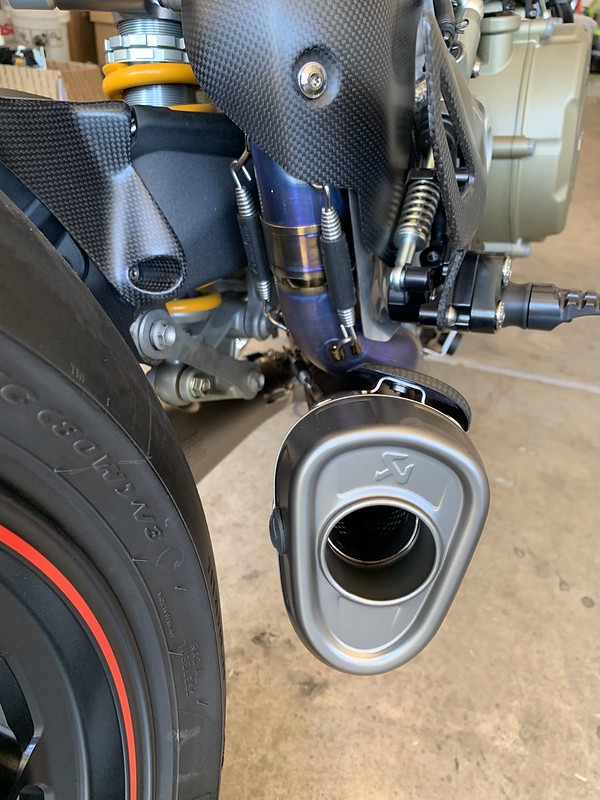
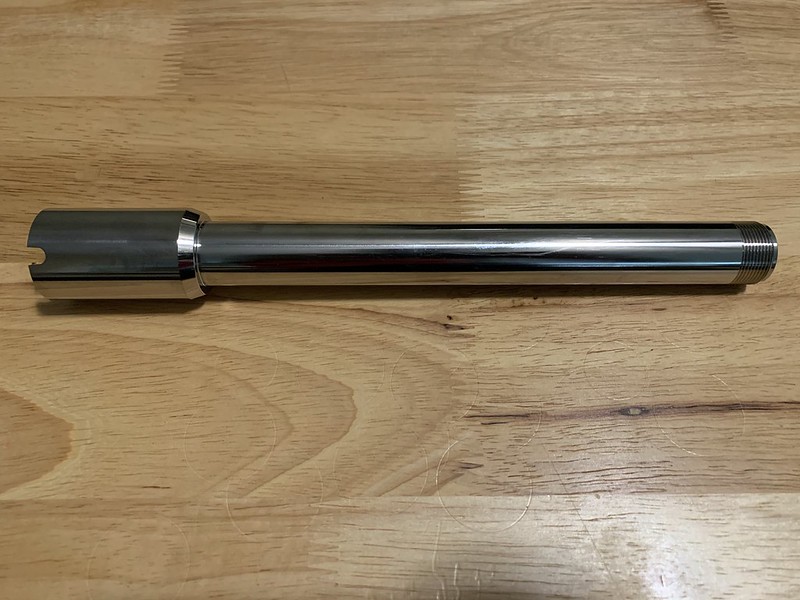
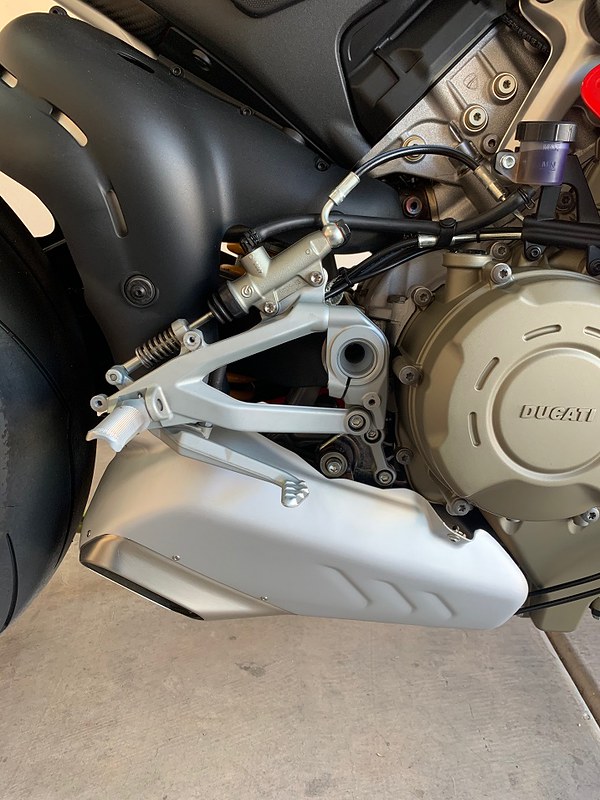
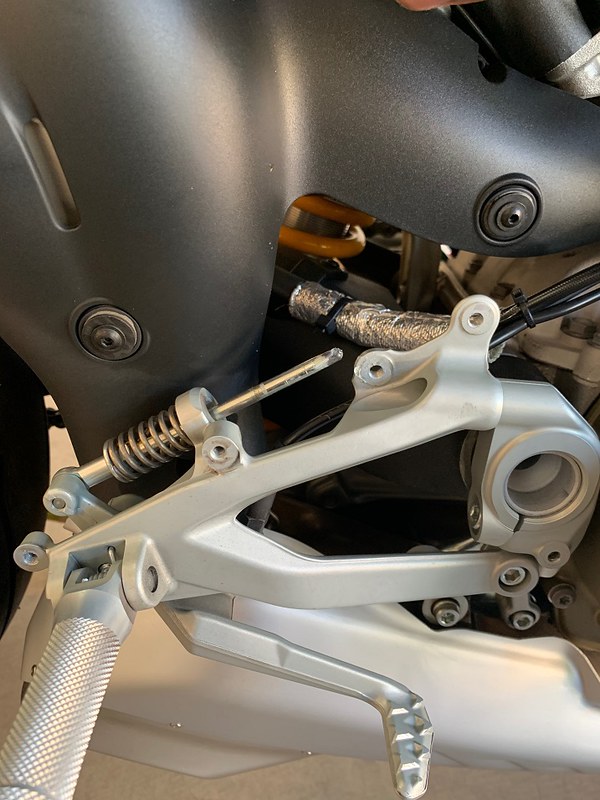
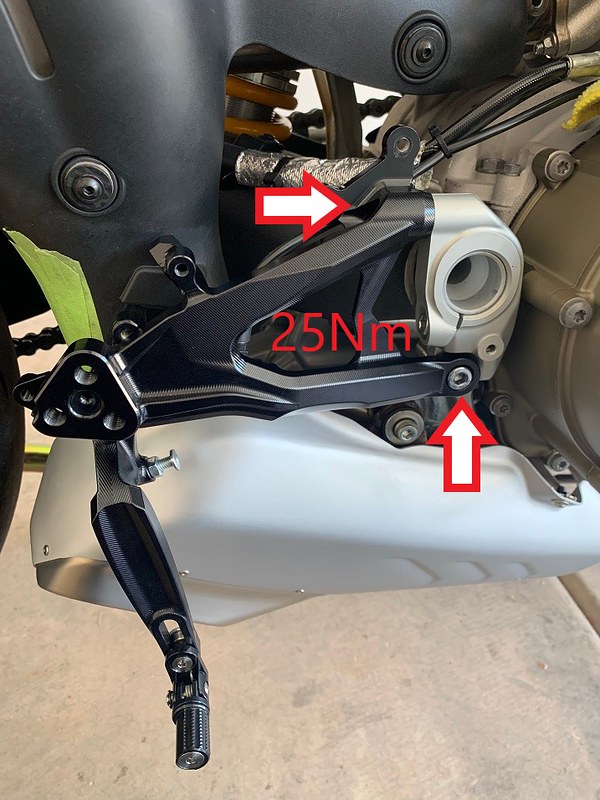
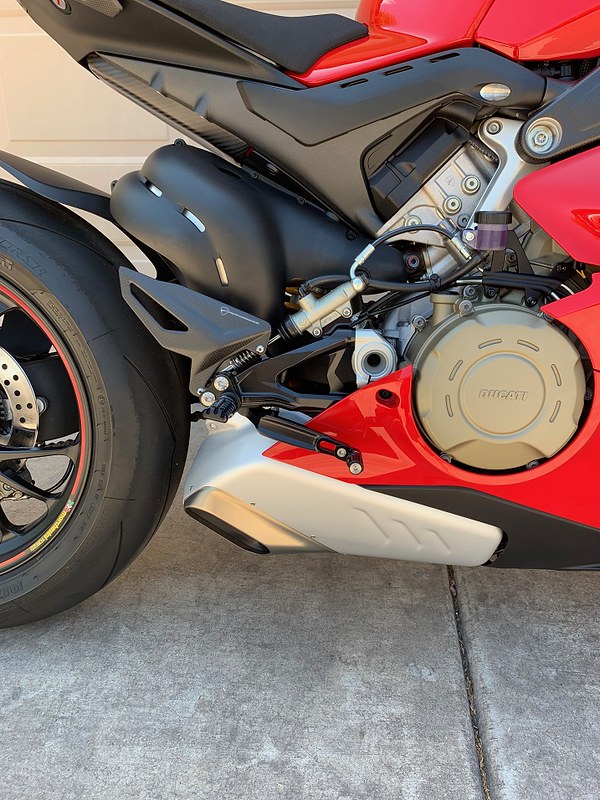
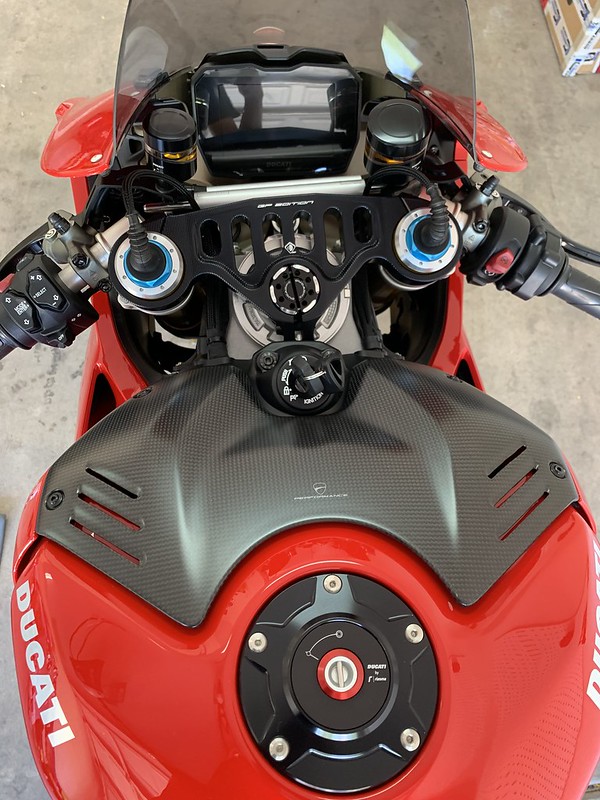
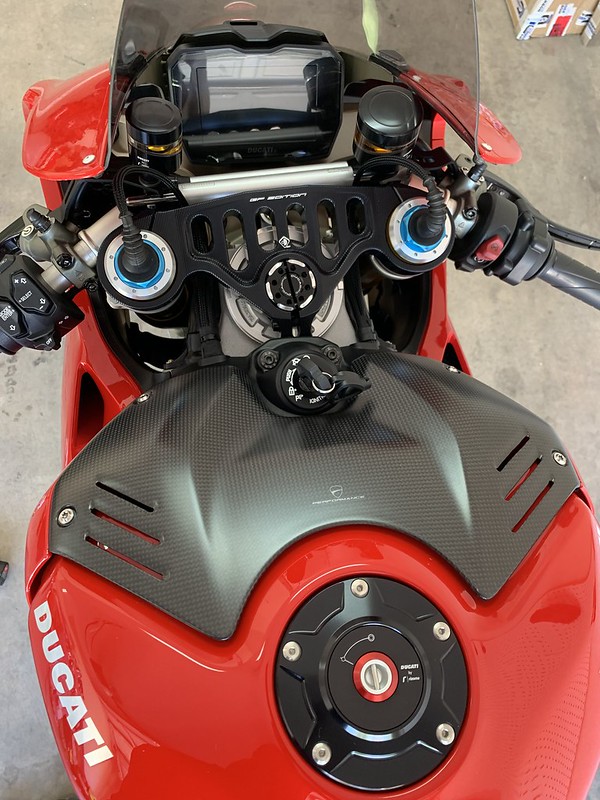
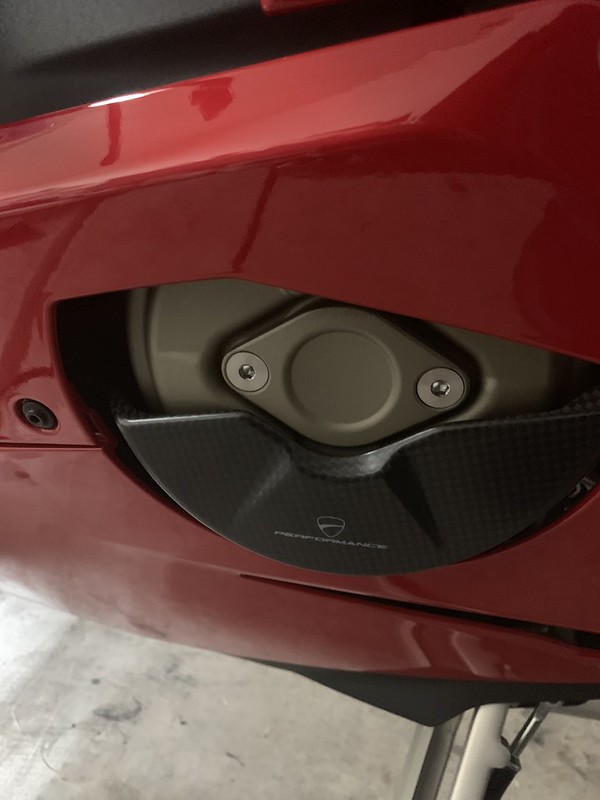
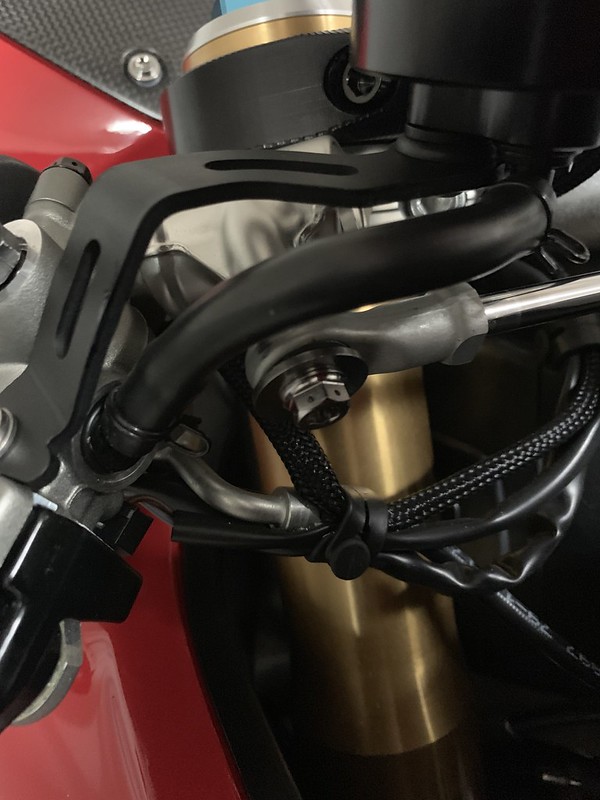
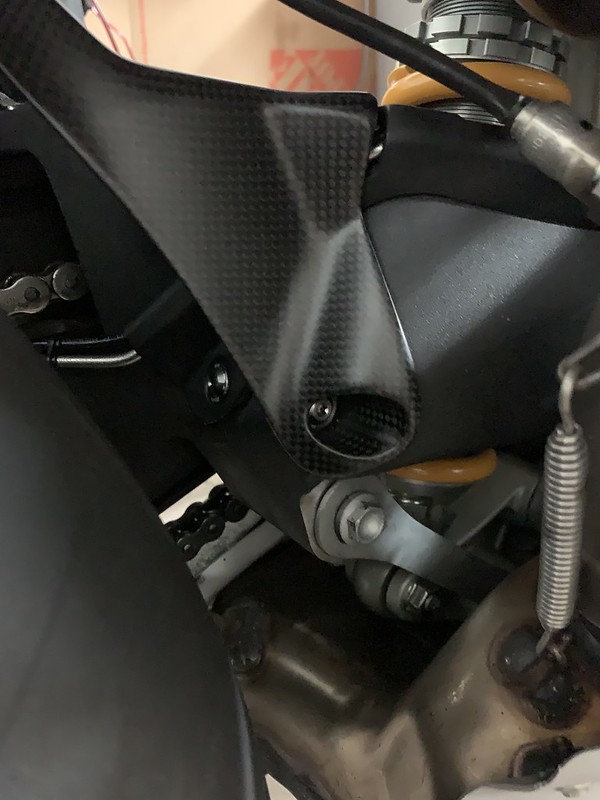
After removing the lowers and the heel guards you should have this.
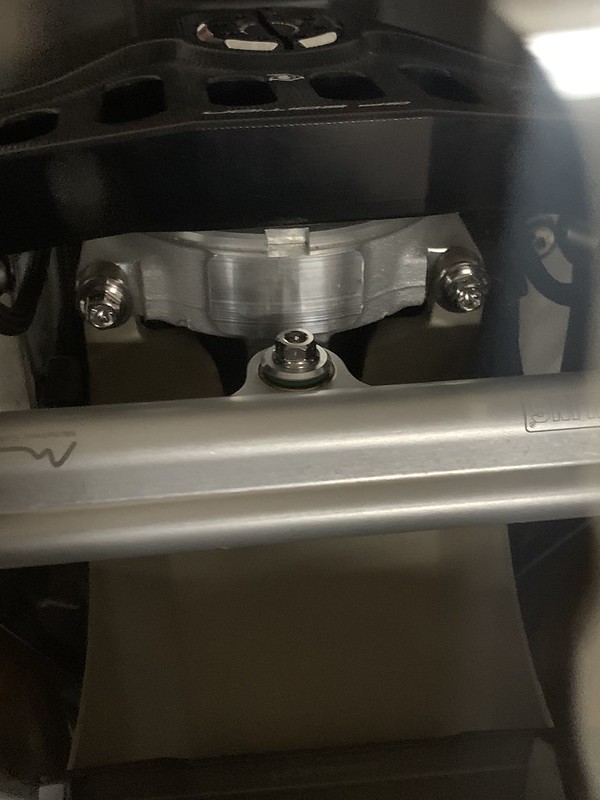
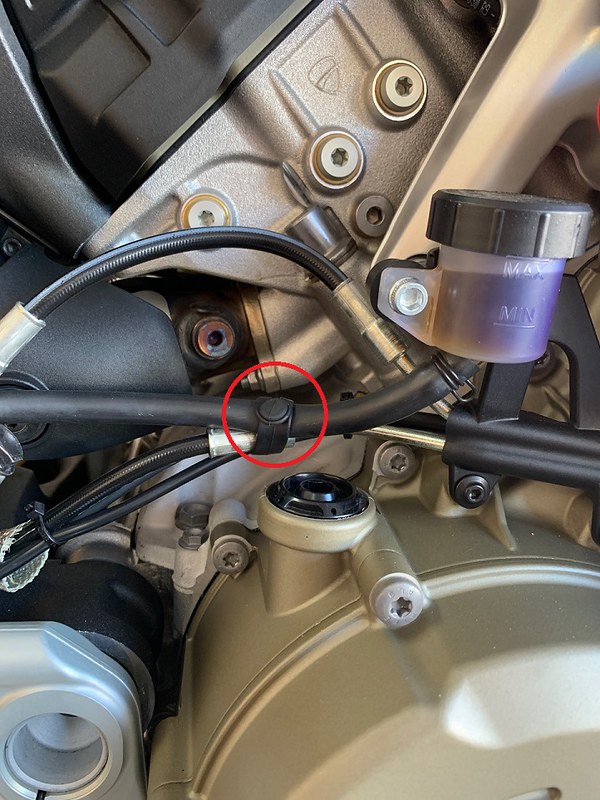
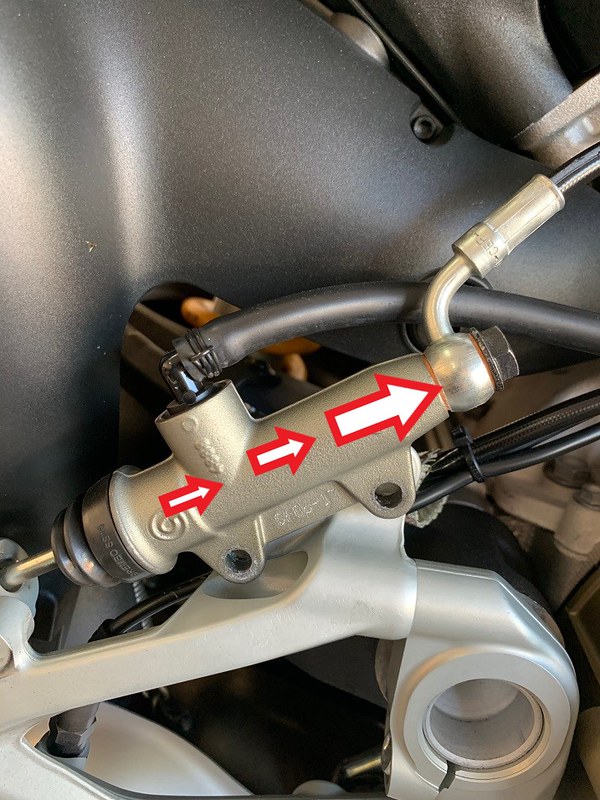
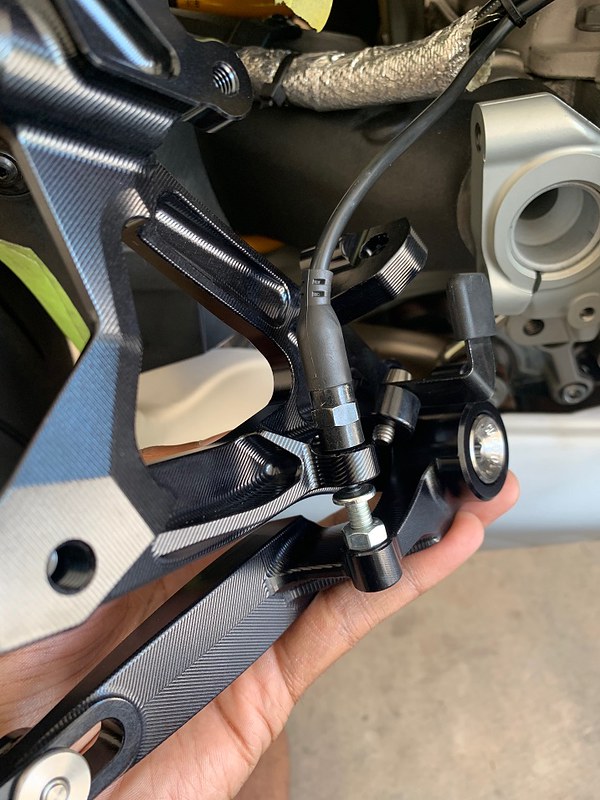
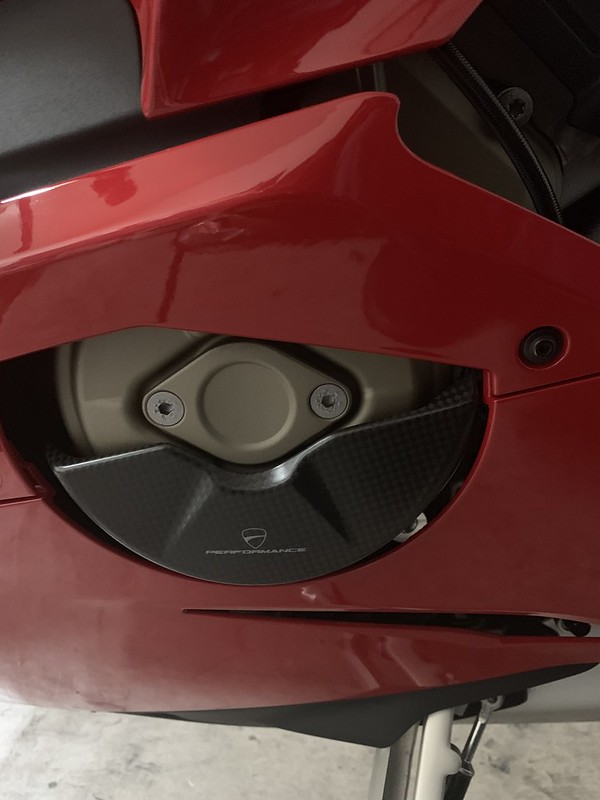
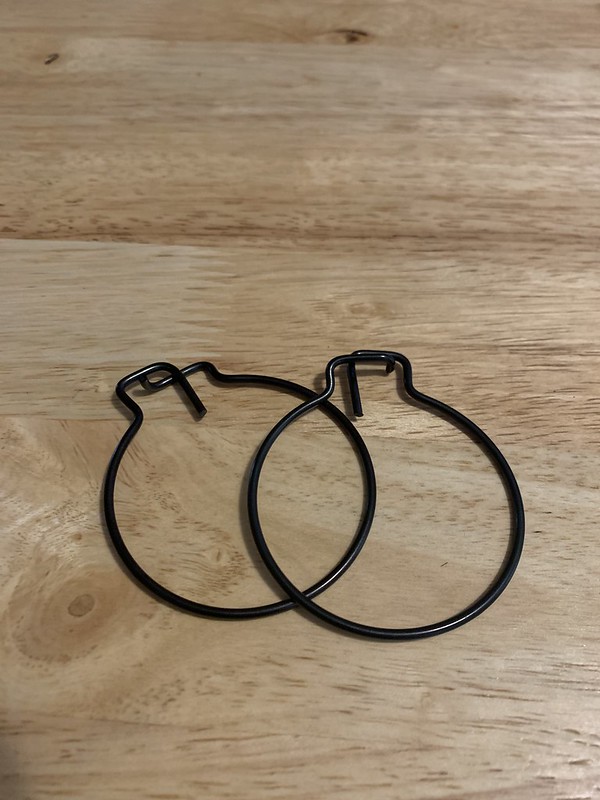
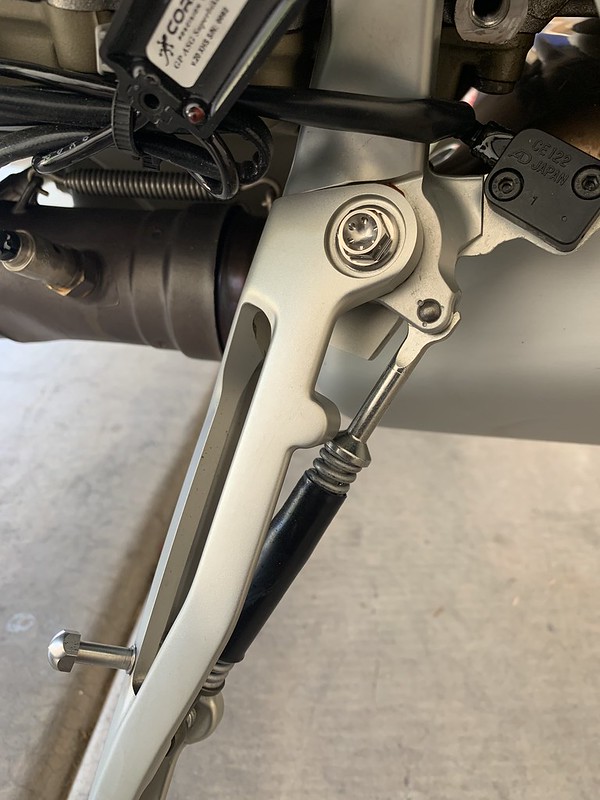
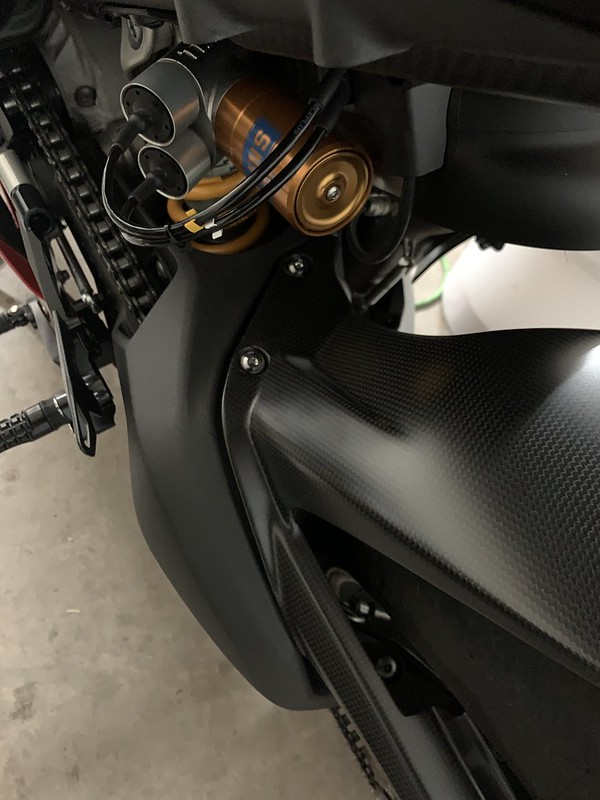
Remove this rubber tie
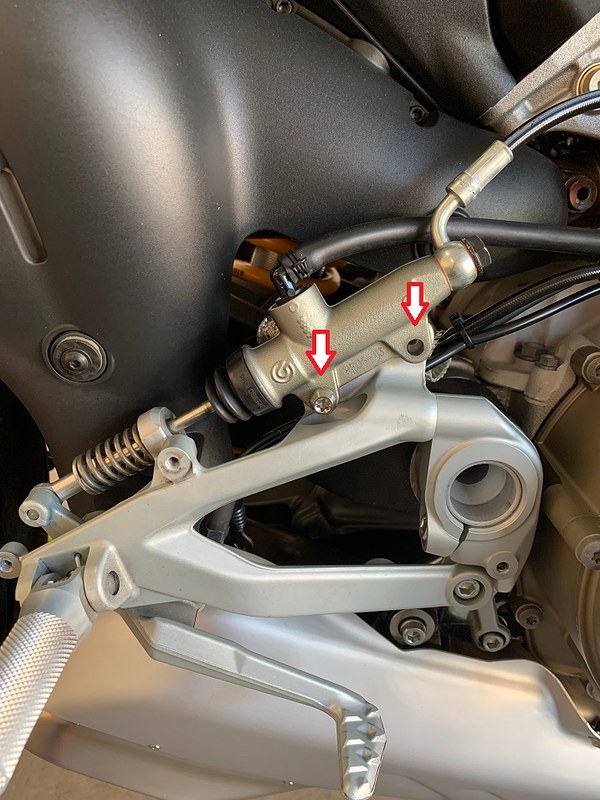
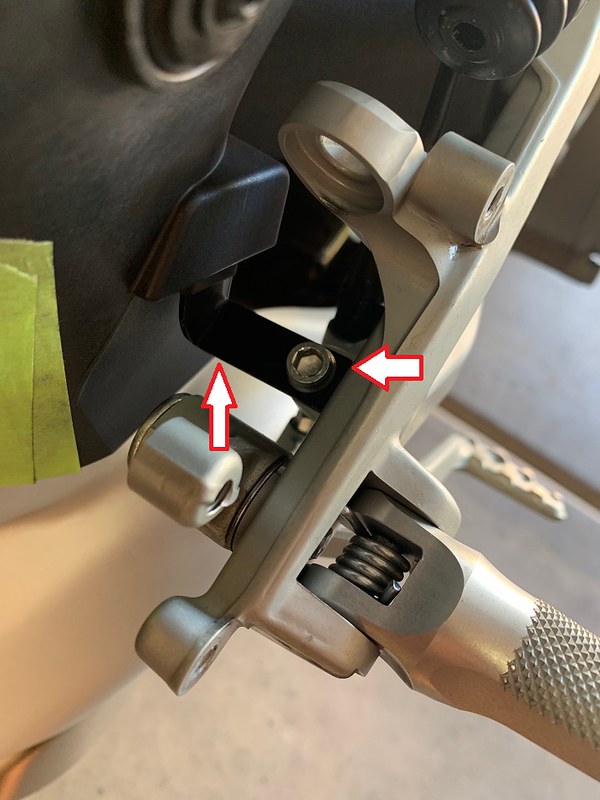
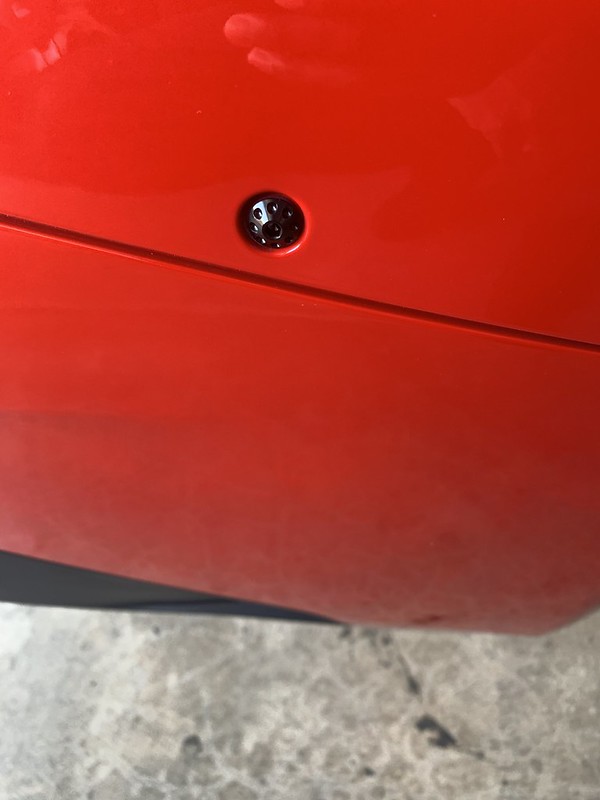
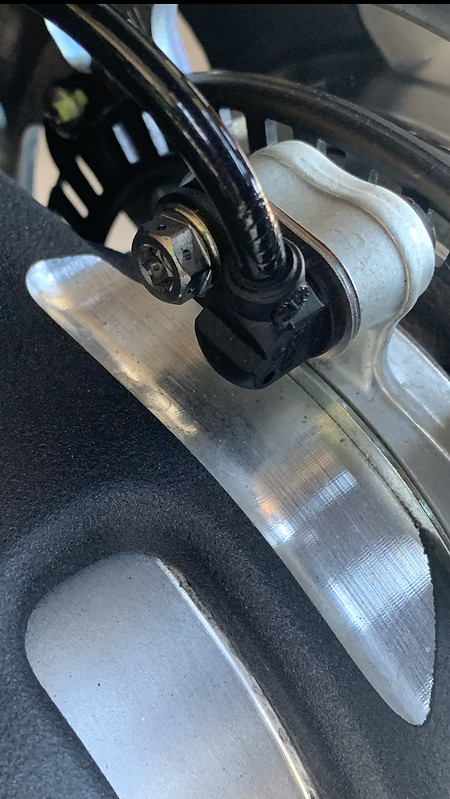
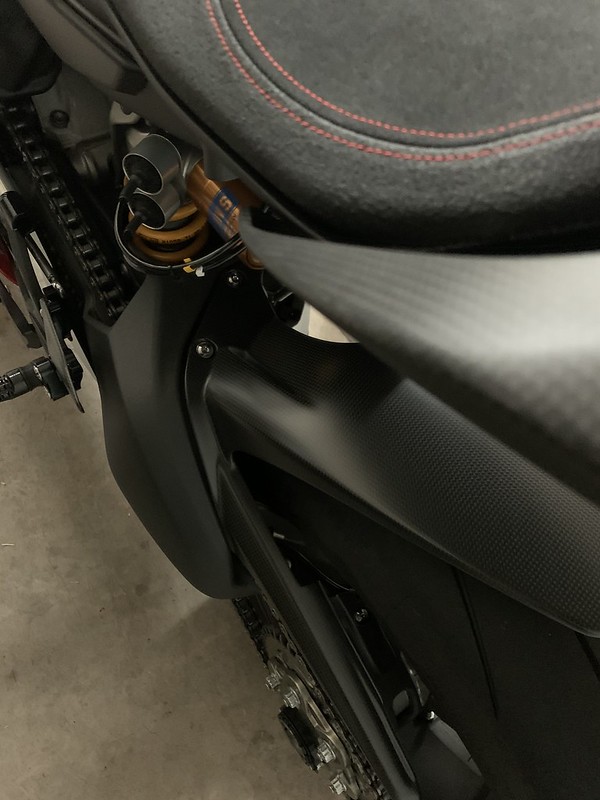
Remove this two bolts
I think the controls are the most important part on the motorcycle so rearsets were the next mod for me. I don't like the folding pegs on the factory ones also they aren't nearly as precise. I had some "must haves" on the new rearsets they were the following:
1. Uses bearings
2. Uses factory brake light switch
3. Doesn't have the grid style adjustments
4. Compatible with DP Carbon heel guards
5. All Black yes Im a poser lol
So that's how I ended up with these. GiaMoto V4 Rearsets
The shifter side is very simple and straight forward so I only took pictures of the brake side because its a bit more involved. Now on the the install.
Tools needed
3mm Allen
4mm Allen
5mm Allen
6mm Allen
10mm open ended wrench "cresent wrench"
11mm open ended wrench "cresent wrench"
Torque wrench
What's in the box
I love that they included some of the design drawings adds a premium touch
You will have to do a bit of trimming to get the DP heel guards to fit perfect
I opted for the folding toe pieces
After removing the lowers and the heel guards you should have this.
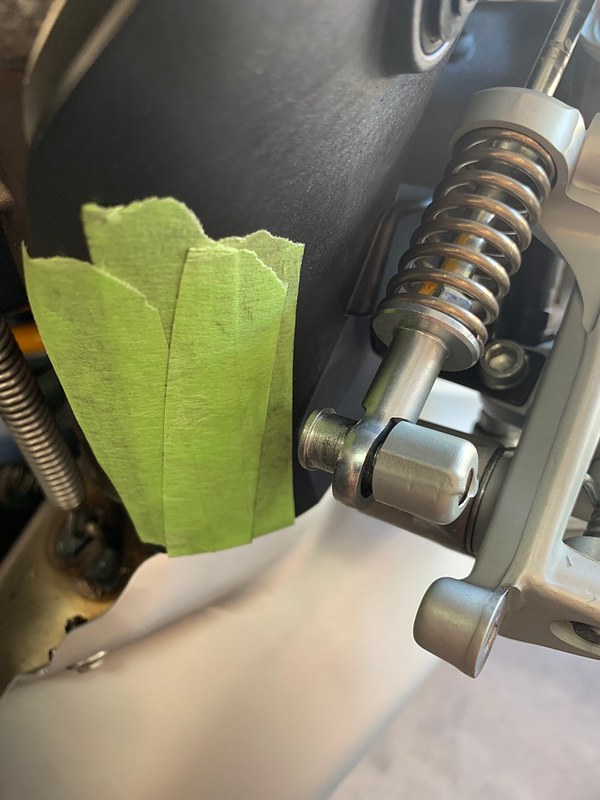
Remove this rubber tie
Remove this two bolts


")