DUCATI Panigale V4 25Β° Anniversario 916 BUILD Thread

BMW Alpina

FOUNDING Member & Administrator
Staff member
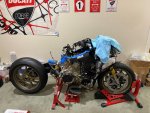
So the first "current" post is about... this 🏍:

IMG_8677.JPG

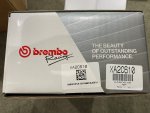
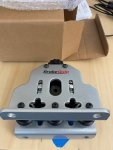
Brembo link: Rear Billet Brake Master Cylinder With Reservoir

Brembo RACING Rear Billet Brake Master Cylinder With Reservoir Product code: XA2.C6.10

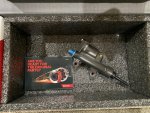
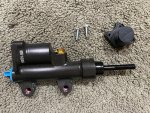
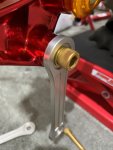
The reason why I choose this Rear Master Cylinder (eventhough it cost more than other Brembo RACING Rear Billet MC) was because, it has the opening on top of it's billet body that I can use to connect a brake reservoir.
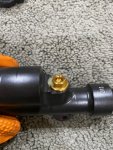
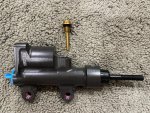
IMG_8682.JPGIMG_8683.JPG

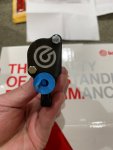
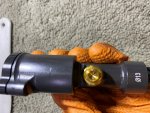
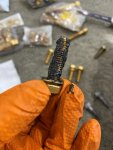
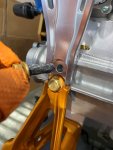
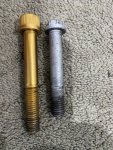
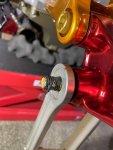
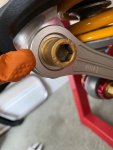
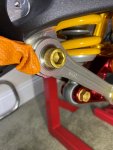
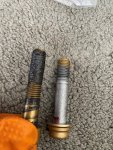
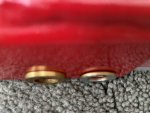
This is a BIG GAMBLE on my part though... I contacted motorquality, the main Brembo distributor in Italy, I also contacted Brembo USA and other Brembo authorized dealers in USA or in Europe (even in Asia), and none of them really knew what this gold bolt for.
All of them also told me that there is no way I can connect an outside brake reservoir to this MC.🀨

However, after taking careful looks at the shape of the master cylinder body, I was 95% confident that the holes that this bolts cover is located behind the main cylinder tube where the piston push the fluid to the caliper. Just like where in normal master cylinder, it is where you connect the rubber hose to the reservoir. And turn out I am CORRECT 🧐.
I check manually after I received it and "everything is going to be allright" πŸ˜‰

The other Brembo RACING master cylinders do not have this bolts/hole thus making them not compatible with outsider reservoir.
The question then, why I want an outside reservoir? Well because:
a. I don't want to remove the MC each time I need to fill the brake fluid due to the position of the MC on Panigale V4 rear sets.
b. I like the design and color of this specific master cylinder, very simple and classic
c. I also has invested a lot of time and customization effort to have a Ducati by Rizoma rear brake reservoir, I love the way it looks so I want to keep the reservoir

In the next few days, I will post more CUSTOMIZATION that I am making to this master cylinder, yes, that's right, even this MC will be MODIFIED :cool:.
More pictures below:
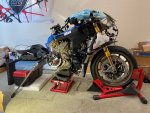
IMG_8679.JPGIMG_8680.JPG
IMG_8681.JPGIMG_8685.JPG
 

BMW Alpina

FOUNDING Member & Administrator
Staff member
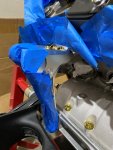
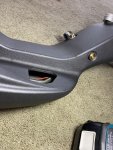
The Bonamici Dashboard Protector for Panigale V4 came with the Bonamici Racing Logo laser marked on it. Some of them also came with "V4" logo, however, I want to MODIFIED it :p.

It was already gold anodized, so the next step is to protect the gold anodized surface with blue painters tape and take it to a Laser Marking Shop. In just a few days, I pick it up and now
laser marked with DUCATI PERFORMANCE logo (y)
to make it look more OEM, like it came like that from Ducati Factory:
IMG_8704.JPGIMG_8705.JPG


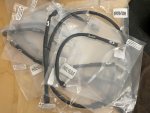
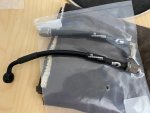
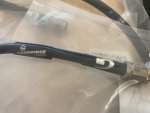
Also, the long awaited Goodridge 700 Series Aramid (Kevlar) braided hoses arrived from Goodridge HQ in Exeter, UK 😍

IMG_8707.JPGIMG_8709.JPG

IMG_8708.JPG

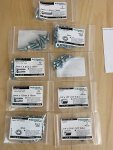
and last, just some steel bolts... why? well this is for some ground cables on the frames... since as I posted earlier, steel is still the much better electrical conductor compare to Titanium... as much as I want to replace every bolts with Titanium, however,
as an engineer, I still prioritize ENGINEERING Principal vs. ahem "passion" 😜

IMG_8656.JPGIMG_8657.JPG
 

BMW Alpina

FOUNDING Member & Administrator
Staff member
I finally received the correct and latest tools needed for the hard cooper brakeline project a few days ago from Earl's πŸ˜…. This tools is to "straightening" the cooper brake line since it came as a roll:
IMG_8767.JPG


Now, I want to update what I did last weekend, (and will still continue this weekend):

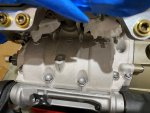
First, I had made up my mind that I will try to replace every possible bolts in my bike that can be replace with ProTi and also accessible without having to unbolted the engine from the frame, which mean I will replace the bolts that hold the rear of the crankcase:

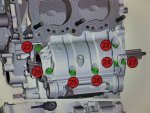
This is BEFORE picture and on the right side is the picture from user manual for the "Sequence" of the tonguing of the bolts:
IMG_8760.JPGIMG_8758.JPG

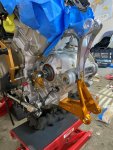
However, I did not realized that bolt #23 is an anomaly where the length is 40mm instead of 30mm like the bolt #24, #25, #26, and #28. (Bolt #27 is smaller size while #22 is NUT instead of bolt) so I bought the wrong length for bolt#23, but I am going to order the correct length soon. Oh, also, why do I need to install this bolt first before I install the rear suspension? Because bolt#25 is right behind the rear suspension upper bracket and won't be accessible with torque wrench once I install the upper suspension bracket.
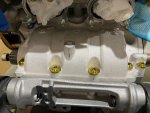
Below is the AFTER picture:
IMG_8763.JPG

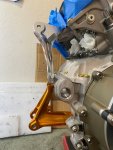
Then I carefully wrap the MotoCorse Upper Suspension Bracket with painters tape to reduce the chance of scratch and bolted it on (loosely):


IMG_8765.JPG

After that I remove the ABBA stand, and use the lower jack stand along with front choke stand to hold the bike. I also had my oldest son holding the steering of the bike to make sure it is stable, especially when I tightened the bolts. Luckily I have many tools from my previous car project so it really help πŸ˜…:
IMG_8768.JPGIMG_8770.JPG

IMG_8769.JPGIMG_8771.JPG

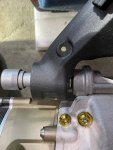
Right pictures is Swing Arm Bolts:
IMG_8772.JPGIMG_8773.JPG


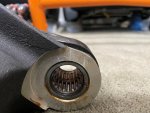
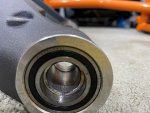
Left picture is the left side of the swing arm and it has needle bearings, the right picture is the right side of the swing arm, and it use roller bearing instead:
IMG_8774.JPGIMG_8775.JPG

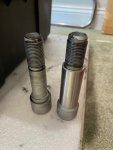
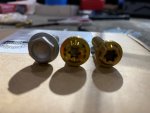
Now, below is comparison between original Ducati bolts for the top of the upper bracket vs. ProTi Titanium Bolts with 16mm head diameter and another ProTi Titanium Bolts with 14.5mm diameter. I end up choosing the 16mm diameter for the best force distribution πŸ€“:

IMG_8782.JPG

Don't forget Shell GADUS Grease:
IMG_8783.JPG

and just comparison between 14.5mm vs 16mm diameter head of ProTi Titanium Bolts:
IMG_8784.JPG

Now, that top 2 bolts only require 30Nm torque value while the other bolts use 35Nm torque value so I decided to use the highest Grade 12.9 Metric STEEL Alloy bolts instead of Titanium for extra strength,
but of course those Grade 12.9 Metric STEEL Alloy Bolts had been "MODIFIED" with Titanium Nitrate (TiN) Coating like the Ohlins forks... I mean this is DUCATI MODIFIED Forum after all 🀣

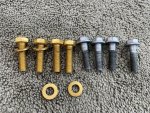
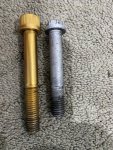
and here are the pictures between stock Ducati Bolts vs the Grade 12.9 Metric Steel Alloy bolts coated in GOLD TiN coating:
IMG_8780.JPG


Notice that even the WASHERS were also TiN coated... details details details 🧐:
IMG_8785.JPG

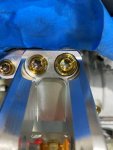
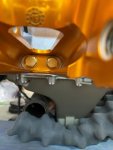
Install the bolts and also the Lower Bracket:
IMG_8786.JPG

And here they are:
IMG_8789.JPG
 

BMW Alpina

FOUNDING Member & Administrator
Staff member
IMG_8788.JPGIMG_8796.JPG


IMG_8801.JPGIMG_8803.JPG


One of the replacement larger bolts is too long compare to the original:
IMG_8806.JPGIMG_8806.JPG

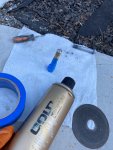
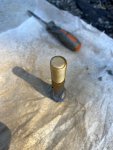
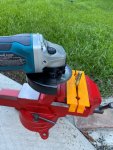
so I cut it with Grinder and then smooth it out with Dremel, then paint the expose non coated surface with gold paint:

IMG_8808.JPGIMG_8809.JPG
IMG_8810.JPG

By the way, long time ago I accidentally drop a plastic tube when I spraying one of the thread holes on the rear swing arm. At that time, I was so piss off but never though I would be able to take it out from the swing arm...
nobody will see it, but I just feel something is in there that does not belong there... well since this time I remove the swing arm, I decide to shake the swing arm until I can grab the plastic pipe out πŸ˜›:

IMG_8811.JPGIMG_8812.JPG

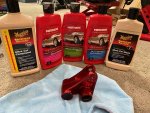
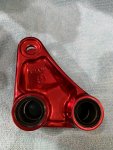
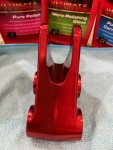
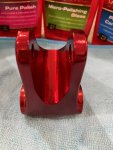
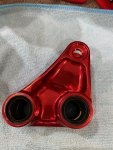
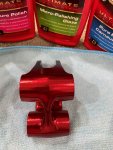
Next step install the lower triple link but before I do that, I polish it with the FIVE different compound/wax for the ULTIMATE Shine, I am sure @HKMP7 is proud of me 😁
and result speaks for it self:
IMG_8813.JPG IMG_8823.JPG

IMG_8819.JPGIMG_8820.JPG
IMG_8824.JPGIMG_8821.JPG

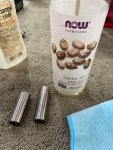
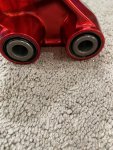
Then following Ducati Service Manual, I use CASTOR Oil (belong to my wife's for skin care) πŸ˜‡ and apply it on the two bushings then install it:
IMG_8829.JPGIMG_8830.JPG

Torque the bolt to 120Nm, yes that is correct, luckily my older son was holding the bike steering when I tightened this bolt, because it make the bike sway:
IMG_8833.JPG
 

BMW Alpina

FOUNDING Member & Administrator
Staff member
Notice that the bolt end now FLUSH after I cut it earlier:
IMG_8834.JPGIMG_8837.JPG

IMG_8835.JPGIMG_8836.JPG

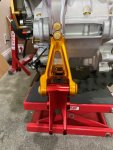
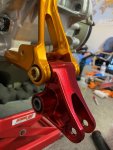
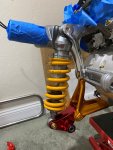
Then I made a mistake by installing the Ohlins Rear Shocks before installing the swing arm, but damn it looks good :love::

IMG_8838.JPGIMG_8840.JPG

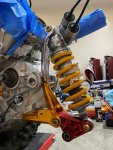
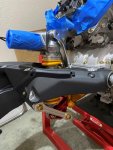
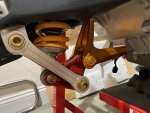
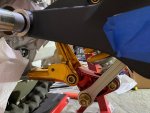
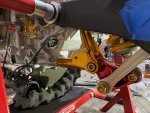
So I remove the Ohlins rear shock absorber again, install the swing arm then Install the Rear Ohlins Shock Absorber along with the shorter AELLA links:
IMG_8842.JPGIMG_8843.JPG

IMG_8844.JPGIMG_8846.JPG

IMG_8847.JPGIMG_8848.JPG

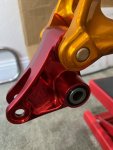
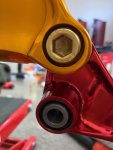
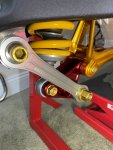
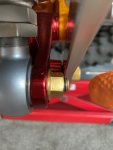
However, turn out, I made mistake again because I just realized the bolts that hold the AELLA links stick out too much because I put thick washer on both side, so next week, I am going to replace them with a very nice washer that came with the AELLA link kit, plus remove the washer on the nut side since the nut had built in washer. AT this moment, if the suspension compressed, the bolts on the link would hit the swing arm. so this weekend, I will make it right and even make it looks nicer with the washer from AELLA link kit. Somehow, I forgot that the AELLA link kit came with a super nice stainless Steel washer.
 

BMW Alpina

FOUNDING Member & Administrator
Staff member
Decided to do a little modification tonight 😁

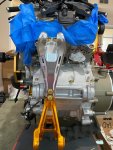
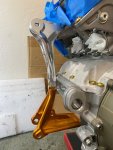
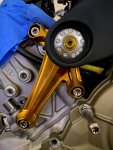
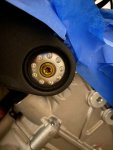
I replace the small M6 bolt holding the MotoCorse frame bolt cover from the regular socket hex stainless steel to ProTi Titanium Bolt in Gold to provide contrast and continuation to the large MotoCorse Engine Frame Bracket (also in gold) behind it:

IMG_8875.JPG
IMG_8874.JPG
 

PanigalePilot

FOUNDING Member & Moderator
Staff member
Notice that the bolt end now FLUSH after I cut it earlier:
View attachment 952View attachment 953

View attachment 954View attachment 955

Then I made a mistake by installing the Ohlins Rear Shocks before installing the swing arm, but damn it looks good :love::

View attachment 956View attachment 957

So I remove the Ohlins rear shock absorber again, install the swing arm then Install the Rear Ohlins Shock Absorber along with the shorter AELLA links:
View attachment 958View attachment 959

View attachment 960View attachment 961

View attachment 962View attachment 963

However, turn out, I made mistake again because I just realized the bolts that hold the AELLA links stick out too much because I put thick washer on both side, so next week, I am going to replace them with a very nice washer that came with the AELLA link kit, plus remove the washer on the nut side since the nut had built in washer. AT this moment, if the suspension compressed, the bolts on the link would hit the swing arm. so this weekend, I will make it right and even make it looks nicer with the washer from AELLA link kit. Somehow, I forgot that the AELLA link kit came with a super nice stainless Steel washer.
One of the great things about all your work is that you are learning so much about your bike
Great to see
 

BMW Alpina

FOUNDING Member & Administrator
Staff member
One of the great things about all your work is that you are learning so much about your bike
Great to see
Thanks PanigalePilot,
but the most things that my family and I learn (with a very steep learning curve) this past few weeks were how to build a Forum Website, Setting up Cloud Server at Google Cloud using Goggle Computing Engine, and Search Engine Optimization.
We don't know anything about those before, but we now understand more and more everyday. I really want to have my own business again someday, and the lesson learned here, is priceless to help us build our own business website someday :)
So, leaving that old crazy forum is actually a BLESSING in DISGUISE. 😌
 

BMW Alpina

FOUNDING Member & Administrator
Staff member
Weekend Update,:)

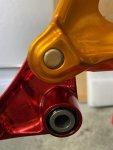
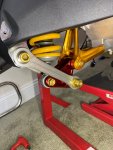
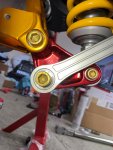
This is my mistake last week, notice that I did not put the AELLA washer on the left picture, and I fix it on the right picture
IMG_8889.JPGIMG_8903.JPG


Better picture of the nice Stainless Steel washer from AELLA:
IMG_8898.JPG

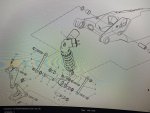
Also, based on this PDF document (Ducati Service Manual):
IMG_8888.JPG

The lower bolt Number 3 came in from the left side while the upper bolt Number 3 came from the right side...
The left picture shows wrong orientation where both bolts enter/came in from the right side. while right picture show correct orientation (the lower NUT is now on the right side):

IMG_8890.JPGIMG_8906.JPG


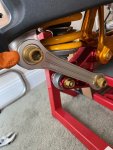
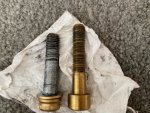
Next, left picture shows how the lower bolts that hold the rear Ohlins rear shock is too long and right picture show the length comparison. The right picture also shows how the original bolts have more "non thread" area which is the correct way since that area will come into contact with the bushing of the rear ohlins... so with a deep sadness, I am force to use the original Ducati bolts instead of the stronger Grade12.9 TiN coated bolt... but as a consolation, I paint the head of the original Ducati bolt in Gold so colorwise, they are still...well comparable 😜
IMG_8891.JPGIMG_8897.JPG


Now this longer bolt is for the TOP bolt that hold the UPPER mounting holes of the Ohlins Rear Shock:
IMG_8892.JPG

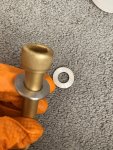
And this picture is a comparison of thickness from Ducati original washer (which I reuse now) vs. the too thick Bumax washer that I had to remove for clearance purpuses:
IMG_8893.JPG

I also replace the top bolts back to the original Ducati bolts since it has more "non threaded" surface needed to works smoother with the bushing:
IMG_8896.JPG

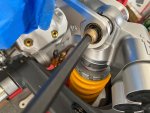
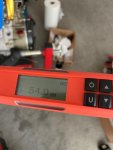
The Torque of this upper and lower bolts for the Ohlins were 54Nm:
IMG_8900.JPG

Ok, now to check the clearance and voila they have lots of clearance:
IMG_8902.JPGIMG_8901.JPG

More pictures, to show the proper AELLA stainless steel washer, left and right side, oh, this 2 bolts/nuts that hold the AELLA link needed to be tightened to 120Nm.
IMG_8904.JPGIMG_8905.JPG
 
Last edited:

BMW Alpina

FOUNDING Member & Administrator
Staff member
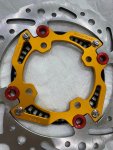
Then continue to installing REAR BrakeTech Rotor 😎:

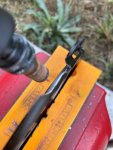
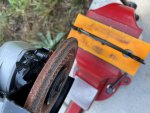
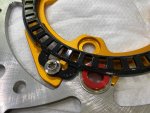
Last week, I cut the ABS sensor wheel with Grinder then finished it with Dremel. Ducati called them "PHONIC" wheel:
IMG_8852.JPGIMG_8853.JPG

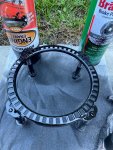
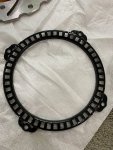
Then paint them with high temp SEMI Gloss Black paint and let them dry under the sun for 1 week and the final result on the right picture:
IMG_8854.JPGIMG_8909.JPG

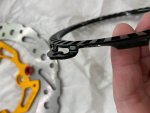
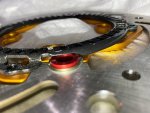
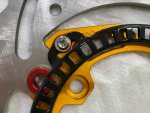
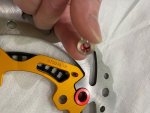
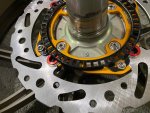
This is how the "cut" looks like that will allow the Red Locking Floating Pin of the BrakeTech fit under the "cut":
IMG_8908.JPGIMG_8912.JPG

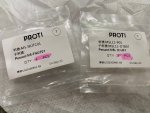
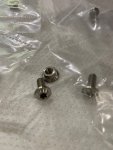
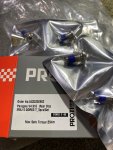
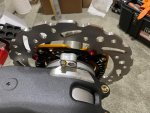
ProTi Titanium bolts and nuts that I will use to secure this "PHONIC" wheel to the BrakeTech rotor. I choose Titanium Silver color to contrast with the BLACK PHONIC Wheel and GOLD BrakeTech Carrier:
IMG_8910.JPGIMG_8911.JPG

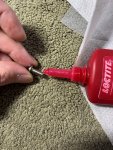
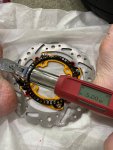
Use Loctite RED High Strength, Ducati recommends Loctite 270, I only have Loctite 271 and 262, and they are all compatible so decided to go with 262:
IMG_8913.JPG

Since my BrakeTech center carrier was reanodized gold, the thread was not as loose as before reanodizing, however, I decided to use the NUTS just to be more secure and tightened both the bolts and nuts to 10Nm.
Ok, so to be clear the BrakeTech Carrier holes already have thread so in theory you just need 4 bolts without Nuts, but I want to be sure:

IMG_8914.JPGIMG_8915.JPG

IMG_8916.JPG

Installing the ProTi Titanium Nuts now, with Loctite of course:
IMG_8917.JPGIMG_8918.JPG

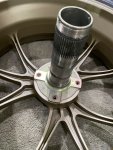
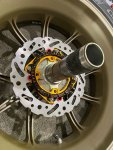
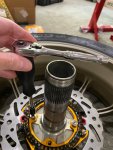
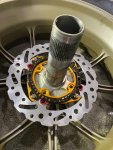
Then I install the rotor assy to the rear axle... but instead of using vise grip to hold the rear axle, I decided to just bolted it to the wheel:
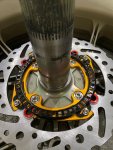
IMG_8919.JPGIMG_8920.JPG

Test Fit:
IMG_8921.JPGIMG_8922.JPG

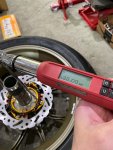
Use Loctite 262 High Strength and Tightened to 25Nm. ProTi Titanium Bolts for the rear rotor already came with the dry blue Loctite, but I add Loctite 262 anyway to be sure πŸ‘Š:
IMG_8924.JPGIMG_8924.JPG
 

BMW Alpina

FOUNDING Member & Administrator
Staff member
Absolutely fantastic :cool:
Thanks HKMP7,
but at this moment, I am really pissed of myself for getting old and forgetful...
you see, I forgot where did I put the spacer between the rear sprocket and the hub...
In fact I even forgot how it looks like...
I am in the process of installing my Sitta quick change rear sprocket earlier this evening and I just spent like 3 hours going over all the boxes and still cannot find it...
It's tough getting old... πŸ§™β€β™‚οΈ
 

Brock

Forum VENDOR & PROFESSIONAL Builder
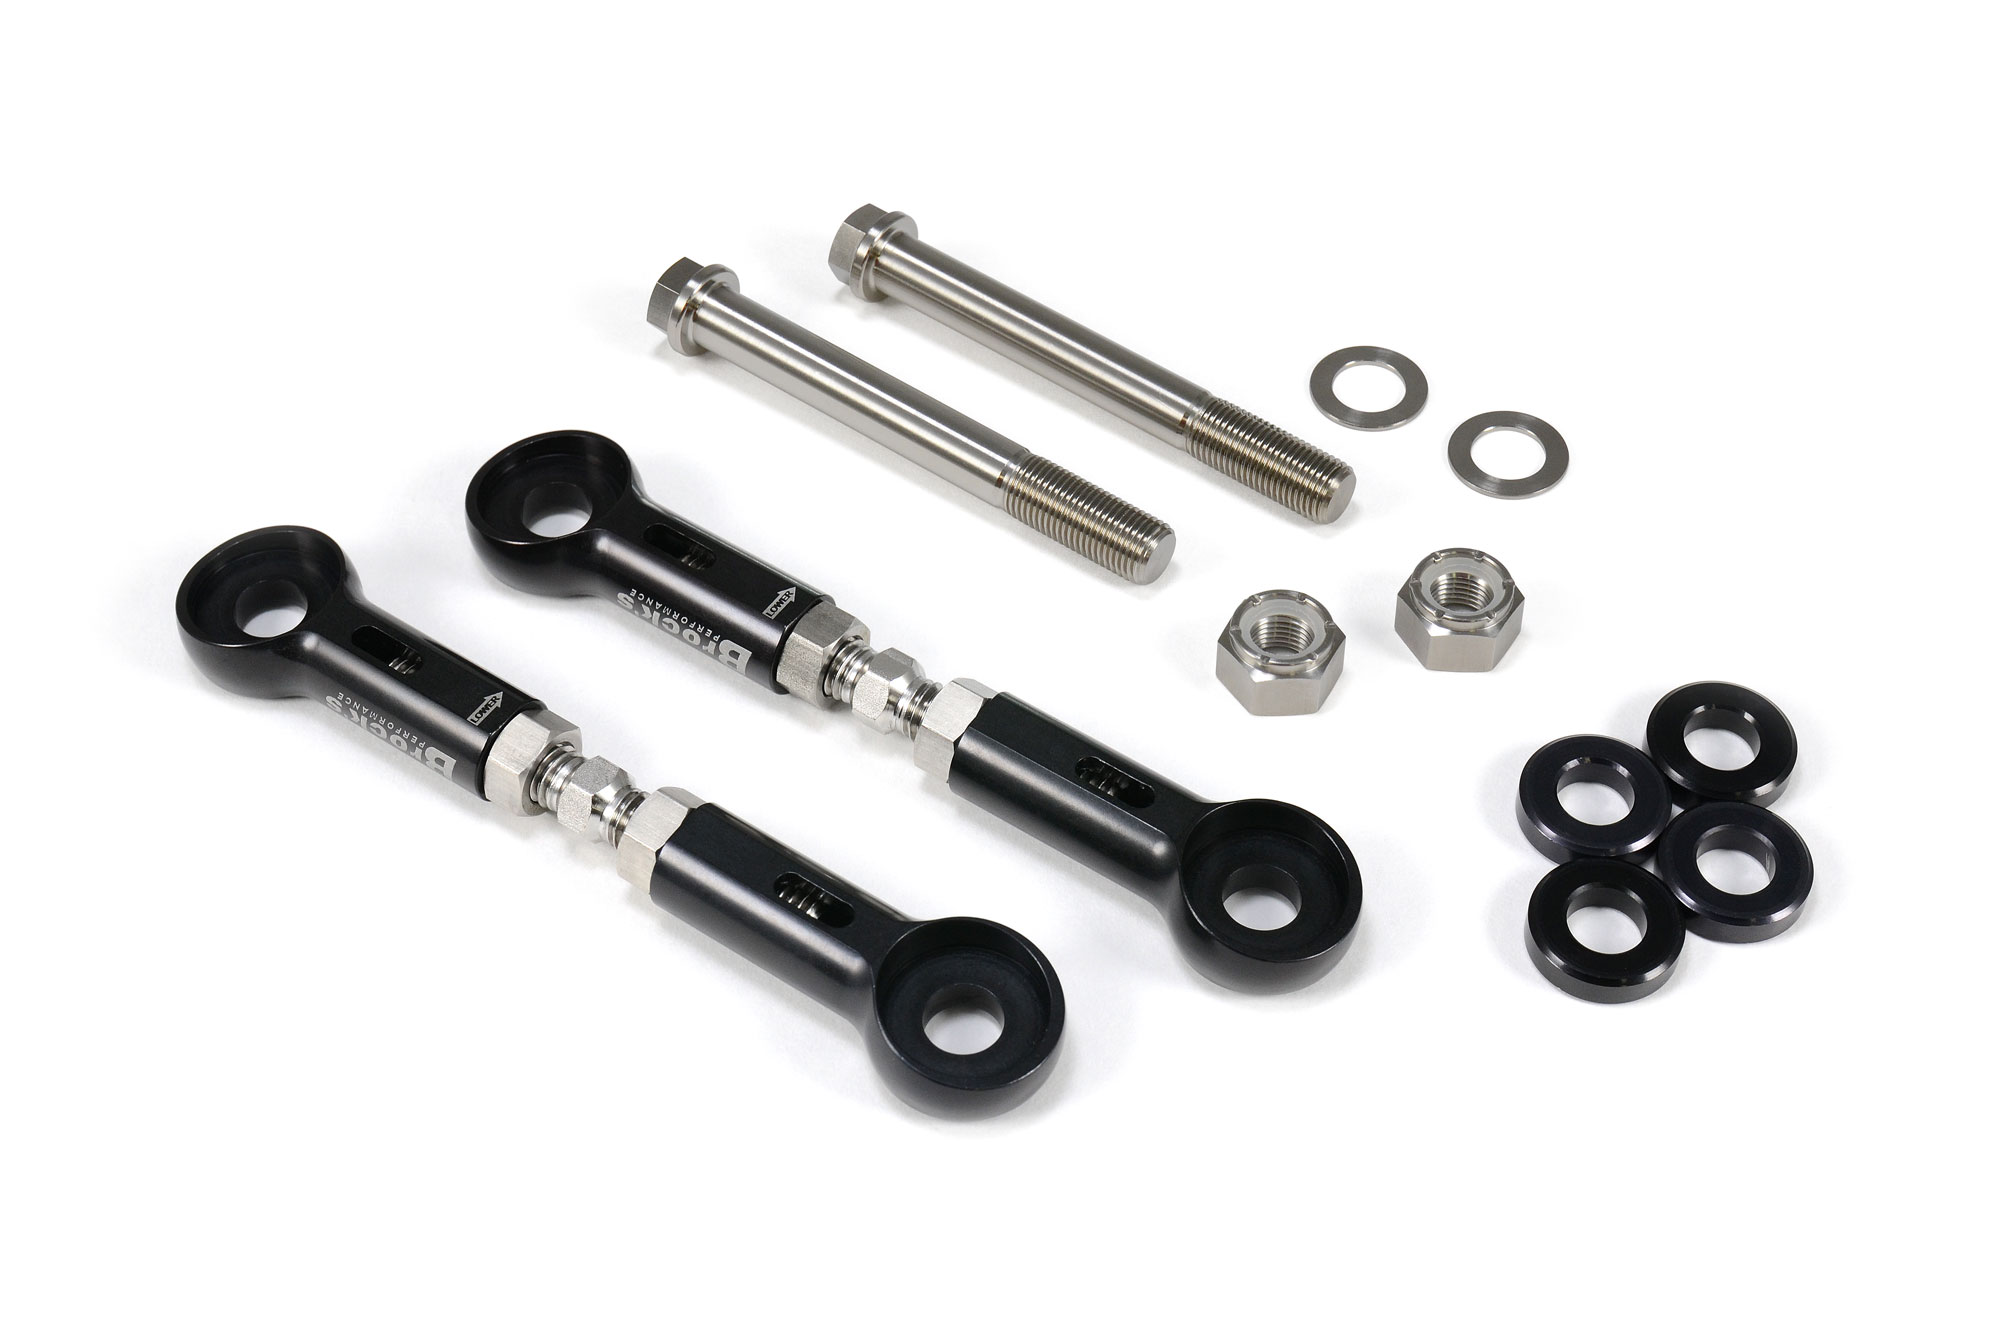
If anyone here interested in LOWERING rear suspension height of your bike for any reason,

I noticed a picture on Instagram, so I contacted Brocks Performance.
The adjustable link on that picture wa a slightly modified (material removal) of the Brock's Performance lowering kit for Hayabusa: Window Link Kit Adjustable Hayabusa (99-20)
This kit will also need longer bolts.
However, Brock's Performance just told me that they will have a solution specific for our Panigale V4 available in about 2 weeks from that day.
I was excited because my current AELLA lowering link is NOT adjustable. However, then I realized, that the Instagram picture below shows a Panigale V4 with the optional Akrapovic full race/slip on system.
That is why it is easy to reach the adjustment bolts.
On my bike with the type approved Akrapovic (shape like stock silencer), the link would be half covered by the silencer,
meaning if I want to adjust the right height, I will have to remove the silencer (and we all know that is not the easiest thing to do with our bike).
So I think I will just have to be happy with my NON Adjustable AELLA lowering link, but I thought I should share about this product in case anyone here interested in lowering their bike.

Brock's Performance also informed me that they are also working on possible solution to RAISED the bike. Just contact them directly, they are very fast in responding to your inquiry.

And here is their solution for Panigale V4 (to lower the bike) ready to purchase at their website:
Lowering Links

They even offer a version with Titanium Bolts/Hardware:
Window Link Kit Adjustable Panigale V4 / S / Speciale (18-20) w/ Titanium Bolts

BTW, the post on Instagram was of a customer modified link whey he removed material to gain clearance. Our links, shown above use spacers and longer bolts to eliminate the need to remove material, for a 100% drop-in.

Brock
 

BMW Alpina

FOUNDING Member & Administrator
Staff member
BTW, the post on Instagram was of a customer modified link whey he removed material to gain clearance. Our links, shown above use spacers and longer bolts to eliminate the need to remove material, for a 100% drop-in.

Brock
Hello Brock,
Thank You so much for joining our forum and representing Brock's Performance. :)
I am sure you and/or your customers must have some amazing Ducati build. We would love to see those builds and learn from it. (y)
Thanks again
 

BMW Alpina

FOUNDING Member & Administrator
Staff member
Late last night, I decided to look for the missing spacer one more time and i found it hidden under the paper packaging material inside the AEM-Factory D-SEI V4 Sprocket Carrier Flange box, what a relief πŸ˜… :

IMG_8958.JPG

Ok so here are the steps:

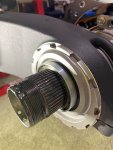
Apply Shell Gadus grease on the rear axle, then insert it into the hub:
IMG_8930.JPGIMG_8933.JPG
IMG_8934.JPG


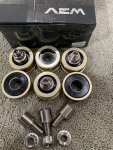
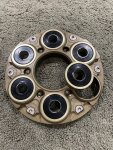
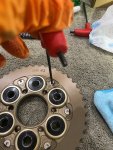
Now since my Rear Sprocket Setup was a MODIFIED of a MODIFIED of a MODIFIED parts, that means, I need to buy another special tools just to be able to install the MotoCorse 12 points TITANIUM bolts onto AEM-Factory Cush Drive TITANIUM STUDS.

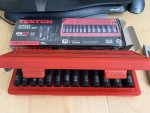
Ok, so a few months ago, I bought this tool from Tekton thinking I will still be using Ducati Sprocket Carrier so I can open the 12 points stock Ducati bolts:
IMG_6961.JPG

But this Tekton 12points socket tools only work if I am using the stock Ducati Cush Drives since the stock Ducati Cush Drives can be hold by a Allen Wrench from behind while you tightened the bolts.

The AEM-Factory Studs/Rubber Dumper kit don't have that on the rear side, but they have to be hold from the same side (front side) as the bolts :confused::
IMG_7010.JPG

The picture above is with TITANIUM Bolts but from AEM-Factory that came with the kit, but I upgrade it with MotoCorse much nicer looking (still 12points) TITANIUM bolts, picture below :cool::
IMG_0020.JPG


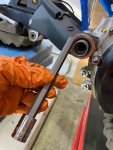
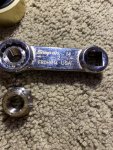
Which means I need to buy a tools that can have open ring wrench like, with slight offset so it won't scratch the AEM-Factory D-SEI V4 sprocket carrier flange surface when I tightened the MotoCorse Titanium Bolts.
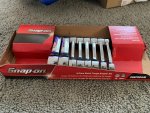
I search for many days and finally find a PERFECT tools, unfortunately only available from SNAP-ON with a very fancy name (8-Piece METRIC TORQUE ADAPTOR SET) which also means "PREMIUM" Pricing as usual πŸ€‘:
IMG_8979.JPG

And here is how I did it:
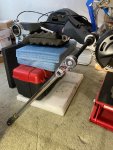
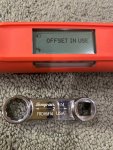
First set the OFFSET on my SNAP-ON Torque Wrench to "compensate" for the extra length of the SNAP-ON Metric Torque Adaptor Set, in this case 2 inches as indicated (lasermarked) on the tool itself (fancy right) πŸ€“:
IMG_8935.JPG

Fit the MotoCorse Titanium bolts perfectly:
IMG_8936.JPG

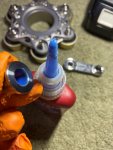
Don't forget MEDIUM Loctite on this one:
IMG_8937.JPG

Time to action:
IMG_8938.JPGIMG_8939.JPG

And voila πŸ˜ƒ, I am done with the last of the 6 bolts:
IMG_8940.JPG

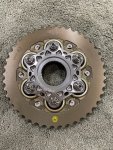
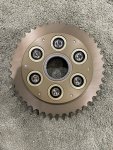
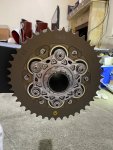
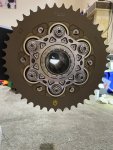
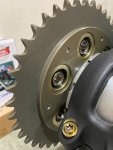
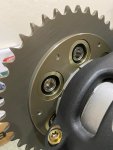
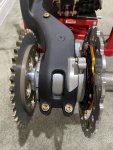
Now time to install the SITTA Quick Sprocket Changer and LOCK It:
IMG_8942.JPGIMG_8943.JPG


FRONT Sid and BACK Side, the Color GRADATION is exactly how I imagine it would be 😜:
IMG_8944.JPGIMG_8945.JPG

Install that previously missing spacer on the axle:
IMG_8959.JPG
 

BMW Alpina

FOUNDING Member & Administrator
Staff member
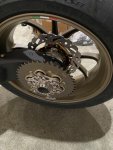
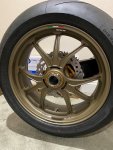
and Install everything on the rear axle 😊:

Hello GORGEOUS 😍
IMG_8964.JPGIMG_8967.JPG


Still SEXY even from BEHIND 😜:

IMG_8972.JPGIMG_8973.JPG

IMG_8974.JPGIMG_8976.JPG


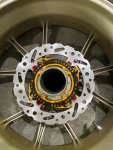
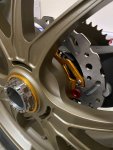
Rear BrakeTech Rotor PEEKING from between the legs πŸ€ͺ, ups I mean from between the spokes of the Marchesini Forged Magnesium Wheel 😘:

IMG_8975.JPGIMG_8978.JPG

My bike starting to look like a bike again, I am very H - A - P - P -Y 😁:
IMG_8977.JPG
 

BMW Alpina

FOUNDING Member & Administrator
Staff member
That whole sprocket/carrier/hub/disc/everything on the swing arm set-up sure is pretty!
Thanks so much Lucati,
I still have a few more "jewelry" for this rear wheel/swing arm area 😜, in fact, now I feel, the front wheel area is really jealous, I need to be more fair soon πŸ˜„
 
Top