DUCATI Panigale V4 25° Anniversario 916 BUILD Thread

BMW Alpina

FOUNDING Member & Administrator
Staff member
Replacing more bolts with ProTi Titanium Bolts:

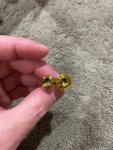
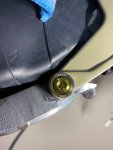
First, I replace the bolts that hold the secondary air cover on the rear cylinder head, and this is comparison between stock bolt on the left and ProTi Titanium bolt (gold color) on the right:
IMG_9176.JPG

I also replace the main 4 large bolts that hold the cylinder head itself with ProTi Titanium Bolt in silver color to better blend with the Magnesium color cover.
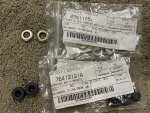
I need to purchase 2 Ducati parts since the ProTi bolt had different rubber. The 2 Ducati parts were the washer and the rubber bushing/seal:
IMG_9188.JPG


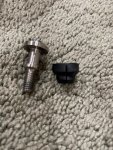
Left is the original Ducati bolt assy, center is ProTi bolt assy, right is the rubber bushing and washer :
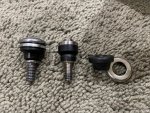
IMG_9181.JPG

I cut the ProTi rubber bushing out:
IMG_9182.JPG
Then I install the Ducati rubber bushing/washer. The rubber grease is needed to be applied to the rubber bushing, so the rubber bushing can be inserted into the ProTi bolts easily.
Then apply more rubber grease to the outside surface of the rubber so it can be inserted into the cylinder head smoothly:
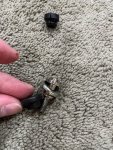
IMG_9183.JPGIMG_9184.JPG


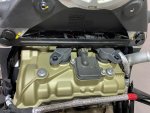
This picture show the left 2 bolts were still the original Ducati cylinder head cover bolts and the right 2 bolts already use ProTi Cylinder Head Cover Titanium Bolts
IMG_9187.JPG

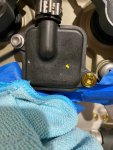
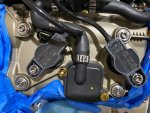
and picture below shows every bolts had been replaced with ProTi Titanium Bolts. Notice the COILS also have ProTi Titanium Bolts:
IMG_9189.JPG


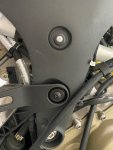
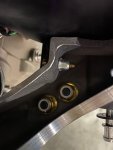
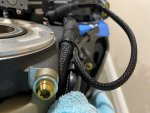
Then, I replace the front magnesium subframe upper ProTi Titanium Bolts with ProTi Titanium Bolts that have larger diameter head to make it looks much better.
This is BEFORE picture:
IMG_9174.JPG

Bolt head diameter comparison:
IMG_9173.JPG

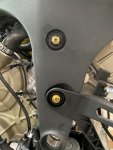
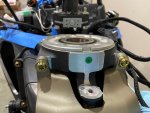
And AFTER picture, notice how the larger head diameter make it looks much better:
IMG_9175.JPG

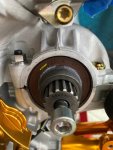
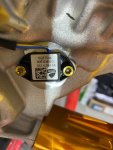
Then I replace the gear position sensor bolts with ProTi Titanium Bolts:
IMG_9168.JPG

Last, I replace the Knock Sensor bolts with ProTi Titanium Bolts. This is the original bolts:
IMG_9169.JPG

And the ProTi replacement installed. This bolts were below the throttle body/airbox assy so it is not visible, but I just want to replace them since I am committed to replace every bolts (possible) with Titanium equivalent:
IMG_9170.JPGIMG_9171.JPG
 

PanigalePilot

FOUNDING Member & Moderator
Staff member
I weigh the stock horn, wow it is very heavy, half the weight of the upper triple clamp !!! 😱:
Without bracket and with steel original bracket:
View attachment 1384View attachment 1385

However, if I stack/sandwich 2 stack of carbon fiber plate together as bracket, the nut on the horn will not have enough thread to bite,.. so again, I decided to just accept the fact that the original Ducati solution was and still the best solution 😌
So I will stick with the original steel bracket, and no carbon fiber bracket. Time to install the steel bracket and horn back to the lower triple clamp, with the ProTi Titanium Bolt and Nut, use loctite medium and 18Nm torque for the large M8 bolts.
I did not torque the M6 ProTi nuts to the horn since I will need to remove the horn again when I install my front brake line.

View attachment 1386View attachment 1387

Then I decided to test fit the MotoCorse front steering hub cover, I must say, it's worth the wait and worth the extra effort to GOLD anodized it 😍😘🥰:

View attachment 1388View attachment 1389
BMWAlpina you are really getting to know your bike. One trick I have found (and I learned by experience) is that when you remove the upper triple clamp, if you remove the wheel it takes weight off the forks and then there is less tension on the upper triple clamp. Some gentle taps and it will come off. Badluck the horn experiment did not work out. However seeing as your aim is not to reduce weight over appearance etc then I think you did the best thing. Sometimes things work sometimes not. That has happened to me a few times. I will post about one experiment that failed later in my "back in time mods on the 1199S". Nothing more fun than playing around with motorcycles on a weekend.
 

PanigalePilot

FOUNDING Member & Moderator
Staff member
Replacing more bolts with ProTi Titanium Bolts:

First, I replace the bolts that hold the secondary air cover on the rear cylinder head, and this is comparison between stock bolt on the left and ProTi Titanium bolt (gold color) on the right:
View attachment 1390

I also replace the main 4 large bolts that hold the cylinder head itself with ProTi Titanium Bolt in silver color to better blend with the Magnesium color cover.
I need to purchase 2 Ducati parts since the ProTi bolt had different rubber. The 2 Ducati parts were the washer and the rubber bushing/seal:
View attachment 1391


Left is the original Ducati bolt assy, center is ProTi bolt assy, right is the rubber bushing and washer :
View attachment 1392

I cut the ProTi rubber bushing out:
View attachment 1393
Then I install the Ducati rubber bushing/washer. The rubber grease is needed to be applied to the rubber bushing, so the rubber bushing can be inserted into the ProTi bolts easily.
Then apply more rubber grease to the outside surface of the rubber so it can be inserted into the cylinder head smoothly:
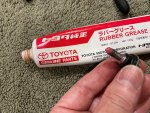
View attachment 1395View attachment 1394


This picture show the left 2 bolts were still the original Ducati cylinder head cover bolts and the right 2 bolts already use ProTi Cylinder Head Cover Titanium Bolts
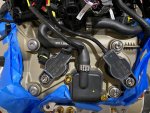
View attachment 1396

and picture below shows every bolts had been replaced with ProTi Titanium Bolts. Notice the COILS also have ProTi Titanium Bolts:
View attachment 1397


Then, I replace the front magnesium subframe upper ProTi Titanium Bolts with ProTi Titanium Bolts that have larger diameter head to make it looks much better.
This is BEFORE picture:
View attachment 1398

Bolt head diameter comparison:
View attachment 1399

And AFTER picture, notice how the larger head diameter make it looks much better:
View attachment 1400

Then I replace the gear position sensor bolts with ProTi Titanium Bolts:
View attachment 1401

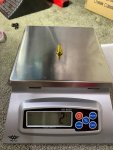
Last, I replace the Knock Sensor bolts with ProTi Titanium Bolts. This is the original bolts:
View attachment 1402

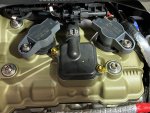
And the ProTi replacement installed. This bolts were below the throttle body/airbox assy so it is not visible, but I just want to replace them since I am committed to replace every bolts (possible) with Titanium equivalent:
View attachment 1403View attachment 1404
The replacements look great. You know I am going to have to do some of those too now. I have so many bits of Ti some of which I have forgotten what it was meant to replace. :unsure:

PS I really like the look of the Melotti upper triple. Will have to see about one.
 

BMW Alpina

FOUNDING Member & Administrator
Staff member
BMWAlpina you are really getting to know your bike. One trick I have found (and I learned by experience) is that when you remove the upper triple clamp, if you remove the wheel it takes weight off the forks and then there is less tension on the upper triple clamp. Some gentle taps and it will come off. Badluck the horn experiment did not work out. However seeing as your aim is not to reduce weight over appearance etc then I think you did the best thing. Sometimes things work sometimes not. That has happened to me a few times. I will post about one experiment that failed later in my "back in time mods on the 1199S". Nothing more fun than playing around with motorcycles on a weekend.
Hi PanigalePilot,
Yes, the trick to remove the weight from the front of the bike normally work with many other bikes, but not this one...
I did remove all the weight on the front of the bike, that is why I use the ABBA center stand with the extra attachment to lift the whole front of the bike plus an extra lower jack under the oil sump to distribute the load more even.
I even took the front wheel off, but the upper triple clamp was still stuck.
So, I removed the front Ohlins forks thinking it might create a slight "angle" between the lower and upper triple clamp, but it was not because the Ohlins forks was easy to remove.
and even after removing the front Ohlins, the upper triple clamp was still stuck and this time it was clear, it was seized/stuck to the center steering stem NUT.
But now the Ohlins are not in the way, I can gently use the rubber hammer to tap it out (after covering the stock upper triple clamp with the thick fiber towel to protect it further from scratch).
Well, come to think of it, it was not a gentle tap with rubber mallet, but more like a "medium" tap, on both side (alternating) that finally release the upper triple clamp :D

I wonder whether the Melotti upper triple clamp will have more hole tolerance when used with the CNC Titanium Steering Stem Nut... I guess I will find out when I am installing them.

I am still sad with the inability to install the lighter and louder PIAA horn with Carbon Fiber bracket though, your ideas was very good,
but it's look like Ducati crammed more and more into their design now that not much empty space all over this bike...

Back to work in progress,
this Sunday, I spent half day for grocery shopping with my wife and then working on non bike related errant...
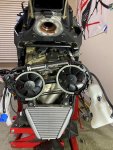
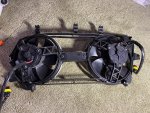
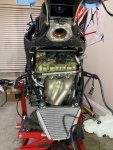
I finally touch my bike again late afternoon and I removed the water radiator so I can access the front cylinder head to replace all the bolts there with Titanium.
I also will replace the bolts holding the fan assembly.
and I made videos on how to take this whole front radiator assy. for our next YouTube video.

Now the radiator off, I really thinking of whether I should buy an exhaust system now because this is really a good time to install full exhaust system with everything off the bike.
hmmmm

By the way, I also saw many more rubber hoses can be replace with the Samco because the Samco hoses kit did not replaced many smaller rubber hoses, only 1 smaller rubber hoses between the left and right reservoir...
might as well order more, but since my Samco hoses color are oranges, that mean I need to wait maybe 6 weeks for them... but... well, I think I better be patient since I don't want to disassembled my bike like this again just to replace the smaller rubber hoses in the future...
well, looks like my goal of finishing my bike by the end of this year will not happen, but that's ok, better be slow but doing it right :D

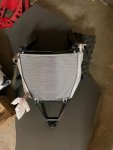
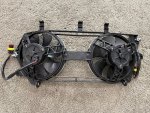
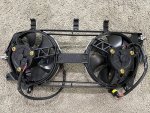
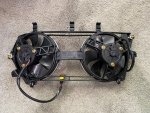
Below are some pictures about radiators 😛

IMG_9199.JPGIMG_9201.JPG

IMG_9205.JPGIMG_9204.JPG


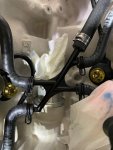
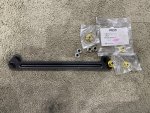
Oh, the front cylinder head upper right bolts were block by the right coil so I will most likely will need to remove the coil and that black horizontal reinforcement bar.
The good things are, the nuts that hold that black reinforcement bar will be replace by Titanium anyway (and so does the coil) 🤓
But I am tired now so... maybe I will do it sometimes this week 🙃

IMG_9207.JPG

Oh, I forgot,
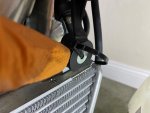
since the lower oil cooler only hold by a single pin to the plastic housing of the ABS brake module, I decide to use tie locks to temporarily secure it... don't want that oil cooler to accidentally dropped and leaked 🧐
IMG_9208.JPG
 
Last edited:

PanigalePilot

FOUNDING Member & Moderator
Staff member
Hi PanigalePilot,
Yes, the trick to remove the weight from the front of the bike normally work with many other bikes, but not this one...
I did remove all the weight on the front of the bike, that is why I use the ABBA center stand with the extra attachment to lift the whole front of the bike plus an extra lower jack under the oil sump to distribute the load more even.
I even took the front wheel off, but the upper triple clamp was still stuck.
So, I removed the front Ohlins forks thinking it might create a slight "angle" between the lower and upper triple clamp, but it was not because the Ohlins forks was easy to remove.
and even after removing the front Ohlins, the upper triple clamp was still stuck and this time it was clear, it was seized/stuck to the center steering stem NUT.
But now the Ohlins are not in the way, I can gently use the rubber hammer to tap it out (after covering the stock upper triple clamp with the thick fiber towel to protect it further from scratch).
Well, come to think of it, it was not a gentle tap with rubber mallet, but more like a "medium" tap, on both side (alternating) that finally release the upper triple clamp :D

I wonder whether the Melotti upper triple clamp will have more hole tolerance when used with the CNC Titanium Steering Stem Nut... I guess I will find out when I am installing them.

I am still sad with the inability to install the lighter and louder PIAA horn with Carbon Fiber bracket though, your ideas was very good,
but it's look like Ducati crammed more and more into their design now that not much empty space all over this bike...

Back to work in progress,
this Sunday, I spent half day for grocery shopping with my wife and then working on non bike related errant...
I finally touch my bike again late afternoon and I removed the water radiator so I can access the front cylinder head to replace all the bolts there with Titanium.
I also will replace the bolts holding the fan assembly.
and I made videos on how to take this whole front radiator assy. for our next YouTube video.

Now the radiator off, I really thinking of whether I should buy an exhaust system now because this is really a good time to install full exhaust system with everything off the bike.
hmmmm

By the way, I also saw many more rubber hoses can be replace with the Samco because the Samco hoses kit did not replaced many smaller rubber hoses, only 1 smaller rubber hoses between the left and right reservoir...
might as well order more, but since my Samco hoses color are oranges, that mean I need to wait maybe 6 weeks for them... but... well, I think I better be patient since I don't want to disassembled my bike like this again just to replace the smaller rubber hoses in the future...
well, looks like my goal of finishing my bike by the end of this year will not happen, but that's ok, better be slow but doing it right :D

Below are some pictures about radiators 😛

View attachment 1425View attachment 1426

View attachment 1427View attachment 1428


Oh, the front cylinder head upper right bolts were block by the right coil so I will most likely will need to remove the coil and that black horizontal reinforcement bar.
The good things are, the nuts that hold that black reinforcement bar will be replace by Titanium anyway (and so does the coil) 🤓
But I am tired now so... maybe I will do it sometimes this week 🙃

View attachment 1429

Oh, I forgot,
since the lower oil cooler only hold by a single pin to the plastic housing of the ABS brake module, I decide to use tie locks to temporarily secure it... don't want that oil cooler to accidentally dropped and leaked 🧐
View attachment 1430
Did not know they had twin fans. 1199 only has one. Will look good replacing more Orange hoses. I chose red. They are still in the plastic bag for about 18 months. I will eventually get to it all.
 

Andy7

FOUNDING Member & Moderator
Staff member
Now the radiator off, I really thinking of whether I should buy an exhaust system now because this is really a good time to install full exhaust system with everything off the bike.
hmmmm
Did somebody say exhaust? 😏


Pete T

Moderator
Staff member
While we are on the radiator, Howard I notice while riding the two fans operate independently. Usually the left fan is first to operate. Sometimes the right fan comes on alone. And sometimes both. When a fan operates that is when you feel heat on your leg. Since I've only owned the bike since March I've only exerienced the v4 operating in cooler weather and the warmth is usually welcome.

Are you able to see where the thermostats are located that operate each fan? (I assume there are two.)
 

PanigalePilot

FOUNDING Member & Moderator
Staff member

BMW Alpina

FOUNDING Member & Administrator
Staff member
Did somebody say exhaust? 😏

Good news for my wallet, bad news for my desire 😅
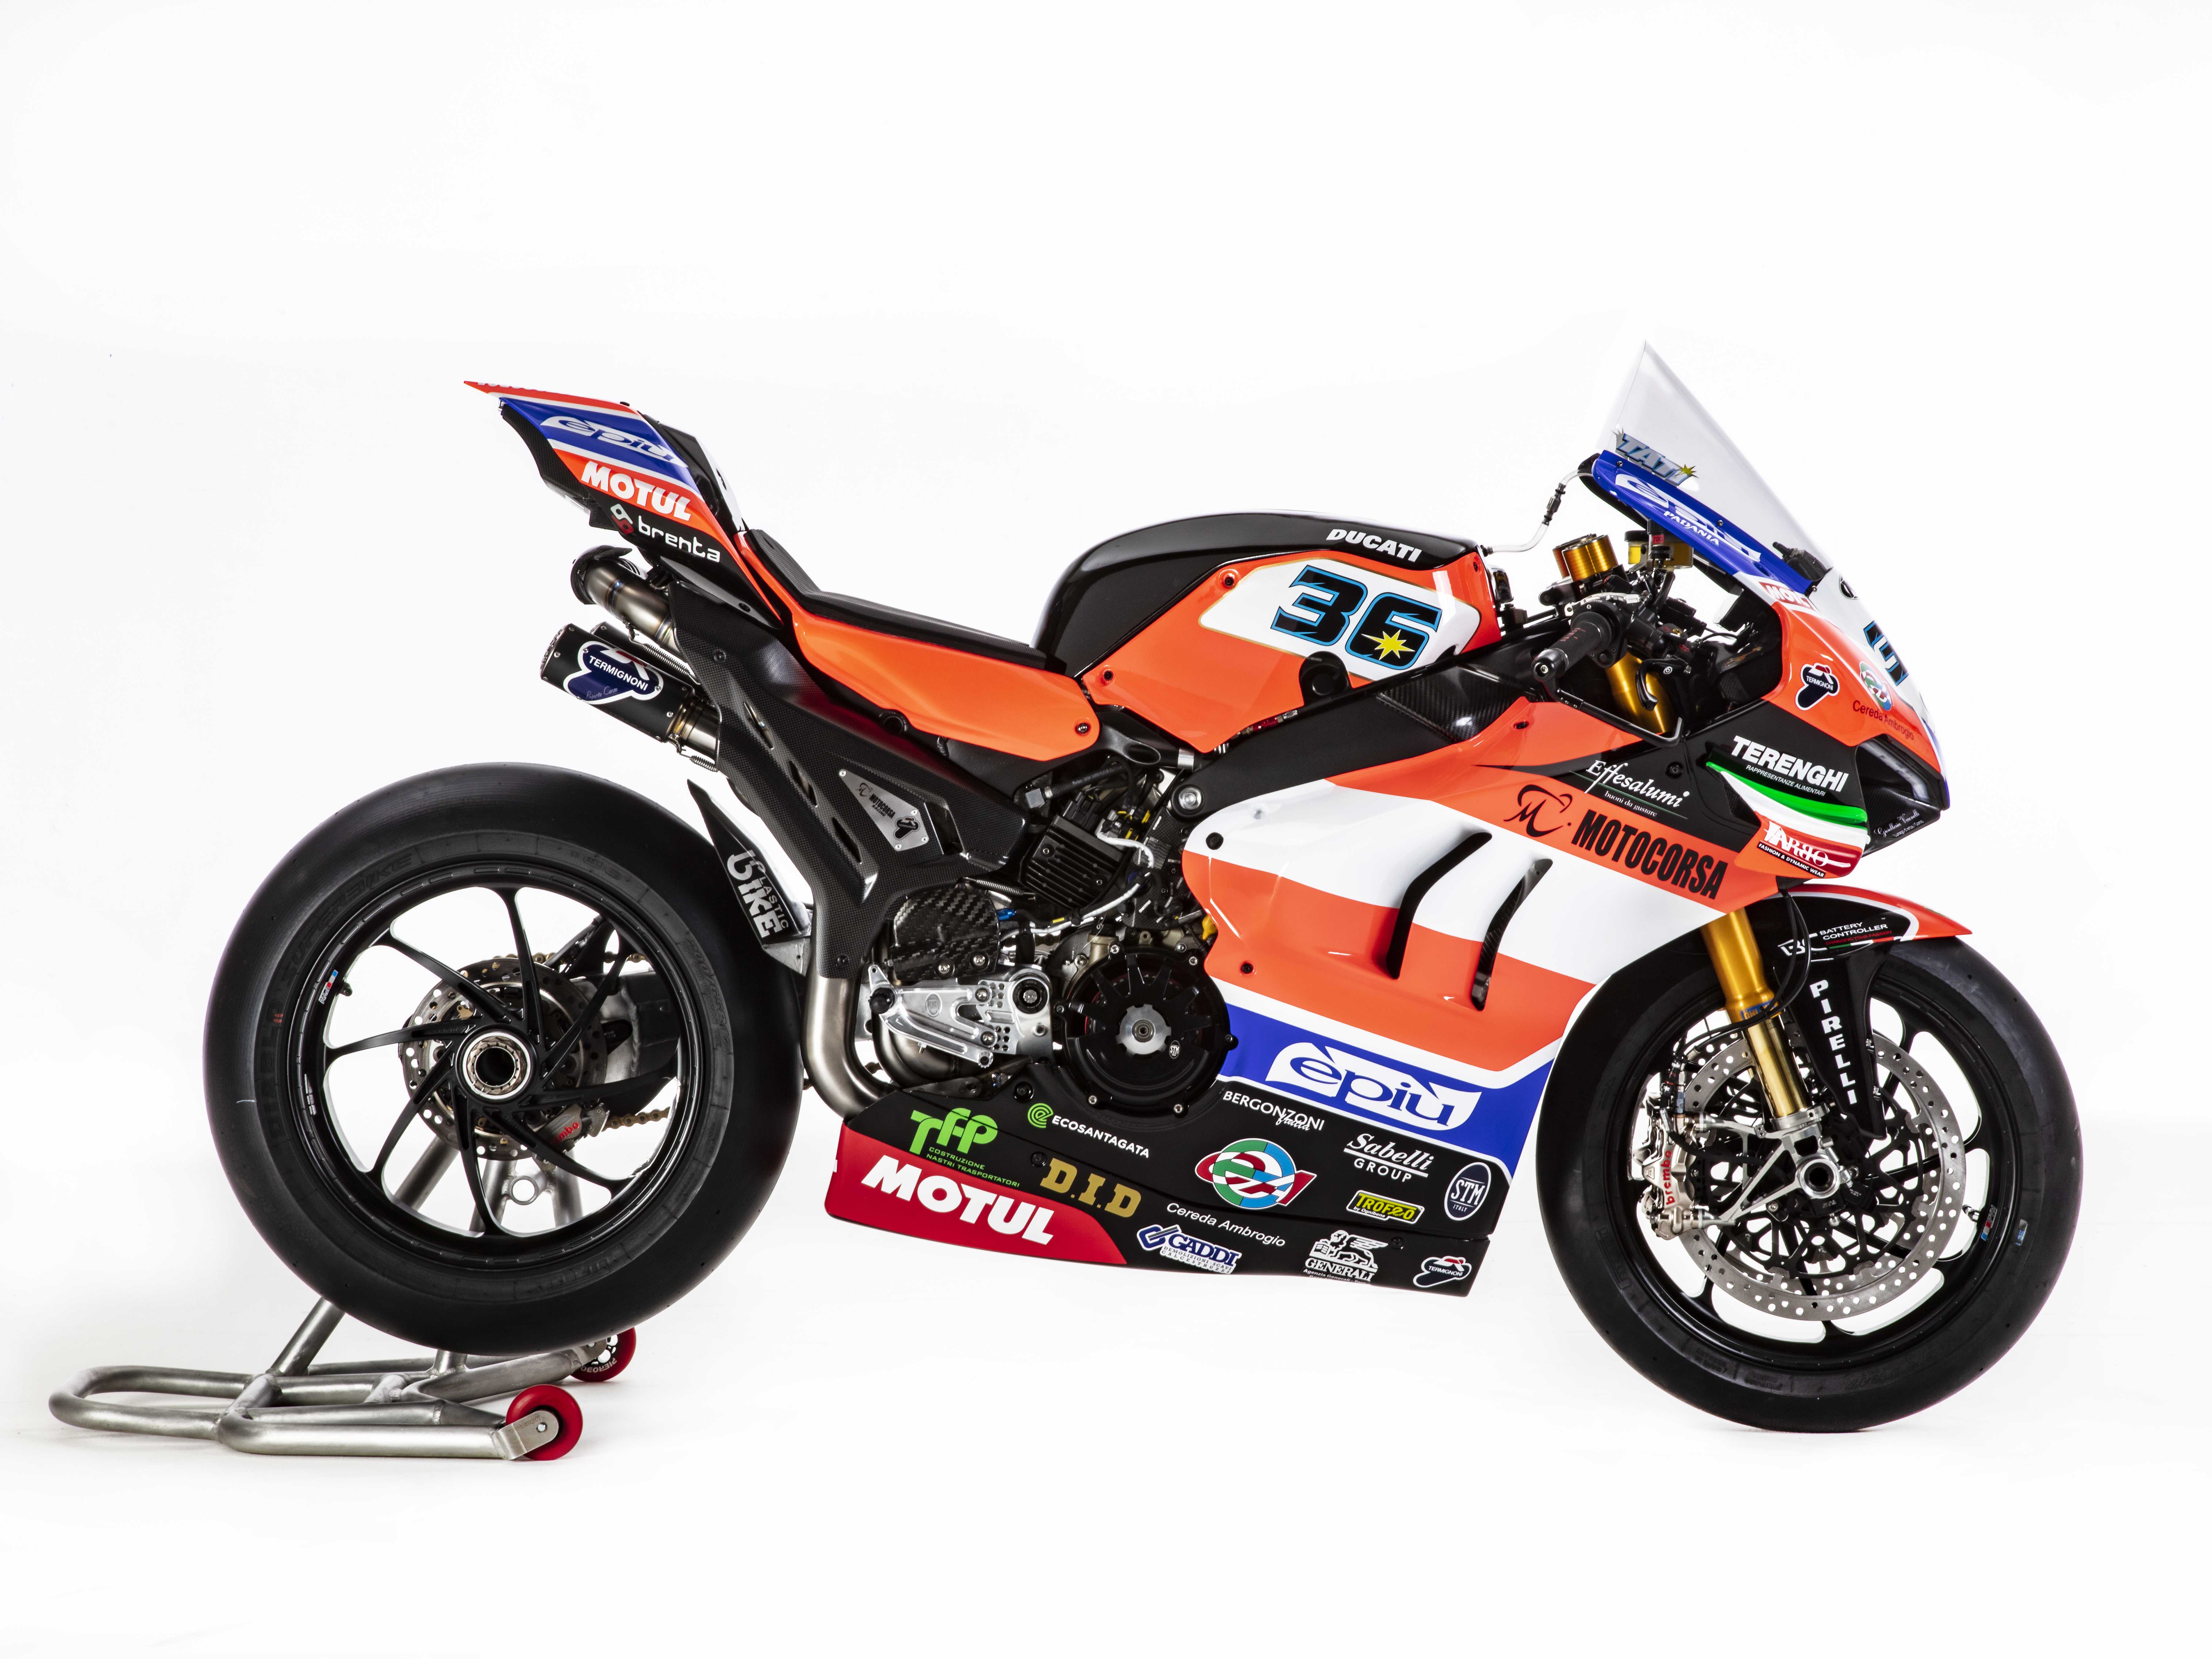
because I was just informed the Akrapovic under tail exhaust is 10,900 EURO + VAT and that does not include mapping which is another 1,200 EURO + VAT
which mean close to 15,000 EURO in total cost including VAT and transport. Well, that is about 18,000 USD so I think I passed and wait for Ducati (if they ever) issue the undertail OEM version which will surely came with the map included.

I also was thinking of SC-Project as a second alternative, but if I bought it, I will take out the SC-Project label/emblem on the silencer so it will look like the original Termignoni option on the old 916,
however, they did not come with a MAP, so I setup a second requirement which is for the map from any tuner that is capable of showing "Racing EVO" like on the original Akrapovic map on the dashboard during start up and NOT "Racing PRO"
A reputable tuner just came back to me and told me, they can only have "Racing EVO" if the bike already have Akrapovic original map on the ECU before they re-flash it.
Well, this defeat the purpose because if I already have the Akrapovic map, I won't be needing a reflash since I do not after ultimate power.

I made up my mind, so if Ducati ever issue their OEM version of the undertail exhaust that came with the official Ducati MAP before the current production of Ducati Panigale V4 ends, then I will buy it.

If somehow by the end of the current Panigale V4 production, Ducati still does not produce it then, I will buy the current Ducati Akrapovic exhaust only so I can get the MAP. Then I will buy and install the SC-Project undertail instead.
After that I will resell the Ducati Akrapovic exhaust which should be in brand new condition but WITHOUT the map at cheap price just to get some of my money back 😁
many people surely will not mind buying a cheap but new Ducati Akrapovic exhaust without the map since they can always use after market tune and most people will not mind seeing Racing Pro instead of Racing EVO on their dashboard either...


That is just pure bike porn. Excuse my ignorance does Akra make a race system for the V4 ?

Hi PanigalePilot,
Yes, they did but the price as I stated in response to Andy's post above is ahem "NOT REASONABLE" 😅
Here are the pictures:
panigale-v4 akrapovic.jpg
8.jpg1.jpg
 

Attachments

BMW Alpina

FOUNDING Member & Administrator
Staff member
While we are on the radiator, Howard I notice while riding the two fans operate independently. Usually the left fan is first to operate. Sometimes the right fan comes on alone. And sometimes both. When a fan operates that is when you feel heat on your leg. Since I've only owned the bike since March I've only experienced the v4 operating in cooler weather and the warmth is usually welcome.
Are you able to see where the thermostats are located that operate each fan? (I assume there are two.)
Hi Pete,
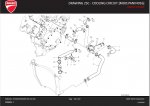
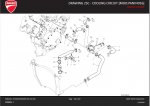
I only able to see 1 water temperature sensor and it was on the center thermostat housing below the airbox. (number 9 on the spare parts catalog diagram below).
I think like in Car Engine that have multiple fans, the ECU choose which fan ran depending on the temperature of the water and the load on the engine (for example A/C on will trigger the second fan eventhough the car temperature was still cold).

In BrenTuning video, he talked about still trying to find the code inside the ECU that will trigger "EARLY" activation of the fans.

In my case, I never recalled 1 fan operate while the other was not. What I remember was both fans kicks in at the same time, but maybe I wasn't paying attention.
Of course, my bike was doing this while in static condition, when I am warming it up in my living room.

However, if the fans were activated sequentially like in your case, then maybe there are several conditions in the ECU that dictate this, most likely related to the Air Ambient Temperature and Oil Temperature since our bike don't have A/C like in a car.
Note: I just check the wiring to each left and right fans, and despite they were join in one loom, but they do have 4 separate wires meaning the left and right fans were wired independently so you are correct that they can be controlled independently.
I will try to pay attention when the fans kick in during warming up.

Capture.JPG
 

Andy7

FOUNDING Member & Moderator
Staff member
I’m sure you’d be able to find an upmap key from someone who bought an akra and decided not to use it. I’ve seen several for sale from the 1x99 bikes of people who had a custom tune done and didn’t need the canned option.
Considering the tuning options for v4 are pretty slow so far it might be a bit of a wait but worth it if one becomes available.
 

BMW Alpina

FOUNDING Member & Administrator
Staff member
eBay seller from UK surprisingly ship the Titanium Nuts for the crankcase very quickly and arrived today.
This is a very rare Titanium Nuts M8 x 1.0 mm pitch. ProTi and ProBolts (and most Titanium Bolts provider) only have M8 x 1.5 mm pitch.

Unfortunately it does not come in Gold color to match the rest, but better than the stock steel Ducati bolt since the Titanium Silver finish is much nicer.
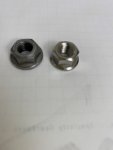
Below are the comparison stock vs Titanium. The stock nut have larger size hex of 13mm while the Titanium nut use 12mm wrench:
IMG_9217.JPG

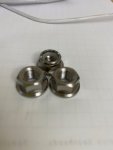
I also purchase a version with nylon lock just in case it fit better but I decided to use the non nylon locking version, installed (right picture):
IMG_9216.JPGIMG_9223.JPG

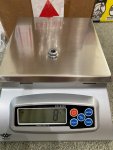
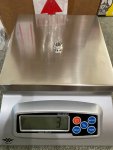
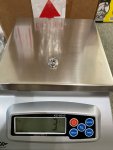
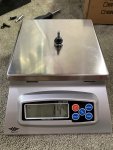
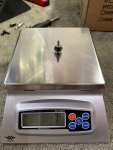
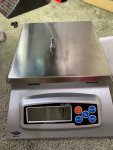
While at it, I am curious about weight differences:
Stock Nut is 8 grams vs Titanium Nut only 3 grams so more than 50% weight reduction:
IMG_9219.JPGIMG_9218.JPG

Even the Titanium nut version with nylon locking is only 3 grams:
IMG_9220.JPG

Which make me even more curious to weight the M8 bolts use for the rest of the crankcase:
Stock is 15 grams and Titanium only 8 grams which means the Titanium Bolts weight the same as the stock Ducati NUT:
IMG_9221.JPGIMG_9222.JPG
 

Pete T

Moderator
Staff member
Are nylock nuts resistant to heat? (The nylon bit.) Curious because I used two to mount my PDM although they do not have direct contact with the engine.
 

BMW Alpina

FOUNDING Member & Administrator
Staff member
I’m sure you’d be able to find an upmap key from someone who bought an akra and decided not to use it. I’ve seen several for sale from the 1x99 bikes of people who had a custom tune done and didn’t need the canned option.
Considering the tuning options for v4 are pretty slow so far it might be a bit of a wait but worth it if one becomes available.
Hi Andy7,
That is a good idea. So if someone read this post, and had an UNUSED official Akrapovic map for a FULL System Panigale V4 exhaust for sale, please kindly contact me.
It got to be UNUSED since once you use the code, it will be tied to your old bike and not transferable.
 

BMW Alpina

FOUNDING Member & Administrator
Staff member
Are nylock nuts resistant to heat? (The nylon bit.) Curious because I used two to mount my PDM although they do not have direct contact with the engine.
Hi Pete,
most likely the nylon in the bolt is not high heat resistant. I purchase it just to see how the overall dimensions (flanges) looks like in case it will fit better for this application.
however, since this bolt is to hold the lower crankcase far from the engine upper block/exhaust, it shouldn't get too hot there.

For your application to mount the PDM, most likely they will survive the heat since no direct contact with the engine,
although it effectiveness in "holding" the nut might be reduced with more continues heat exposures and heat cycle so it might be best to still add loctite just to be sure...
 

BMW Alpina

FOUNDING Member & Administrator
Staff member
Just doin some test fit 😘
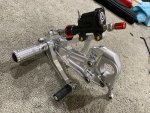
still far from done pimpin my rear set 😜:

Almost all bolts on the rear set had been replaced with ProTi Titanium bolts,
right now doing few more measurements so I can replace every single bolts and nuts on the rear set and on the Brembo Billet GP MC to ProTi Titanium 😇
IMG_9228.JPG
 

BMW Alpina

FOUNDING Member & Administrator
Staff member
Today, I install more ProTi bolts and many of them were in hard to reach area 🧐:

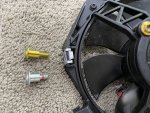
First, I want to install some tapping screws to the fan assembly, and then I realize, I only purchase 6 screws and I actually need 12 screws so I have to do "partial install" 😕

Here is the ProTi tapping screws compare to the stock tapping screws. I noticed the ProTi screws is very slightly slimmer, so I wrap Teflon Tape onto the ProTi Tapping Screws plus add Loctite Red to make sure:
IMG_9238.JPG


Before and After Pictures:
IMG_9237.JPGIMG_9240.JPG

Then, I also replace the side bolts:
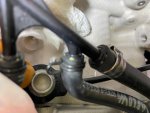
IMG_9242.JPG

and here is the picture with the side bolt installed. Of course it was not tightened yet, but I insert it onto the fan assembly so I won't forget:
IMG_9243.JPG


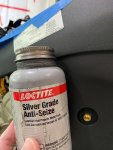
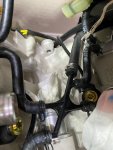
Then I work on the 2 smaller bolts on the frame, the top one need anti-seized to help insert properly:
IMG_9244.JPGIMG_9246.JPG

Here is the picture after installing both bolts:
IMG_9247.JPG

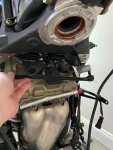
Then I removed the front bracing so I can have enough access to change all the screws on top of the front cylinder head:
IMG_9249.JPG

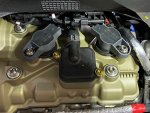
Then remove the front right coil so I can have access to replace the upper right cylinder head bolts:
IMG_9250.JPG

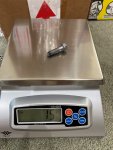
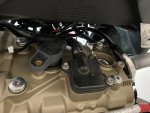
I weight the stock bolt that hold the upper cylinder cover vs. ProTi Titanium bolt, and the result is 50% saving in weight:
IMG_9251.JPGIMG_9252.JPG


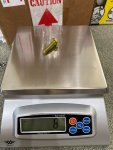
I also weight the secondary air cover stock bolts vs ProTi and again the result is 50% weight saving:
IMG_9253.JPGIMG_9254.JPG


End result for front cylinder head cover:
IMG_9258.JPGIMG_9259.JPG

I also change the 4 bolts that hold the REAR Air Duct (between front air filter duct and main airbox) to ProTi Titanium:
IMG_9256.JPGIMG_9257.JPG


Then I replaced the nuts that hold the front braces with ProTi nuts:
IMG_9260.JPGIMG_9261.JPG
 

BMW Alpina

FOUNDING Member & Administrator
Staff member
Last for today, I replaced the washer behind the ProTi bolts that hold the FRONT subframe from regular steel washer to ProTi Titanium Washer. I choose Silver Color for the washer to contrast against the Magnesium bronze color of the front subframe and the gold ProTi bolts 😉
IMG_9264.JPG

I will do more either later tonight or tomorrow morning...
 
Top