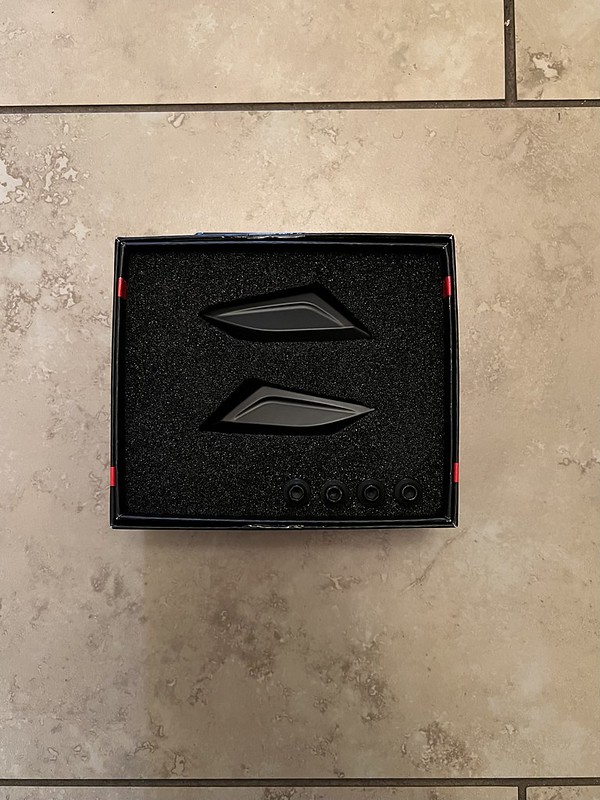
Winter Test livery
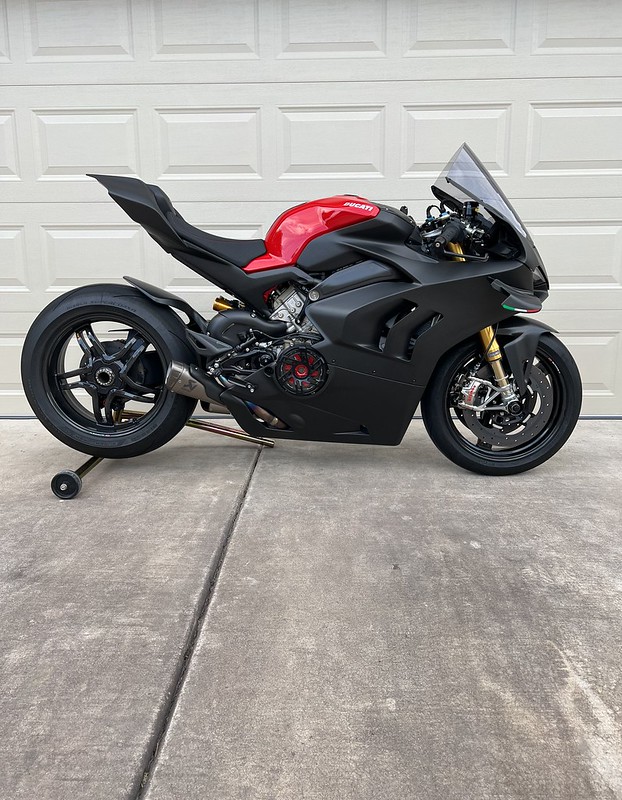
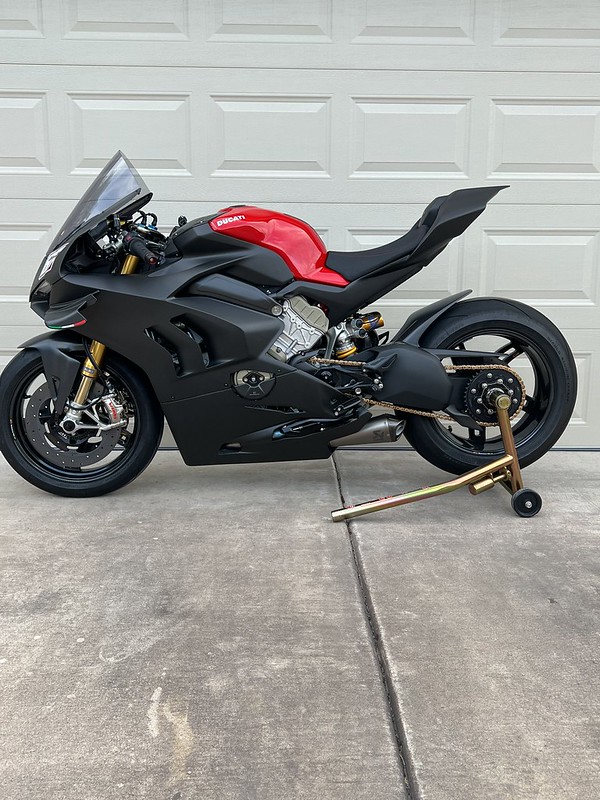
After getting everything fitted and trimmed I wanted to take a ride with the winter test livery. It definitely looks menacing and I felt like Johann Zarco lol. The difference is I wont be getting any sponsors once the season starts
 .
.
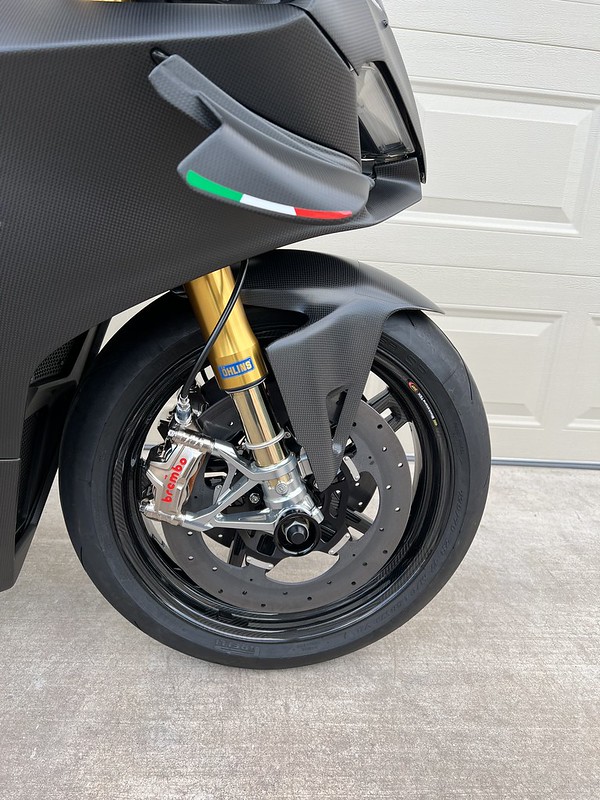
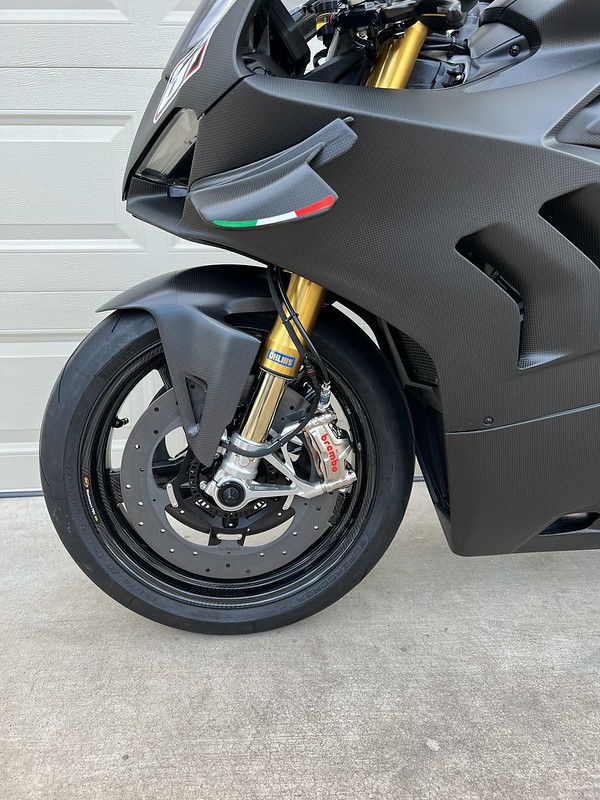
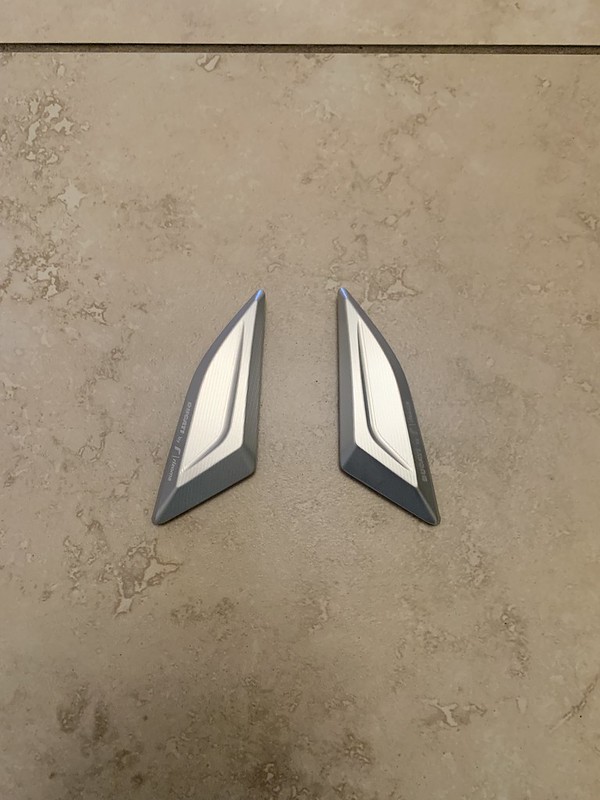
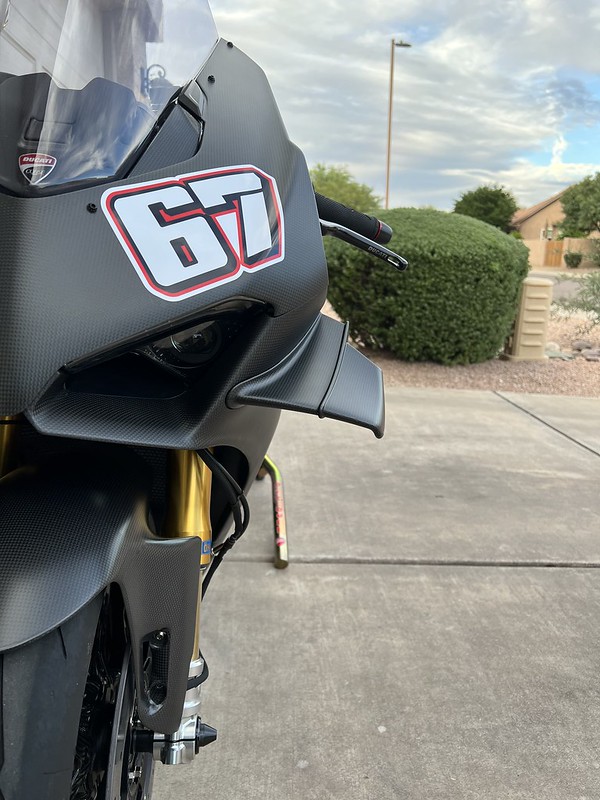
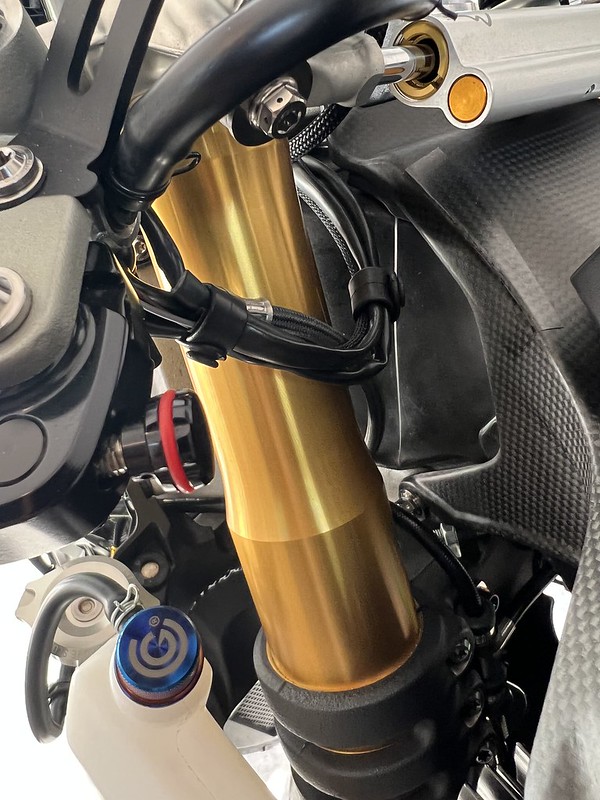
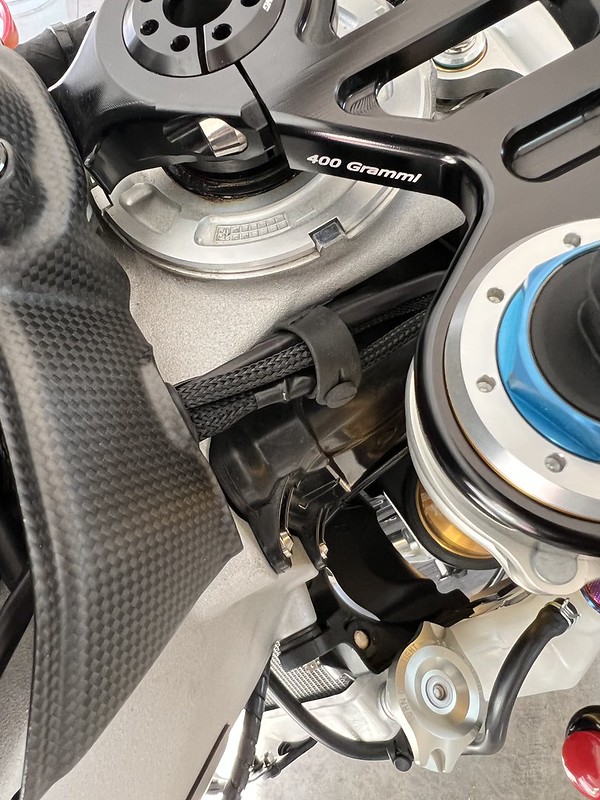
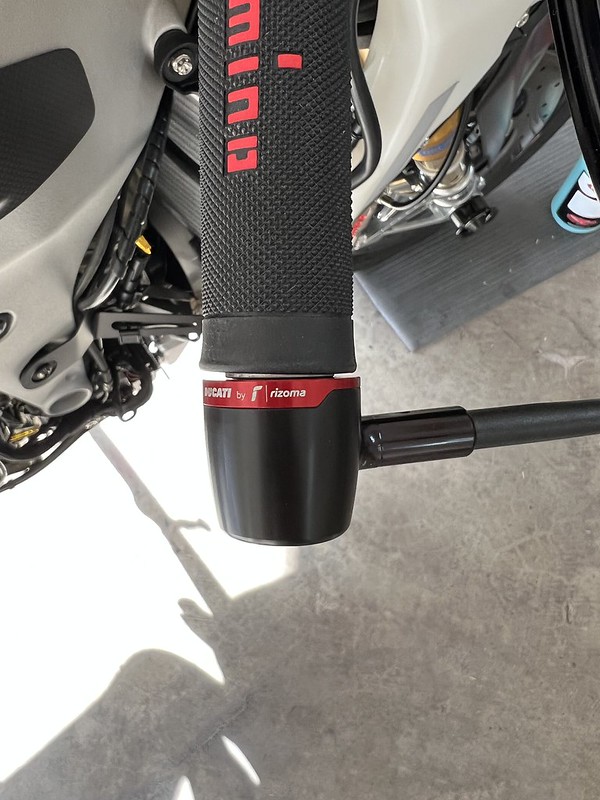
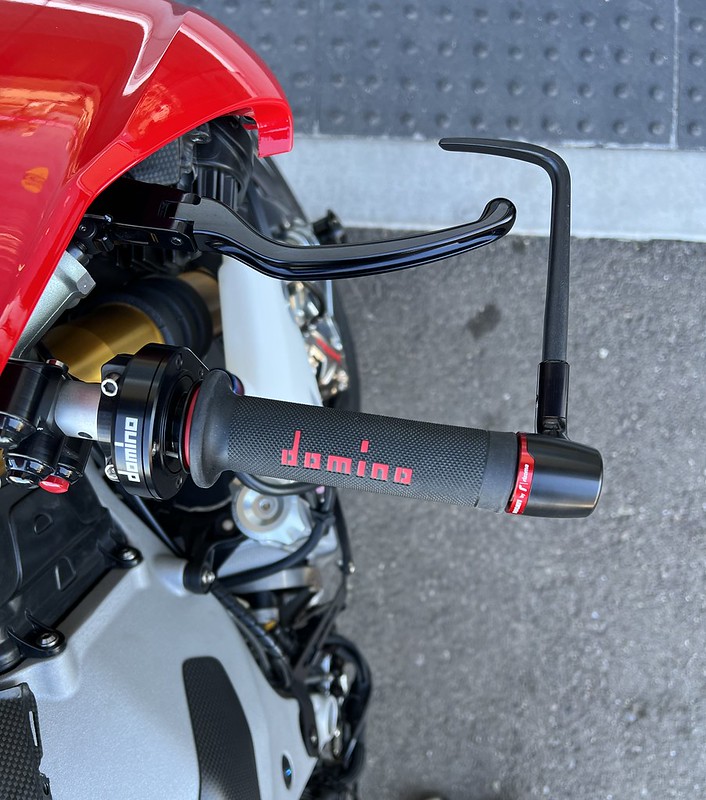
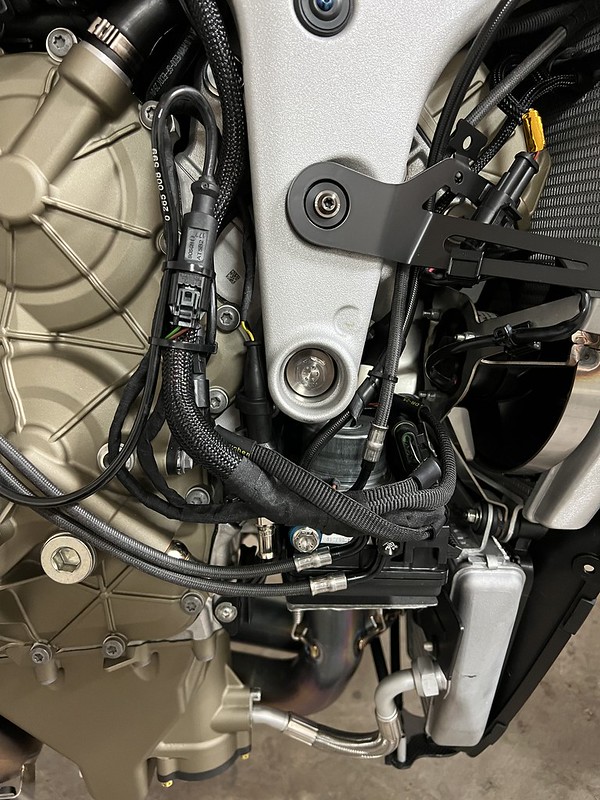
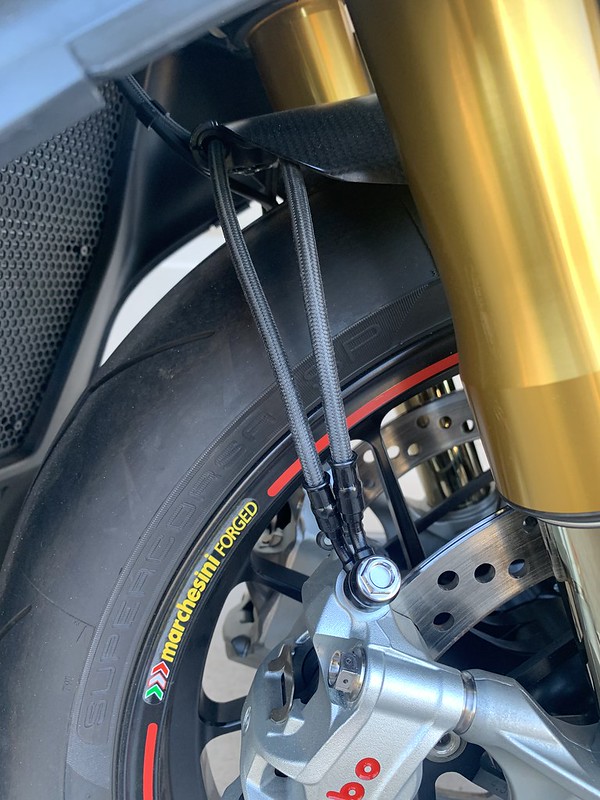
This is the meanest looking frontend in motorcycling.

After getting everything fitted and trimmed I wanted to take a ride with the winter test livery. It definitely looks menacing and I felt like Johann Zarco lol. The difference is I wont be getting any sponsors once the season starts
.
This is the meanest looking frontend in motorcycling.