Ducati 998s FE Final Edition (REPLICA but MODIFIED FAR BEYOND the Original) Build Thread

BMW Alpina

FOUNDING Member & Administrator
Staff member
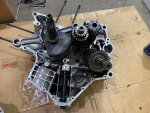
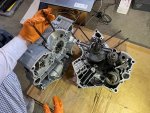
Until it finally SPLIT:
IMG_6690.JPG

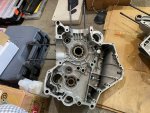
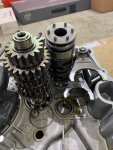
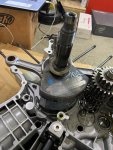
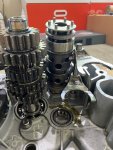
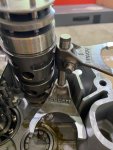
Start removing the parts from the crankcase:
IMG_6691.JPGIMG_6692.JPG

IMG_6693.JPGIMG_6695.JPG

IMG_6696.JPGIMG_6698.JPG

IMG_6699.JPGIMG_6705.JPG

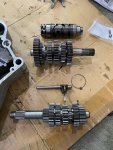
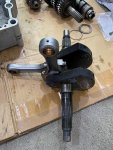
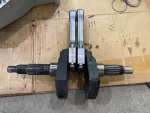
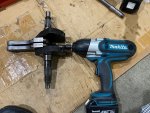
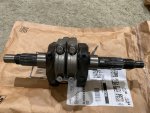
And finally the crankshaft is free 😃:
IMG_6707.JPGIMG_6708.JPG

IMG_6711.JPGIMG_6712.JPG

IMG_6714.JPGIMG_6716.JPG

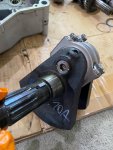
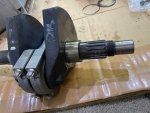
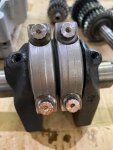
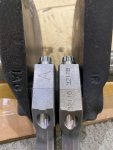
Then I took out the original Titanium Bolts that hold the con-rod because I already have a brand new replacement. Later I install the brand new Titanium Bolts but only finger tight since Boulder Motor Sports will need to disassemble every thing to perform the Lightening, Knife Edge, Super Polish, and Balance it:
IMG_6722.JPGIMG_6723.JPG

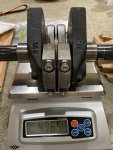
But before I ship it, I decided to weight this stock configuration, so we can see how much lighter it will be after Brian from Boulder Motor Sports in Colorado perform his magic :cool::
IMG_6724.JPG
 

Araitim

MASTER Builder & Moderator
Staff member
WOW!
You are in a fantastic position to do the Factory Pro shift detent upgrade right now too. I swaps put the arm for a slightly thicker arm, replaces the roller with a ceramic bearing roller and uses a stiffer spring. The results are more positive shift engagement and less false neutrals. I did it on the hyper. Factory pro makes another spring kit too that uses a lighter spring for return to center I believe. I have no experience with that though.
 

BMW Alpina

FOUNDING Member & Administrator
Staff member
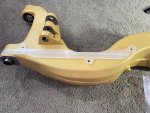
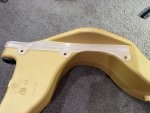
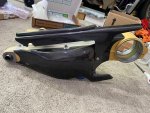
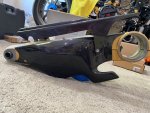
My younger son and I start working on the new 748RS swing arm today.
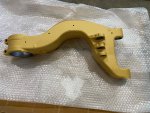
IMG_6807.JPG

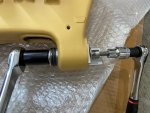
So, Ducati no longer sell the tools to install the needle bearing (chain side), and I really looks all around the world and just can't find anyone selling it.
But I manage to buy the Ducati Special Tools to install the right side regular bearing (wheel side):
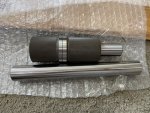
IMG_6808.JPG

I watch this restoration video that @Andy7 kindly pointed out to me a few months ago to learn how he manage to install the needle bearing without any Ducati Special Tools:

Turn out he is just using the simple washer with bolt and nut method. However after careful observation, I notice he did not do it properly on the needle bearing side.
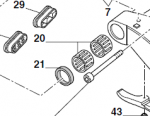
First this needle bearing will have a rubber seal on both sides of it, but in this video, it is clear he did not install the 2 rubber seal. Not to mention the way he tightened the washer means the needle bearing outer surfaces were flush with the surface of the swing arm, while if you want to install the rubber seals, then the needle bearing need to go in 4mm further below the surface of the swing arm.

This diagram said it all (Part# 21 is the rubber seal I am talking about):
1652051404059.png


So, I collected all the long bolt and nut and different sizes of washers that I can use to make the needle bearings installation to be PERFECT without Ducati Special Tools:
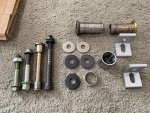
IMG_6809.JPG

First, I asked my younger son to freeze all the bearings and I am heating up the swing arm:
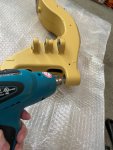
IMG_6810.JPG

Then first step is to install the needle bearing on the inner side:
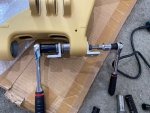
IMG_6811.JPG

As you can see below, the needle bearing is going in:
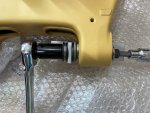
IMG_6813.JPG

Then I keep changing either the nut/bolt or washers to push it in further:
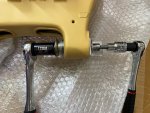
IMG_6814.JPGIMG_6815.JPG

Next, do the same thing but for the outer side needle bearing:
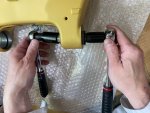
IMG_6817.JPG

Now the methods above only able to make the needle bearing flush with the surface of the swing arm, but now I need to make them go in more (about 4mm) to accommodate the rubber seals.
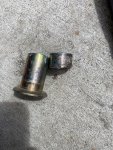
So first, I need to CUT the swing arm bushing/spacer that have the right diameter to push the needle bearing outer race further in:
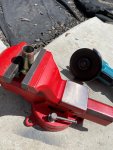
IMG_6818.JPGIMG_6819.JPG

Now it is at the PERFECT Length. I already bought a new bushing anyway, so this bushing is expendable for tooling. If you don't cut it, then it is a bit too long and won't work:
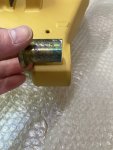
IMG_6820.JPG

I start pushing both bearings to the center until both touch at the center. This is quite tricky because the distance is so tight that I need to go back and forth between left and right side before I manage to get them perfectly centered:
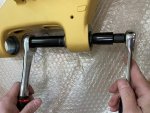
IMG_6821.JPG

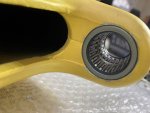
Next installing the rubber seal. In the picture below, you can see that I am inserting the inner rubber seal first (that rubber seal showing at the forefront of the picture is just illustration and it will be for the outer side):
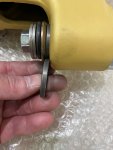
IMG_6822.JPG

This is how the inner rubber seal looks like after flush with the surface of the swing arm:
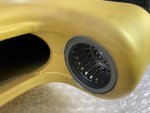
IMG_6824.JPGIMG_6825.JPG

Then install the outer rubber seal:
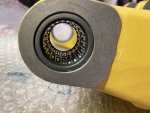
IMG_6823.JPGIMG_6826.JPG

PERFECT ;)

Then I realized, I will need grease for all these bearings (and swing arm pivot). Turn out it is another of that SPECIAL Shell Gadus Grease C...
which of course I haven't bought... After doing more research the Shell Gradus Grease C with is Retinax LX2 has now change name to SHELL GADUS S3 V220C 2
and luckily available at Amazon: https://www.amazon.com/gp/product/B01BU2980O/
1652052248103.png

Ok, now I will continue with installing the regular bearing on the wheel side of the swing arm...
 

BMW Alpina

FOUNDING Member & Administrator
Staff member
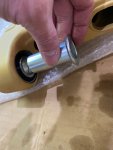
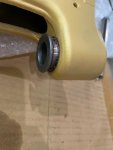
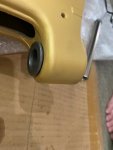
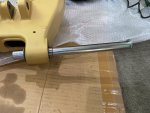
I just finished with the regular bearing installed and this is how it goes:

I use the Ducati Special Tools for installing these regular (meaning non needle) bearings, and the first step is the inner side bearing and bang it with the rubber hammer.
Oh, of course the bearing was frozen on the freezer and the swing arm was heated with heat gun before I start the insertion process:
IMG_6827.JPG

However, it doesn't seemed to make it easier, and I can only get it inserted this much (in picture below),... notice those liquid are WD40:
IMG_6829.JPG

So I inserted the spacer between the 2 regular bearings:
IMG_6830.JPGIMG_6831.JPG

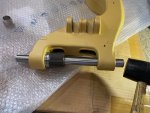
Then I follow the idea from my younger son to use our Vise Grip and it is an EXCELLENT idea:
IMG_6832.JPG
I mean, do have a real bearing press, but this is just so much easier so I don't have to setup up my large bearing press.

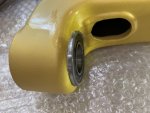
And both bearings are fully inserted:
IMG_6833.JPG
IMG_6834.JPG

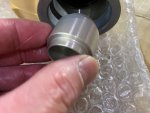
Next install the 2 spacers:
IMG_6835.JPGIMG_6836.JPG

IMG_6837.JPGIMG_6838.JPG

Then another spacer/bushing both left and right:
IMG_6839.JPGIMG_6840.JPG
IMG_6841.JPG

Then I test fit the new rear swing arm axle to make sure every bushing are straight (align):
IMG_6842.JPG

Then secure it (temporarily with the TITANIUM Bolt:
IMG_6843.JPG

And this is how it looks:
IMG_6844.JPG

Ok, so the hardest part for the swing arm assembly is done... next is the rear axle/hub and some more details... ;)
 

BMW Alpina

FOUNDING Member & Administrator
Staff member
Well... it is already kinda late in the evening... but I figure... a few more bolt torqueing is ok...

So... I could not really find the torque value and the procedure to install the stopping pin for the brake caliper bracket from the 998 service manual,...
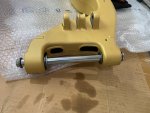
so I used the procedure from the service manual of the Panigale V4S which has the same exact pin dimension (and Ducati Part#).
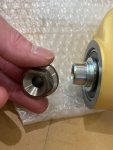
The only differences is this Stopping Pin is made of TITANIUM :love:
IMG_6845.JPG

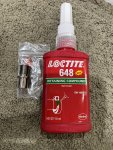
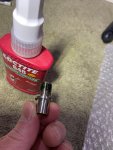
Apply the Loctite 648:
IMG_6846.JPG

Install it on the swing arm with torque of 33Nm... it is beautiful 😘😎:
IMG_6848.JPG
IMG_6847.JPG

Then I remember, I also have TITANIUM Hub Bolts and of course need some Gadus Grease B:
IMG_6849.JPGIMG_6850.JPG

And yes it is also beautiful 😍:
IMG_6851.JPGIMG_6852.JPG

IMG_6853.JPG
And I think I am done for this week update 😁
 

PanigalePilot

FOUNDING Member & Moderator
Staff member
Well... it is already kinda late in the evening... but I figure... a few more bolt torqueing is ok...

So... I could not really find the torque value and the procedure to install the stopping pin for the brake caliper bracket from the 998 service manual,...
so I used the procedure from the service manual of the Panigale V4S which has the same exact pin dimension (and Ducati Part#).
The only differences is this Stopping Pin is made of TITANIUM :love:
View attachment 8476

Apply the Loctite 648:
View attachment 8477

Install it on the swing arm with torque of 33Nm... it is beautiful 😘😎:
View attachment 8479
View attachment 8478

Then I remember, I also have TITANIUM Hub Bolts and of course need some Gadus Grease B:
View attachment 8480View attachment 8481

And yes it is also beautiful 😍:
View attachment 8482View attachment 8483

View attachment 8484
And I think I am done for this week update 😁
Fantastic 👍
 

BMW Alpina

FOUNDING Member & Administrator
Staff member
Fantastic 👍
Thanks so much for the kind words Panigale Pilot :D

I was planning to install the hubcentric into the rear swing arm today, only to realize, that according to the service manual, I need to use Grease C which still not arrived yet, so this need to wait until next week:
IMG_6869.JPG

So I decided to install the rubber dampener to the swing arm:
IMG_6870.JPGIMG_6871.JPG

IMG_6872.JPGIMG_6873.JPG

Then I am test fit the rear axle, all the spacer, the Sitta/AEM sprocket assembly and AELLA Titanium Wheel and Sprocket nuts.
It start with this sleeve:
IMG_6875.JPGIMG_6876.JPG


IMG_6878.JPGIMG_6879.JPG

However, when I try to assembled with the Sitta/AEM sprocket assembly, it seemed like these 2 spacers above does not make sense at all...


Plus there is another washer (thin spacer):
IMG_6881.JPGIMG_6882.JPG


Below are all the spacers... so I will try it again once I insert the hubcentric into the swing arm next week... I think with everything installed, then it would be easier to understand...
IMG_6883.JPG

So in the meantime, I install the Titanium Pins for the wheel on the rear axle:
IMG_6884.JPG

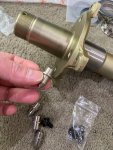
Let's start with some grease to help with the insertion using a longer bolt:
IMG_6886.JPG

Then start turning the bolt and pull the Titanium pin in:
IMG_6887.JPG

And it is done :D
IMG_6888.JPGIMG_6889.JPG

Next test fit all the chain guard so I can measure the correct length for all ProTi Titanium Bolts:
IMG_6890.JPGIMG_6891.JPG

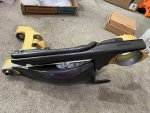
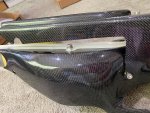
Then test fit the carbon fiber swing arm guard and chain guard (please note that all this glossy carbon fiber surface will be refinished in matte to make it look more modern):
IMG_6892.JPGIMG_6894.JPG

more pictures on next post below...
 

BMW Alpina

FOUNDING Member & Administrator
Staff member
Oh wait I forgot....
My younger son help me painting this tiny washer that to be used to securely hold those 2 white nylon chain guard... however, they were finished in the cheap looking zinc finish...
so I worry when I put the ProTi Titanium Bolt on top of these washers, not only the color won't match (zinc against titanium silver), but they also could corrode easily due to the different metal material attached to each other so...
it is now painted in Silver ;):

IMG_6900.JPGIMG_6899.JPG
 

BMW Alpina

FOUNDING Member & Administrator
Staff member
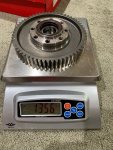
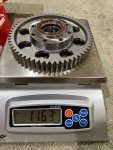
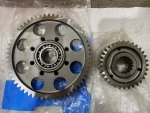
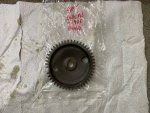
I took these pictures last week to compare the weight between 999S original primary drive wheel to the 1098 Streetfighter lightened primary drive (lightened from Ducati factory) which at almost 200 grams lighter :love:
IMG_6901.JPGIMG_6902.JPG

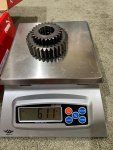
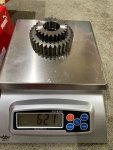
The smaller gear is almost the same (but the old one is 10 grams lighter maybe due to wear and tear after less than 3,000km of use):
IMG_6904.JPGIMG_6903.JPG

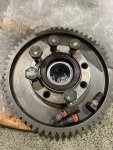
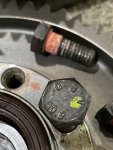
Also take a look at the bolts holding the primary gear, and they are all 10.9 grade metric bolts so ProTi Titanium Bolts should be strong enough to replace them since ProTi Titanium bolts also achieve the same tensile strength as 10.9 grade metric bolts:
IMG_6905.JPGIMG_6906.JPG


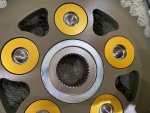
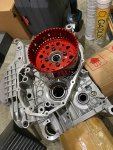
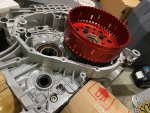
Then I decided to test fit the STM Dry Clutch to see how they look and I think they look good :ROFLMAO:, not to mention it will mounted to a brand spanking new crankcase and not this old crankcase of course :cool:
IMG_6907.JPGIMG_6908.JPG
 

BMW Alpina

FOUNDING Member & Administrator
Staff member
Coming along nicely. That flywheel will spin up those revs faster :cool:
Thanks so much HKMP7 :D,
I also have the lightened flywheel from K-Bike (behind the generator wheel/left side) but I did not buy the lightest version from K-Bike, only bike the second lighter version from K-Bike because seemed like the lightest version might cause some problem with starting during cold days and also "too sensitive" throttle... especially, mid-corner...
This second lightest version from K-Bike weight around the same as if I ask Ducati race shop specialist to machined down the stock steel flywheel... so should be ok.
Beside, I already lightened the crankshaft, and plus the lighter 1098 Streetfighter primary wheel above, that is why the K-Bike flywheel I choose was not their lightest version...
There is actually an even lighter aluminum flywheel from Nichols... but those will for sure be way too much... and the aluminum for flywheel will not be as strong as steel version which in some situation could broke on the spline...
 

BMW Alpina

FOUNDING Member & Administrator
Staff member
How are you going to re-finish the gloss carbon fiber to make it matte?
I will bring it to the paint shop who will refinish the surface with matte clear coat.
That is what I did with the gloss SC-Project WSBK exhaust heat shield that originally came as gloss painted and now in matte (satin) finish.
I currently also waiting for Ilmberger to ship my custom matte finish rear mudguard for the 998 (normally only available in gloss finish).
However, Ilmberger just told me a few weeks ago that my other order, the heel guard for 1098 rear set (which I will use for this 998 project) will come as gloss finish only because that is what they have in stock and they no longer accept custom finish due to their huge backlog of order.
The 998 rear mudguard with custom matte finish will be the last custom job they accept ;)
 

BMW Alpina

FOUNDING Member & Administrator
Staff member
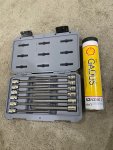
First, the Gadus Grease to install the hubcentric into the swingarm arrived along with a long Torx tool so I can start installing the hubcentric later today:
IMG_6938.JPG

Second, more parts for the 998s FE Replica project arrived :D:
IMG_6957.JPG

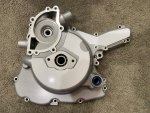
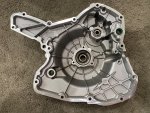
I haven't have time to sort to all the parts above, but I want to make sure one part is good which is the brand new Generator Engine Cover.
I bought this because I want to make sure all the bearings are brand new without having to replace the bearing on my old engine cover.
Oh, of course this is for 999s engine (not 998). I will later paint this in Ducati Magnesium color to match the right side clutch cover:
IMG_6958.JPGIMG_6959.JPG

Then, I am taking pictures of my gearboxes and every other gear in the engine that I believe have the potential to be MICRO POLISH :cool: .
I need these pictures so I can discuss with the MICRO POLISH provider to make sure they can do it:
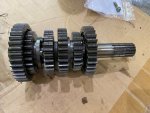
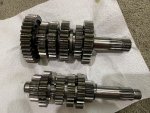
Gearboxes:
IMG_6960.JPG

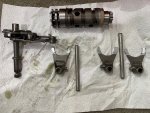
Gear Drum and Selector Fork:
IMG_6961.JPG

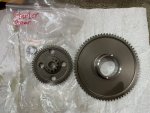
1098 Streetfighter Primary Gear set:
IMG_6967.JPG

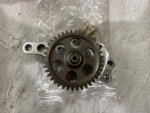
Oil Pump Gear:
IMG_6966.JPG

Starter Gear Set:
IMG_6965.JPG

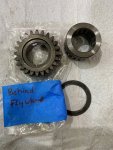
Gear behind the flywheel:
IMG_6964.JPG

Gear behind Water Pump:
IMG_6962.JPG

Hmm.... I also wonder if there is any adverse effect in MICRO POLISHNG because after all it can only be done by removing some material...
Or there might be some tolerance problem or even balance problem???
If anyone have any input/advise/experience, please kindly share here.
Thanks
 

BMW Alpina

FOUNDING Member & Administrator
Staff member
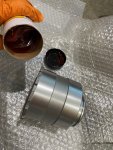
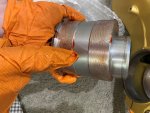
I continue with fitting the Hubcentric to the swing arm because the Grease C already arrived. First apply plenty of Grease C to both the hubcentric surface and also the inner surface of the swing arm:
IMG_6973.JPGIMG_6974.JPG

Then try to pry open the gap between the jaw of the swing arm with some plastic plier (barely noticeable in the picture above if you look at the right lower corner of the picture and saw an orange plastic plier (from the car interior panel prying tool kit) so there is more space to insert the hubcentric.
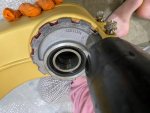
Then use rubber mallet to gently tap the hub in:
IMG_6975.JPG

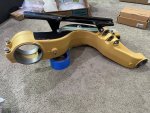
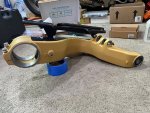
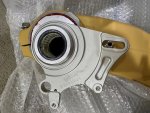
And soon it is in all the way, so I can test fit the caliper bracket:
IMG_6976.JPG

Well, the original plan was to install all the O-Rings, washers and circlip to secure the brake caliper bracket above, however, I just remember that I plan to paint the caliper bracket above in RED anodized paint... so that means I cannot finished installing it today... still need to mirror polish it and then paint it anodized red...
Hmmm forgot to mention that this brake caliper bracket does not come from the 998 but it is from the 848 EVO because it will allow me to use a much larger rear disk brake at 245mm vs the stock 998 220mm diameter. That is why you also see there is a provision for mounting rear ABS/Speed sensor that will not be utilized.

Anyway... I will try to polish this caliper bracket into a mirror polish soon...

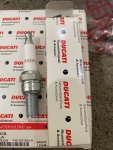
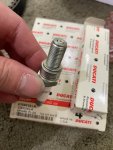
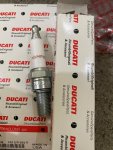
I then check the remaining spare parts that arrived today and found these racing spark plugs had arrived. These spark plugs is required for High Compression Pistal Piston then I use.
Notice the unique electrode shape:
IMG_6970.JPGIMG_6971.JPG
IMG_6972.JPG
 

BMW Alpina

FOUNDING Member & Administrator
Staff member
Coming along nicely.
Those plugs are interesting.
Thanks HKMP7,

I also found another interesting thing and it arrived today:
IMG_6980.JPG

The Rear Brake Lever assembly require a washer and since I am replacing most of the bolts with Titanium, I thought I should replace the washer too.
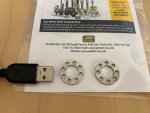
And I found this beautiful M10 washer from ProBolt, even drilled for extra lightness :love:
Note: USB plug just for size comparison
 
Top