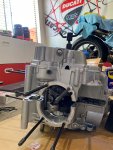
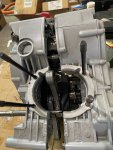
Weekend Update  :
:
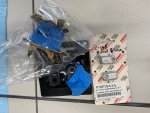
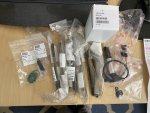
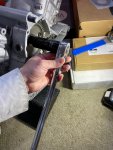
The CastleNut special tools arrived from UK a few days ago and I was pleasantly surprise that UK Post Office is now shipping very quickly like before COVID19:
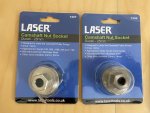
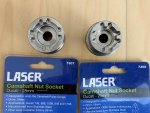
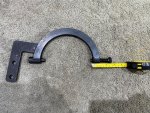
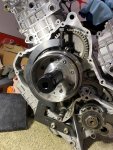
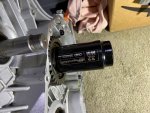
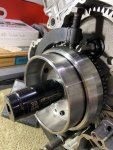
This tools enable me to take out that one remaining castle nut holding one of the Gear Pulley connected to the Camshaft.
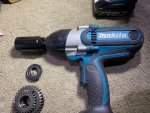
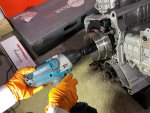
This Tools made by Laser UK is so nice because it is stainless steel... and this time I decided not to use impact wrench but instead installing back the whole cylinder head to the crankcase to provide leverage:
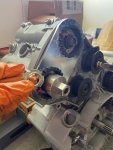
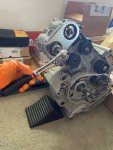
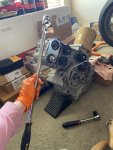
Unfortunately the regular wrench does not have enough leverage so I use breaker bar and it made it much easier:
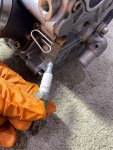
Also dediced to take out the original spark plug:
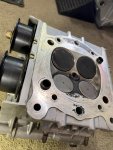
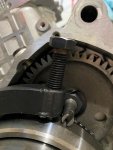
Then I took of the 2 belt tensioner rollers with breaker bar too:
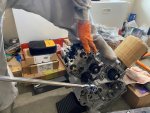
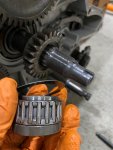
Once the roller out, time to take out the shafts of these tensioner roller using special socket too:
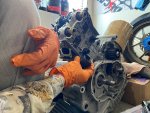
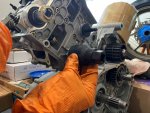
Then I ask my son to take out the 11 or so bolts holding the right side cylinder head cover, I am also amaze and so happy that he actually knew a lot about how engine work before we started this project because he did his own research on the internet proactively
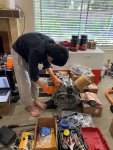
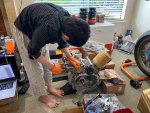
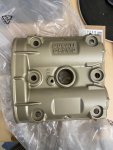
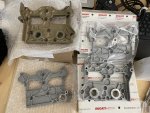
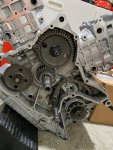
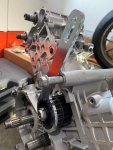
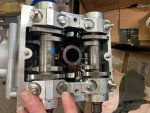
This is how the 2 cylinder heads now look without any roller, no pulley and no cover, oh, the cylinder block cover both left and right had been taken off too:
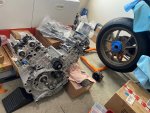
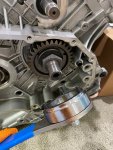
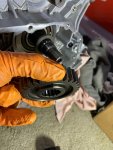
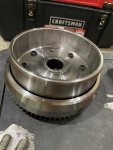
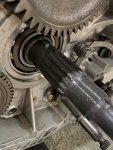
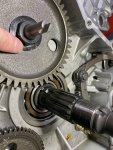
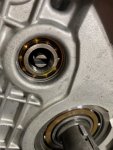
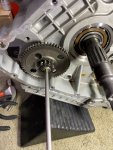
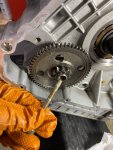
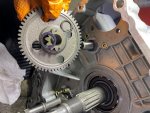
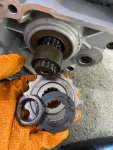
Then using another special tools I took out the layshaft pulley nut:
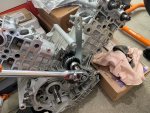
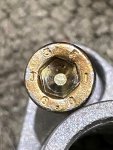
After that I took out one of the hex socket M6 bolt that hold the Desmo Valve mechanism deep inside the cylinder head and use my iPhone to zoom in so I can see the grade of the bolt (yap my eyes is old so I cannot see small writing on the bolt head)
 .
.
I am glad that it is only grade 8.8 so the ProTi Titanium Forged M6 bolt that is equivalent to Grade 10.9 will be stronger than this original bolt.
Yes, I will try to replace every single bolt inside this engine to it's Titanium Equivalent:
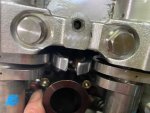
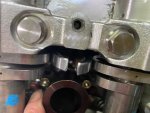
On this picture, you can see where those Hex Socket M6 bolt is located (deep inside):
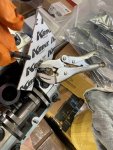
I also purchase many special bolt/stud made of Titanium either from K-Bike Italy or IM Manufacktur, Germany. One of those special double stud is the one holding the center position of the head cover.
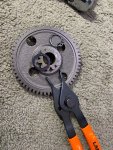
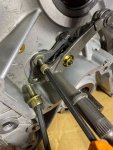
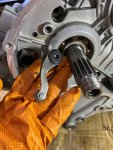
It is hard to take out using normal double nut method, so I use this locking plier:
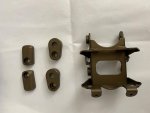
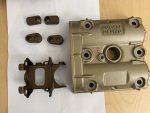
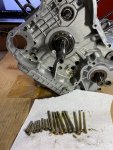
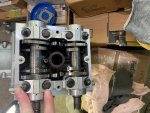
Left picture show all the BLACK color stock steel bolt/stud, and right picture show after they were REPLACE with the TITANIUM version, and the Titanium of course looks so much nicer:
However, for this 2 Titanium Hex Bolt, I found out that I can find their ProTi equivalent so I will replace this Titanium Hex Bolt from IM-Manufaktur with ProTi version soon.
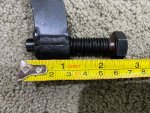
I wasn't sure about the shape of this bolt before, so that is why I bought from IM-Manufaktur, but now I have them in my hand, I can measure that the ProTi have the same dimensions of this bolt and since ProTi is FORGED, it will be even stronger (and 1mm thinner on the head):
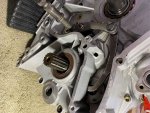
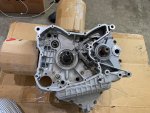
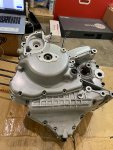
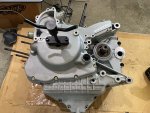
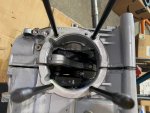
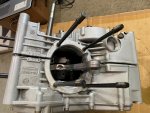
I want to continue with SPLITTING the Crankcase to extract the CrankShaft, however ... turn out I still need to buy even more Special Tools so hopefully I can do it in about 2 weeks from today
The CastleNut special tools arrived from UK a few days ago and I was pleasantly surprise that UK Post Office is now shipping very quickly like before COVID19:


This tools enable me to take out that one remaining castle nut holding one of the Gear Pulley connected to the Camshaft.
This Tools made by Laser UK is so nice because it is stainless steel... and this time I decided not to use impact wrench but instead installing back the whole cylinder head to the crankcase to provide leverage:


Unfortunately the regular wrench does not have enough leverage so I use breaker bar and it made it much easier:

Also dediced to take out the original spark plug:


Then I took of the 2 belt tensioner rollers with breaker bar too:

Once the roller out, time to take out the shafts of these tensioner roller using special socket too:


Then I ask my son to take out the 11 or so bolts holding the right side cylinder head cover, I am also amaze and so happy that he actually knew a lot about how engine work before we started this project because he did his own research on the internet proactively


This is how the 2 cylinder heads now look without any roller, no pulley and no cover, oh, the cylinder block cover both left and right had been taken off too:

Then using another special tools I took out the layshaft pulley nut:

After that I took out one of the hex socket M6 bolt that hold the Desmo Valve mechanism deep inside the cylinder head and use my iPhone to zoom in so I can see the grade of the bolt (yap my eyes is old so I cannot see small writing on the bolt head)
I am glad that it is only grade 8.8 so the ProTi Titanium Forged M6 bolt that is equivalent to Grade 10.9 will be stronger than this original bolt.
Yes, I will try to replace every single bolt inside this engine to it's Titanium Equivalent:

On this picture, you can see where those Hex Socket M6 bolt is located (deep inside):

I also purchase many special bolt/stud made of Titanium either from K-Bike Italy or IM Manufacktur, Germany. One of those special double stud is the one holding the center position of the head cover.
It is hard to take out using normal double nut method, so I use this locking plier:

Left picture show all the BLACK color stock steel bolt/stud, and right picture show after they were REPLACE with the TITANIUM version, and the Titanium of course looks so much nicer:


However, for this 2 Titanium Hex Bolt, I found out that I can find their ProTi equivalent so I will replace this Titanium Hex Bolt from IM-Manufaktur with ProTi version soon.
I wasn't sure about the shape of this bolt before, so that is why I bought from IM-Manufaktur, but now I have them in my hand, I can measure that the ProTi have the same dimensions of this bolt and since ProTi is FORGED, it will be even stronger (and 1mm thinner on the head):

I want to continue with SPLITTING the Crankcase to extract the CrankShaft, however ... turn out I still need to buy even more Special Tools so hopefully I can do it in about 2 weeks from today

