Panigale V4S Unica - From Start To Finish

topolino

Well-known member
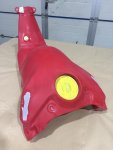
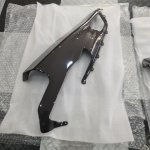
Bodywork is coming along nicely in my absence. Hoping to pick up the side fairings, nose cone and seat next week. Tank and battery cover will need trial fitting to align paintwork, then will go back to paintshop to be completed.

Tank rubbed down and decals removed, ready for primer.

WhatsApp Image 2021-06-21 at 14.38.54 (5).jpeg

WhatsApp Image 2021-06-21 at 14.38.54 (4).jpeg

WhatsApp Image 2021-06-21 at 14.39.52.jpeg

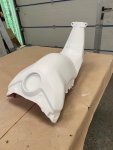
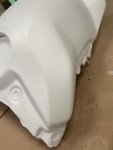
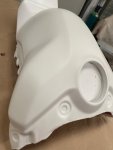
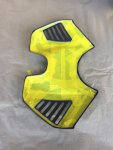
Primer applied

WhatsApp Image 2021-06-21 at 14.40.23.jpeg

WhatsApp Image 2021-06-21 at 14.40.24 (5).jpeg

WhatsApp Image 2021-06-21 at 14.40.24 (4).jpeg

WhatsApp Image 2021-06-21 at 14.40.24 (3).jpeg

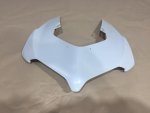
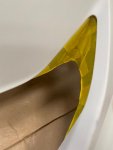
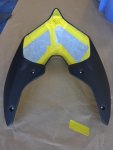
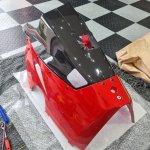
Nose cone will need to be sanded ready for primer

WhatsApp Image 2021-06-21 at 14.38.54 (2).jpeg

WhatsApp Image 2021-06-21 at 14.38.55.jpeg
 

topolino

Well-known member
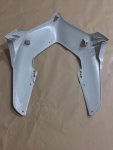
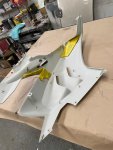
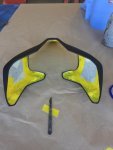
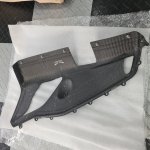
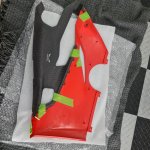
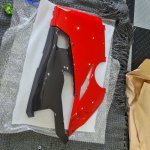
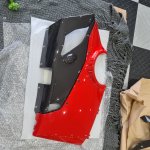
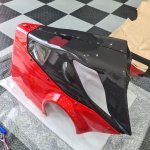
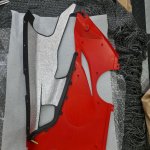
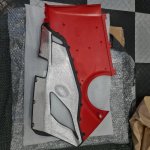
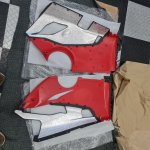
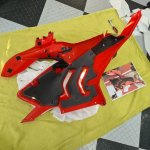
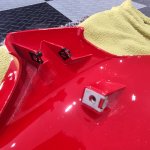
Side fairings awaiting prep after masking. Grilles removed for painting. Adhesive will be rubbed down and removed.

WhatsApp Image 2021-06-21 at 14.40.23 (3).jpeg

WhatsApp Image 2021-06-21 at 14.40.23 (2).jpeg

WhatsApp Image 2021-06-21 at 14.40.23 (4).jpeg
 

topolino

Well-known member
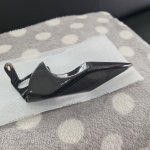
Battery cover masked up for paint. Once painted, this will go back to Germany for Peter Lieb to fit the grilles and posts.

WhatsApp Image 2021-06-23 at 16.47.41.jpeg

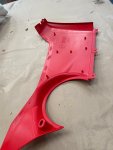
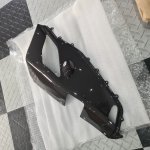
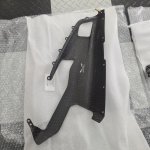
Lower fairings stripped of sound deadening, ready for prep. These will be married to the carbon LiebSpeed belly sections, once painted.

WhatsApp Image 2021-06-21 at 14.40.24.jpeg
 

topolino

Well-known member
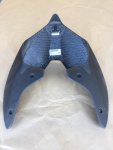
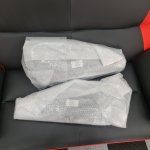
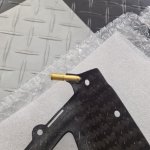
Next on the list of jobs to do was to trial fit the new lower carbon belly panels from Peter Lieb. These have been patiently sitting in a box for the last two years.

20210704_174218.jpg

20210704_174817.jpg

20210704_174838.jpg

20210704_175213.jpg

20210704_175225.jpg

20210704_175229.jpg

The next stage is perhaps the most daunting which involves lining up the carbon panels with the lower fairings and securing them with masking tape, then drilling four holes in each fairing to accept the securing bolts. No margin for error here but thankfully the slots in the carbon panels line up with the correspondong tabs on the fairings, which make the process a little less nerve-wracking.

Every other hole in the panel needs to be drilled out in the fairing, the remaining tabs on the panels will be bonded to the fairings once they are permanently bolted in place.

20210704_182100.jpg

Here are the panels and fairings bolted together

20210704_185749.jpg

20210704_193529.jpg
 

topolino

Well-known member
Here are the two halves bolted together. This allows you to drill out the two forward holes for the remaining retaining bolts. In the second image you can see the nuts/bolts in place.

20210704_200123.jpg

20210704_200127.jpg

And viewed from the other side.

20210704_200031.jpg

20210704_200050.jpg

Next the panels are split again to apply the heat shielding, as per Peter Lieb's instructions.

20210704_202007.jpg

20210704_210330.jpg

If you look at the DP lower fairings that Ducati supply for the Akrapovic full system, you will note by comparison, that these panels come provided with a LOT more heat-shielding on them than their plastic counterparts.

20210704_210420.jpg

At this stage, the next step was to unbolt the carbon panels from the lower fairings, which are going back to the paintshop for their final modifications and will be reunited at a later date. In addition, the carbon panels will be having PPF film applied and the leading edges of the fairings (after paintwork) to protect against stone chips and I will also address bonding the non-drilled tabs of the carbon panels, once they are fitted for good. More on that in due course.
 

topolino

Well-known member
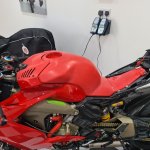
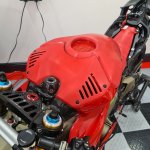
Tank and battery cover fitted for alignment checks by the painter, before they go back to the shop tomorrow for final paintwork to be done. I temporarily fitted the OEM upper side fairings to aid alignment. Incidentally these are for sale if anyone is interested, brand new. One small blemish on right hand side fairing (about 2mm across near Panigale logo), picked up during the house move two years ago but otherwise flawless.

20210707_120703.jpg

20210707_120631.jpg
 

topolino

Well-known member
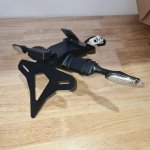
So I decided to replace the Evotech tail tidy with.......an Evotech tail tidy. Reason being the updated version has a much less cumbersome integration of the number plate light (Evotech incorporate their own one now, instead of using the OEM part) and the whole form factor of the assembly is considerably smaller and lighter than the Mk1 version (though as a concession to weight, some parts of it, such as the indicator stalks/spacers are now plastic instead of aluminium). If anyone is interested I am selling the original version (which has not seen the light of day/road since fitting it and is therefore as new).

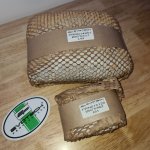
Even the packaging is smaller than the previous incarnation.

20210723_130901.jpg

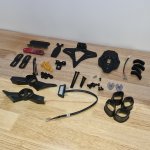
Full kit laid out before assembly. Here you can see the supplied LED numberplate light. If I have one gripe it is that it doesn't come supplied with an OEM connector and you have to add on the additional lead (supplied in the kit) to make it compatible. There is a lot less room inside the casting to accommodate the wiring (unlike the older version), so this has to be tucked under the tail when you come to fit it to the bike.

20210723_131923.jpg

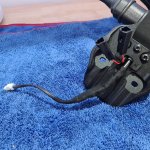
Havin connected the pig tail (supplied), I then heat shrank the connectors, before wrapping them in fabric tape (as used on the OEM loom on the bike)

20210723_162032.jpg

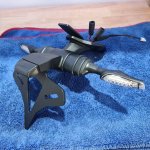
Fully assembled and ready to fit

20210723_162051.jpg

Just as a comparison, here is the original version.

20210723_132919.jpg
 

topolino

Well-known member
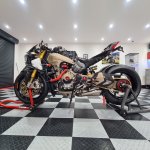
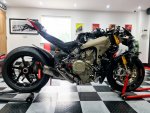
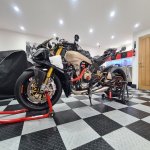
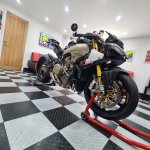
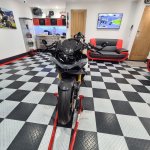
So I am finally collecting the bodywork tomorrow (thank f**k for that!!), but before I adorn the bike in it's new clothes. I thought I would add a quick 360 video and some gratuitous shots of the bike as it stands before most of it gets covered up. Here's the video.


topolino

Well-known member
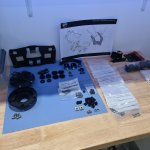
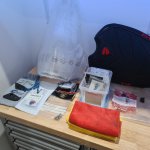
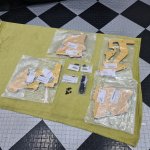
Unboxed the last few parts to go on the bike. Some of these have not seen the light of day for almost 2 years.

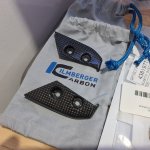
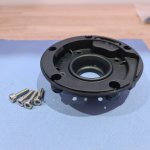
Ilmberger front subframe caps.

Aug-1.jpg

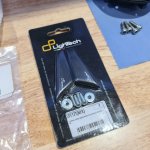
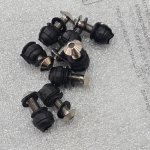
Lightech mirror block off plates (the bolts supplied with these are woefully short, so I am replacing them with longer stainless ones). The washers are not needed, as the new bolts have a flanged button head, as per the OEM ones.

Aug.jpg

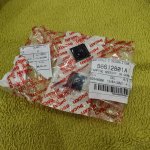
Some of the seat & tank hardware ready to go back on plus some bodywork fixings. Clamps for the fuel delivery line and velcro pads for the tank, are all being replaced with new items (not in picture). Last of the stainless bolts are in the marked bags to the right.

Aug-2.jpg

New wider screen and Probolt titanium screen bolt kit, seat, nose decal/badge and new seat panel rubbers.

Aug-3.jpg

New sound deadening kit for the upper fairings. Whilst the kit makes use of star washer clips (all replaced with new items) to secure the panels in place, they are backed with a very strong adhesive, so require careful placement before you remove the backing paper, as you only get one shot to position them correctly. As with previous projects, I will brush coat the star washer clips in Waxoil, to help prevent corrosion, since they are spring steel and prone to rust.

20210818_175122.jpg
 

topolino

Well-known member
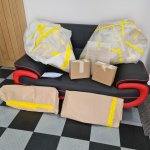
Time to unwrap the bodywork. This is most of it, the tank, seat unit and nose were not ready when I collected these parts last week and have another day to fully cure, so collecting them on Friday.

20210817_133840 (1).jpg

Here is one of the completed upper side fairings, with new sound deadening panels and star washer clips, rubber grommets, bolt/screw fixings and dual-lock pads all in place (I crossed referenced a photo I had to ensure these were in the correct position)

20210819_183817.jpg
 

topolino

Well-known member
Shark fin guard now clear coated. Matte be gone. This part is a little tricky to fit, as it requires a small hole to be drilled and tapped in the underside of the swing arm to accept one of the two fixing screws. The other fixing point (top left of the guard in this picture) utilizes the existing brake line P-clip bolt . Given this is a job that could easily go very wrong, say like snapping a hardened tap off in the swing arm! :-o, I am going to leave this one to my local guru Carl Harrison to fit. The rear wheel also needs to come off as well, so not a 5 minute job.

20210817_134102.jpg
 

topolino

Well-known member
New tank dual-lock pad (one of 4 in total) riveted back on. This was done before the clear coat was applied (masked over pad) to ensure no damage to the final finish when the rivet was compressed.

240149799_263071398980961_4199169437214737372_n.jpg
 

topolino

Well-known member
Bike is booked in to have the full Xpel Ultimate PPF film kit fitted towards the end of next month. The company I am using (Auto Curators) have an excellent reputation, as even the best kits can be installed badly by so called experts, so I am a firm believer in word of mouth and seeing some of their previous work, before I committed. Any areas not protected will be ceramic coated and any minor imperfections or flaws in the paint will be corrected before the film is applied, though since the paintwork is new, these should be few and far between.

Since the paint was baked following each clear coat, it should not degass to any great extent and the longer I wait the better for it to totally cure. Some people advise anything from 30 days to 9 weeks but since the film is permeable, this should not be an issue, even if degassing continues for a short period. The carbon bellypan will be having some bespoke panels made up to protect from rocks/chips etc which will add to the cost but it still works out cheaper than a respray or reclearing panels.

I've already fitted 90% of the bodywork but once it's all back on the bike I will reveal all. Like I said the sheme is nothing radical and almost certainly similar to ones you've seen before on my previous projects but I would rather it's all buttoned up and complete before I do "remove the covers" which will take the form of some high res photos and a video (the editing of which is something I'm learning to get to grips with, so I'm certainly not in line for any cinematograghy awards anytime soon!)
 

topolino

Well-known member
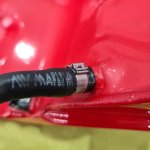
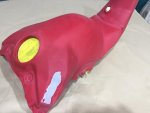
Prepping the tank for fitting. Aside from the fuel pump which is best left in place, I had to replace all the fittings before the assembly could go back on the bike. This meant renewing several items where necessary and carefully manoeuvreing it back onto the frame without scratching anything.

Main fuel line feed pipe went on first. New "Norma" clamp ensures a leak free seal. The only thing to watch out for here is that you orientate the angle of the pipe correctly, else it is a PIA to connect it to the airbox fuel inlet
feed.
20210827_181519.jpg

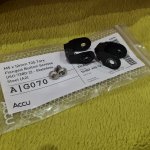
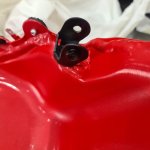
That done, next up were the support brackets, Swiss cheese original bolts replaced with A2 stainless items. Locktited and torqued as per factory spec.
20210827_175109.jpg

20210827_181529.jpg

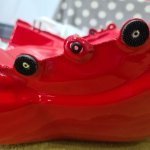
Dual lock pads and new fairing grommets in place on each side. Instead of the goop OEM white lithium grease, I bought some red rubber grease which will prevent these grommets from being pushed out when the fairing pins pass through them.
20210827_175036.jpg

New dual locks for atop the tank. The backing on these is a total mare to remove, so I slit them with a surgical blade in order to peel it off. Once on the bike they aint moving, so you need to ensure you position them accurately before you commit.
20210827_190910.jpg

Once the rear grommets were fitted (where the tank bolts to the rear subframe), all that remained was to offer it up to the bike, reconnect the earth lead, fuel pump electrical connector and breather lines, then bolt it back into place. Next up was the underseat bracket, fuel inlet hose clamp where it attached to the airbox inlet feed and fuel filler assembly.

The filler plate is held on with four bolts, so again these were replaced with stainless items. The plate is orientated in such a way that you need to ensure the two bleed holes line up correctly, to allow the venting system to work. before bolting it down. Finally the DP filler cap went on next and job done.
 

Attachments

topolino

Well-known member
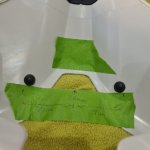
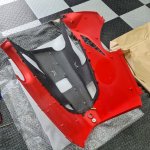
Refitting the seat fairing involved marking out the position of the rubber pads that rest on the underseat compartment and whose purpose is to space the panel correctly. They need to line up with two corresponding points, so positioning them accurately is vital.

Here I used a track fairing seat panel to measure the position of the pads and translated this across to the painted version.

20210827_150717.jpg

20210827_145005.jpg

Stuck in position

seat pads.jpg

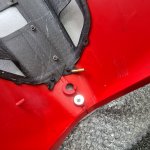
Last up was the rubber grommet, that locates the panel by sliding over the tail compartment "nib" at the rear. Silicone spray makes this a lot easier to fit than attempting it dry as it's a pig to get in otherwise. Once fitted and four bolts later, the rear of the bike is now complete (save for a number plate).
20210827_144852.jpg
 

topolino

Well-known member
Nose fairing fittings back on and titanium bolt kit ready to attach the new screen. The fairing itself utiliises two mounting bolts recessed into the instrument surround, that pass through the front subrame, which were replaced with stainless items when fitted back to the bike. I found it useful to apply a small piece of masking tape to the end of a T-bar to prevent them falling into the abyss inside and thereby avoid having to fish around trying to retreive them.

20210827_155447.jpg

20210827_155633.jpg

Unfortunately the Lightech mirror block off plates are slightly different on the later fairing, so I had to order a replacement set which should have arrived by the time I am next home. As of now the upper side fairings, nose fairing, screen, tank, seat and seat panel are all back on. Just the lowers and battery cover to go now.
 

topolino

Well-known member
Quick update one and all. It seems there are some alignment issues with the lower fairings despite them being on point as far as the Lieb Speed carbon elements are concerned (and no reflection on the accuracy of his parts) so not quite sure what is going on, but it's under enormous stress to get it to fit and distorted when bolted into positon, so it's now off the bike. That is not something I am akin to accepting so as an insurance policy I have a one piece carbon belly pan from Ilmberger that is being painted as we speak and will go on the bike instead. Not as practical as a two piece setup I grant you, but will nevertheless be a worthy replacement.

In addition the instrument cover has two alloy threaded collets into which the inner fairing ducts bolt to at the front. These were a pig to get the bolt to thread into so I suspect that some of the clear coat on the carbon got into the threads. Needless to say I ran a tap down them (0.8) as per the bolts that were to be used and no dice. One of them snapped off so basically the whole front end has to be dis-assembled to remove each side piece and replace with new. I will get the new ones braced in a jig (at the collet point) and checked that the threads will happily accept an M4 screw before I refit the whole thing. PIA but there we go, no sense in shortcuts at this stage.

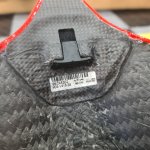
That being said the bike should be complete within the next three to four weeks. Have to say, it's looking as nice as I had hoped it would thus far. Battery cover is back from Peter Lieb, after I had had it painted and sent out to him. He fitted the grilles and their carbon backing plates as well as the pin posts to engage into the side fairings, all of which had to be done on a jig in Germany. Perfect fit. It really is a thing of beauty. I also swapped out the carbon set pad I fitted earlier with one of his embossed versions (to accept a domed Corse badge) and which is now complete (pics will go up tomorrow).

As I alluded to earlier, once that's all done its off to have the PPF film fitted in Hampshire, ceramic coated on all the other areas (ie wheels, suspension linkages, carbon parts) then off down the M3 to Moto Rapido, to have them activate the DMS module and update the software and load the Akra map. After that, who knows. If the weather holds out, heaven forbid, I might even get to ride it.
 

topolino

Well-known member
Some minor tweaks to the paintwork being done as I was not happy with two particular elements but these will be completed very soon. I'm at a cross roads with the lower panels for now and the one piece bellypan as its a royal pain in the ass to replace and remove it, due to the kickstand and not risk marking rhe paintwork so it's sat in its box still.

I've got a set of Ducati OEM Akra lowers I'm going to mount to rule out any issues being caused by the main fairings themselves, so if these align without the bodywork being under any tension then I know the lieb speed/oem combo is where the fault lies and I'll have to determine what's causing the problem. Bloody nuisance as it's nothing obvious. The Lieb Speed carbon lowers are tight up against one of the Akra rubber spacers on the pipework that runs down rhe RH side of the belly pan so I might see if removing it means I don't have to pull the RHS lower upwards to get it to bolt up near rhe rear brake pedal. This should all be a simple process but frustratingly it's not.
 
Top