Panigale V4S Unica - From Start To Finish
- Thread starter topolino
- Start date
topolino
Well-known member
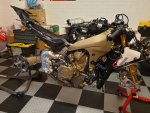
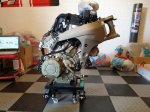
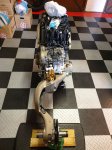
With the front frame in place and torqued up, it was time to turn my attention to the swing arm and linkages. When it came to fitting it, this proved tricky as I had to counterbalance the engine on its stand to prevent it rocking/rolling over, as all that holds it in place within the sump plate, is it's own weight and it was, by this stage, very top heavy!
New chain slider polished stainless steel bolts
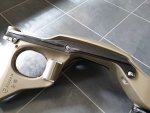
The lip on the underside of the upper chain slider serves an important function, as you will see later.
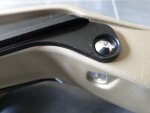
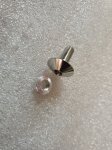
In order to make a shouldered bolt you need to combine an aluminium collar and dome bolt (both from ProBolt) - 10Nm with a dab of Loctite 243
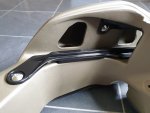
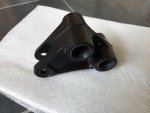
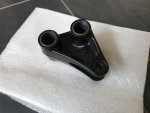
Lower rocker link, for rear suspension, Cerakoted satin black, along with new bushes and seals pressed in (courtesy of Carl Harrison Motorcycles)
New chain slider polished stainless steel bolts


The lip on the underside of the upper chain slider serves an important function, as you will see later.

In order to make a shouldered bolt you need to combine an aluminium collar and dome bolt (both from ProBolt) - 10Nm with a dab of Loctite 243

Lower rocker link, for rear suspension, Cerakoted satin black, along with new bushes and seals pressed in (courtesy of Carl Harrison Motorcycles)


topolino
Well-known member
Swing arm, rear Ohlins shock absorber and rocker link back on, torque values vary here and are critical. +/- 5% tolerance. Here's where that Shell "Gladus" grease comes in, I mentioned earlier.
Upper and lower shock mounting bolts and rocker link bolt, linkage plates have yet to be fitted.
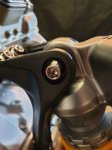
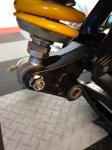
LH swing arm bolt in place
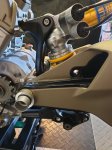
Finally it's beginning to resemble a motorcycle, rear axle and brake disc also back on.
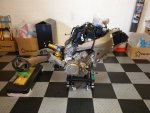
Here you can see how the upper radiator hose and link pipe snake behind the front frame
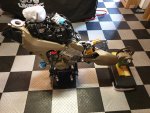
Upper and lower shock mounting bolts and rocker link bolt, linkage plates have yet to be fitted.


LH swing arm bolt in place

Finally it's beginning to resemble a motorcycle, rear axle and brake disc also back on.

Here you can see how the upper radiator hose and link pipe snake behind the front frame


topolino
Well-known member
Getting ever closer to being able to remove the engine stand. First I had to re-attach the rear suspension link plates. The bolts retaining these have to be torqued up to 110Nm! I had originally commissioned some stainless steel ones but they proved to be of the wrong tensile strength and I stretched the thread on one of them whilst tightening it, so decided to use the original three bolts for safety reasons and had these Cerakoted satin silver, to get rid of the dull zinc plated finish.
Here's the completed rear suspension set-up, there is only a 2mm clearance between the lower shock bolt and nut and the inner face of the linkage plates, so very tight!
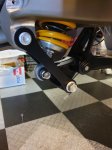
Here's the completed rear suspension set-up, there is only a 2mm clearance between the lower shock bolt and nut and the inner face of the linkage plates, so very tight!

topolino
Well-known member
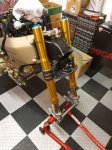
Front forks were next. Once these were on I could dust off the paddock stands and remove the engine stand that had done its job after three long months of work. As I said an invaluable bit of kit.
Front forks back on with temporary steering stem nut. Next pic shows the new stainless lock-stops and nuts.
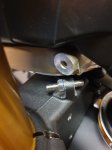
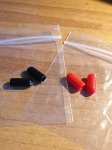
These plastic pipe caps will serve as protective caps on the ends of the lock stops to stop them from marking the frame on full lock and scratching the paint! Lower yoke bolts also replaced - 8Nm
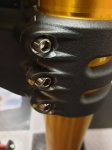
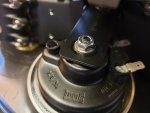
Even the horn mounting nut and washer don't escape my attention
Front forks back on with temporary steering stem nut. Next pic shows the new stainless lock-stops and nuts.


These plastic pipe caps will serve as protective caps on the ends of the lock stops to stop them from marking the frame on full lock and scratching the paint! Lower yoke bolts also replaced - 8Nm


Even the horn mounting nut and washer don't escape my attention

topolino
Well-known member
Here the front fork axle pinch bolts and axle nut have been replaced.
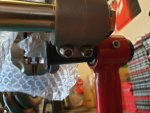
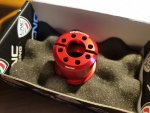
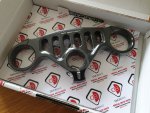
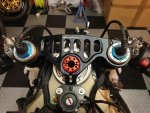
I decided to go with a two tone setup on top of the forks with a black anodised top yoke and red steering stem nut
Re-fitted the ignition switch using new shear bolts
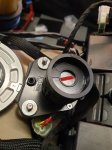
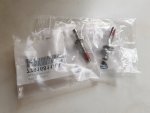
View from above. Still a lot of wiring to sort out. More of that later.
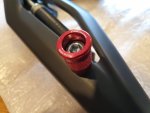
Before I could use the rear paddock stand I wanted to ensure the rear of the bike was as stable as possible, so that meant installing the rear suspension/footrest mounting plates and which also encompassed the side stand assembly. Here is the extended footpeg for the side stand I fitted from CNC Racing. The zinc bolt in this shot was replaced with a stainless item at a later date.
Stainless pivot bolt and self locking nut for the side stand
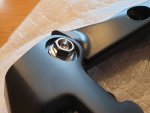
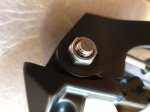
Completed assembly
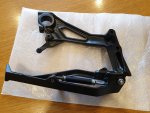
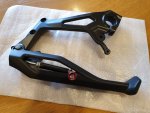
Finally the RH suspension plate fitted back on the bike. I have already ordered some anodised frame plugs to cover the swing arm pivot bolts.
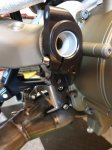

I decided to go with a two tone setup on top of the forks with a black anodised top yoke and red steering stem nut


Re-fitted the ignition switch using new shear bolts


View from above. Still a lot of wiring to sort out. More of that later.

Before I could use the rear paddock stand I wanted to ensure the rear of the bike was as stable as possible, so that meant installing the rear suspension/footrest mounting plates and which also encompassed the side stand assembly. Here is the extended footpeg for the side stand I fitted from CNC Racing. The zinc bolt in this shot was replaced with a stainless item at a later date.

Stainless pivot bolt and self locking nut for the side stand


Completed assembly


Finally the RH suspension plate fitted back on the bike. I have already ordered some anodised frame plugs to cover the swing arm pivot bolts.

topolino
Well-known member
I've mentioned many times on this thread, the parts I have had Cerakoted, such as the front frame, swingarm, suspension linkages etc. It's not a cheap process but it's advantages are that it is resistant to heat, does not fade, is exceptionally hard and therefore does not scratch easily, bonds readily to the surface and resists corrosion unlike many other paints or finishes. It is also not so thick (unlike powder coating) that it changes the appearance or rather the definition of a casting. As a result, you also don't need to mask off the threads on any part, though, on certain items they were masked anyway. Cerakote was originally designed to coat firearms which are subject to extreme heat under use but has over the years found it's other niche for coating exhausts, radiators and other parts requiring a tough durable solution. All my Cerakoting was carried out by Hi-Spec Coatings in Sussex. If you are in the market for similar work give them a call. Here is a selection from those parts I had coated.
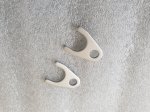
Radiator fan brackets
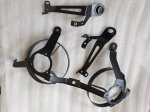
Oil cooler pipe retaining clamps
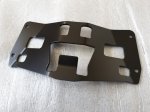
Fuel tank/seat pad plate
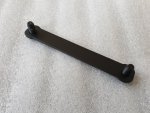
Rear subframe cross-member
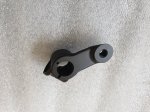
Gear change lever
Radiator fan brackets

Oil cooler pipe retaining clamps

Fuel tank/seat pad plate

Rear subframe cross-member

Gear change lever

topolino
Well-known member
Completing the top end of the forks involved the handlebars, clip-ons, switchgear and bar-end indicators and hydraulic reservoirs. I will come back to the hydraulic system and indicators later. For now here's the setup I went for.
Handlebars and clip-ons ready to assemble. E clips not shown in this picture. The roll pins in the plastic bag are used as locating dowels for the switchgear and to lock the handlebars into the clip-ons
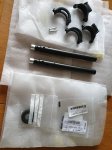
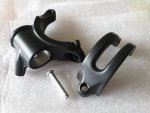
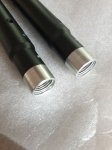
Handlebars and clip-ons ready to assemble. E clips not shown in this picture. The roll pins in the plastic bag are used as locating dowels for the switchgear and to lock the handlebars into the clip-ons


topolino
Well-known member
Clip-ons fitted along with switch gear, clutch master cylinder, Rizoma clutch lever and ProGrip 717 grip. As usual all bolts replaced for stainless, including bleed nipple and banjo bolts
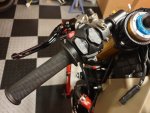
Same again on the throttle side
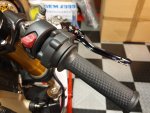
Throttle spacer kit installed to remove slack/slop when first applying throttle. Best $25 you can spend.
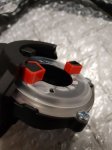
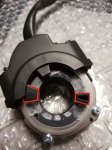

Same again on the throttle side

Throttle spacer kit installed to remove slack/slop when first applying throttle. Best $25 you can spend.


topolino
Well-known member
I've never been a lover of the antennae-esque rear view mirrors on the Panigale, less so their fragility, the fact that on the V4, unlike the 1199, they don't fold back and perhaps more importantly, that they vibrate so much they are near next to useless in the real world, so a decision was made very early on, to get rid of them altogether and go with bar end indicators. I don't like the type that bolt to the nose fairing so it was an easy choice.
The difficulty lay in how to wire them up. Since the handlebars have allen headed inner end caps that secure them to the clip-ons (see previous post for images) the wires from the indicators would have to exit before this point. I simply drilled a small hole on the underside of each handlebar, just before the bar enters the clip-on casting, which is where the wire will exit. I measured and drilled these out some weeks before I had the bars Cerakoted. Having worked out how to get the wires out, I now needed to find a way to connect them to the existing points on the loom. For this I grafted/soldered on two OEM style indicator connectors and fly leads to the exiting wires and heat shrank them, before finally covering them in braided hose to blend in with the style of the OEM loom. These two leads would then loop across to the centre and down over the top of the air filter duct and under the front subframe where they can connect to the original indicator connectors on the front end loom. I tested this set up many times to ensure there was enough slack in the wiring to allow lock to lock movement of the handlebars without the wires being pinched or snagged in any way or that would place them under any tension.
The indicators themselves....I went with MBlaze by MotoGadget, a German manufacturer. I like the narrow form factor and size, as they barely add to the length of the handlebars unlike the Oberon units I had on my 1299. They are incredibly bright and because I wanted to fit them in conjunction with bar end mirrors and MotoGadget don't make a kit for them, I had the retailer (DesmoWorld in Germany, huge thanks to Chris Schipfer for this) make me up some one-off anodised billet adaptors. Not cheap but worth it.
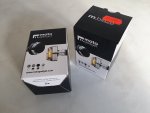
Custom made mirror mounting adaptor kit
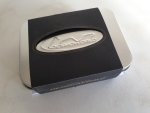
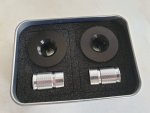
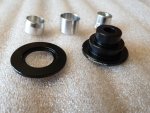
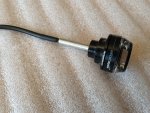
Indicators as supplied
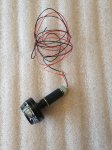
Cable sheathing, heatshrink and mirror mount adaptor fitted
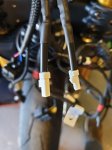
OEM connectors fitted onto the ends of the indicator wires AFTER fitting and complete indicator assembly BEFORE fitting to the handlebars
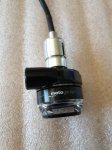
Indicators fitted to the bar ends. The MBlaze model indicators are handed, so MotoGadget sell both a LH and RH version, which are sold separately. This is due to the orientation of the LED bulbs inside. Whilst they are omni-directional in terms of light output, they are brightest when viewed directly in front or from behind, so have to be angled accordingly taking into account the pitch of the bike when sitting on two wheels
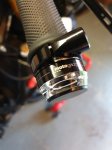
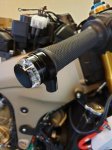
This final image shows the "glass-less" mirrors, which I will be fitting later in the build. They feature a unique diamond cut and polished metal disc that produces a reflective surface on par with a conventional glass mirror.
The difficulty lay in how to wire them up. Since the handlebars have allen headed inner end caps that secure them to the clip-ons (see previous post for images) the wires from the indicators would have to exit before this point. I simply drilled a small hole on the underside of each handlebar, just before the bar enters the clip-on casting, which is where the wire will exit. I measured and drilled these out some weeks before I had the bars Cerakoted. Having worked out how to get the wires out, I now needed to find a way to connect them to the existing points on the loom. For this I grafted/soldered on two OEM style indicator connectors and fly leads to the exiting wires and heat shrank them, before finally covering them in braided hose to blend in with the style of the OEM loom. These two leads would then loop across to the centre and down over the top of the air filter duct and under the front subframe where they can connect to the original indicator connectors on the front end loom. I tested this set up many times to ensure there was enough slack in the wiring to allow lock to lock movement of the handlebars without the wires being pinched or snagged in any way or that would place them under any tension.
The indicators themselves....I went with MBlaze by MotoGadget, a German manufacturer. I like the narrow form factor and size, as they barely add to the length of the handlebars unlike the Oberon units I had on my 1299. They are incredibly bright and because I wanted to fit them in conjunction with bar end mirrors and MotoGadget don't make a kit for them, I had the retailer (DesmoWorld in Germany, huge thanks to Chris Schipfer for this) make me up some one-off anodised billet adaptors. Not cheap but worth it.

Custom made mirror mounting adaptor kit


Indicators as supplied

Cable sheathing, heatshrink and mirror mount adaptor fitted

OEM connectors fitted onto the ends of the indicator wires AFTER fitting and complete indicator assembly BEFORE fitting to the handlebars


Indicators fitted to the bar ends. The MBlaze model indicators are handed, so MotoGadget sell both a LH and RH version, which are sold separately. This is due to the orientation of the LED bulbs inside. Whilst they are omni-directional in terms of light output, they are brightest when viewed directly in front or from behind, so have to be angled accordingly taking into account the pitch of the bike when sitting on two wheels


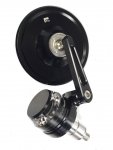
This final image shows the "glass-less" mirrors, which I will be fitting later in the build. They feature a unique diamond cut and polished metal disc that produces a reflective surface on par with a conventional glass mirror.

topolino
Well-known member
So now it's on to the cooling system. Won't take a genius if you've read through the thread thus far to realise there is more Cerakoting involved here. As I said, the oil cooler was the subject of a recall, so the images shown are of the replacement version. Basically Ducati added some doubler plates at the outlet/inlet points, where previously there had been some fracturing on owners bikes with the original version.
Here's the main radiator after coating. This had a ceramic based coating applied as opposed to straight Cerakote. The silicone bungs will remain in place until it's fitted on the bike, to prevent any ingress of dirt.
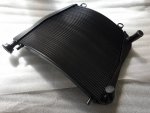
Pays to mask off areas well.
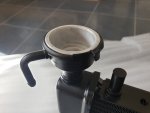
Oil cooler
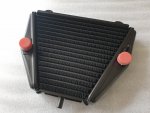
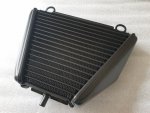
Here you can see the reinforcing doubler plate, to mitigate previous fracturing issues.
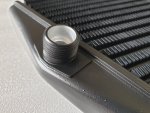
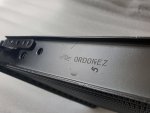
Ordonez manufacture the new versions of the oil cooler
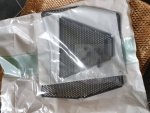
Evotech radiator and oil cooler guards. Good a time as any to fit them and much easier with the whole assembly off the bike.
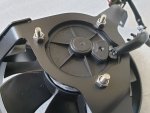
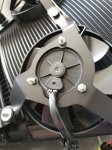
Fan assembled on to newly coated bracket with stainless fasteners
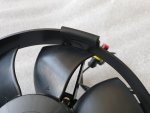
Here you can see one of the four rubber strips removed prior to coating and re-bonded using Loctite 480. These act as a cushion between the edge of the fan blade bracket and the radiator core and provide the necessary clearance, so there is no danger of a fan blade striking the radiator
Fan assembly complete. The central rubber bung also acts a spacer to achieve the correct clearance
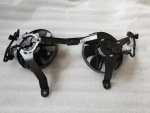
Fan assembly mounted on to radiator shroud
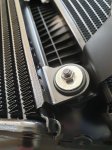
New fasteners once more and rubber dampers fitted
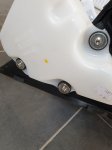
One of the two expansion tanks in situ
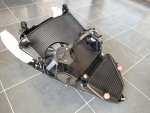
Complete assembly ready to fit onto the bike
Evotech guards in place
Here's the main radiator after coating. This had a ceramic based coating applied as opposed to straight Cerakote. The silicone bungs will remain in place until it's fitted on the bike, to prevent any ingress of dirt.

Pays to mask off areas well.

Oil cooler


Here you can see the reinforcing doubler plate, to mitigate previous fracturing issues.

Ordonez manufacture the new versions of the oil cooler

Evotech radiator and oil cooler guards. Good a time as any to fit them and much easier with the whole assembly off the bike.

Fan assembled on to newly coated bracket with stainless fasteners

Here you can see one of the four rubber strips removed prior to coating and re-bonded using Loctite 480. These act as a cushion between the edge of the fan blade bracket and the radiator core and provide the necessary clearance, so there is no danger of a fan blade striking the radiator

Fan assembly complete. The central rubber bung also acts a spacer to achieve the correct clearance

Fan assembly mounted on to radiator shroud

New fasteners once more and rubber dampers fitted

One of the two expansion tanks in situ

Complete assembly ready to fit onto the bike


Evotech guards in place

topolino
Well-known member
Fitting the radiator and oil cooler assembly to the bike is quite a fiddly job and on reflection it is best if two people do it as it's hard to support the structure by yourself while bolting it into position. I will come onto that procedure later as before I can fit it, next up is the exhaust system.....
There are numerous threads and videos explaining how to fit the full Akrapovic exhaust online, so I am not going to dwell too much on it, save to point out anything unusual that perhaps the documentation they provide does not explain well. Ordinarily on a fully assembled bike, this is a BIG job for anyone, largely due to the amount of dis-assembly required just to be in a position to start fitting it. In my case that clearly doesn't apply so I will jump straight in.
Front header pipes fitted using new copper manifold nuts and plenty of copper grease on the threads - 10Nm max. Rear heat shield is assembled first as it makes life easier. Next the front heat shield is fitted. You will note the second of the two camchain tensioner bolts I mentioned in an earlier post (the large black hexagonal bolt). Also visible is the starter motor wiring and heat shielding
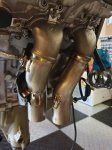
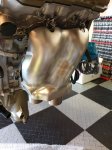
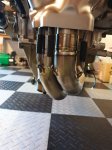
Front down pipes and retention springs in place. Rear headers were, as mentioned earlier, a pig to fit...until I invested in some swivel sockets
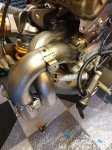
Rear Lambda sensor fitted
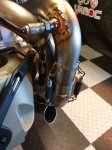
Rear manifold heat shield
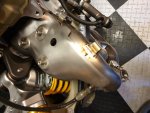
Ditched the bolts that came with the Akra kit for these instead
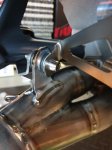
Note: Upper rocker link bolt had yet to be Cerakoted in this picture, hence the dis-colouration
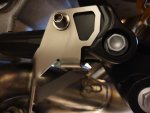
Last of the metal heat shields to go on.
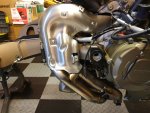
Since the purge valve and bracket are tossed in the bin as part of the installation, it leaves a sizeable gap behind the front downpipes. The most important thing is ensuring the wiring remains clear of any exhaust runs.
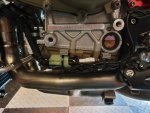
Re-routed wiring loom
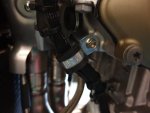
Front Lambda sensor fitted
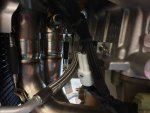
It's a pity to cover this up
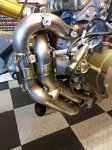
There are numerous threads and videos explaining how to fit the full Akrapovic exhaust online, so I am not going to dwell too much on it, save to point out anything unusual that perhaps the documentation they provide does not explain well. Ordinarily on a fully assembled bike, this is a BIG job for anyone, largely due to the amount of dis-assembly required just to be in a position to start fitting it. In my case that clearly doesn't apply so I will jump straight in.
Front header pipes fitted using new copper manifold nuts and plenty of copper grease on the threads - 10Nm max. Rear heat shield is assembled first as it makes life easier. Next the front heat shield is fitted. You will note the second of the two camchain tensioner bolts I mentioned in an earlier post (the large black hexagonal bolt). Also visible is the starter motor wiring and heat shielding


Front down pipes and retention springs in place. Rear headers were, as mentioned earlier, a pig to fit...until I invested in some swivel sockets


Rear Lambda sensor fitted

Rear manifold heat shield

Ditched the bolts that came with the Akra kit for these instead

Note: Upper rocker link bolt had yet to be Cerakoted in this picture, hence the dis-colouration

Last of the metal heat shields to go on.

Since the purge valve and bracket are tossed in the bin as part of the installation, it leaves a sizeable gap behind the front downpipes. The most important thing is ensuring the wiring remains clear of any exhaust runs.

Re-routed wiring loom

Front Lambda sensor fitted

It's a pity to cover this up

topolino
Well-known member
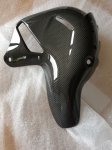
I'll say this now, so I don't have to explain myself later. I am not a fan of matte carbon fibre. For me, clear coat brings out a depth to the weave that looks much nicer. It's a personal choice, I appreciate, but there you have it.
The first of many carbon fibre parts that were treated to a clear coat finish.
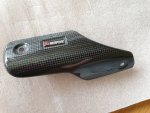
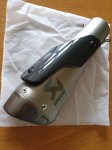
RH silencer fitted with gloss heat shield
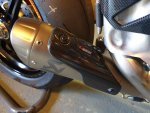
Rear manifold gloss heat shield
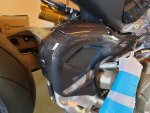
The first of many carbon fibre parts that were treated to a clear coat finish.


RH silencer fitted with gloss heat shield

Rear manifold gloss heat shield

topolino
Well-known member
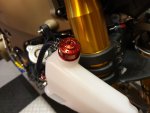
With the exhaust on, save for the LH silencer, it was time to fit the radiator/oil cooler assembly back on the bike and finish off all the plumbing. Where shown "Mikalor" jubilee clips were used. All of the black steel OEM pipe clips were replaced with bright zinc options.
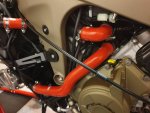
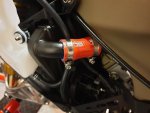
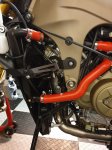
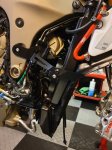
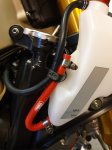
New expansion tank filler cap
Loctite 480 used to bond a new rubber brake line guide block back onto the RH radiator fan bracket support
Oil cooler lines and Cerakoted clamps re-fitted to the engine block


New expansion tank filler cap

Loctite 480 used to bond a new rubber brake line guide block back onto the RH radiator fan bracket support

Oil cooler lines and Cerakoted clamps re-fitted to the engine block


topolino
Well-known member
Hydraulics, possibly my least favourite job. I removed the entire system as one, lines, calipers, clips, reservoirs etc. Most would end up being swapped out or changed in some way, but it meant refitting the system was a much quicker process than splitting lines here and there and introducing more air than was necessary. I could just cherry pick the parts I wanted to replace one at a time at a later point in the build.
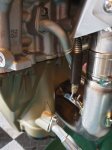
Rear brake caliper line in place. Note the position of the rear speed sensor cable, that must be routed UNDER the lip of the chain slider as I mentioned earlier. I have some other hydraulic related parts to fit in the coming months so this is still very much work in progress.
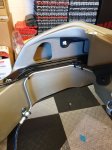
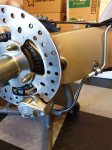
More stainless hardware, mounting bolts, pinch bolts, bleed nipple and banjo bolt
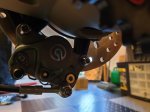
Rear speed sensor in place
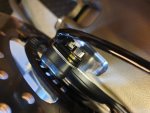
Reservoir bracket bolt
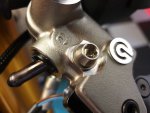
ABS unit mounting bolts
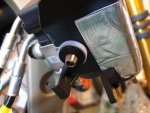
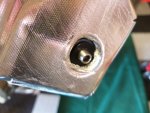
Stainless master cylinder bleed nipple
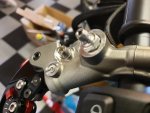
Perch bolts
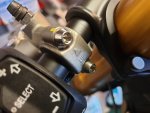
Rizoma front brake lever
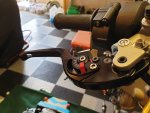
Stainless double banjo bolt and caliper bolts (both sides) and new clutch slave cylinder
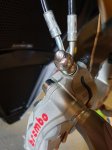
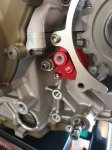
You might well be wondering......
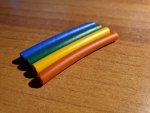
.....Never did like the cheap tacky tape Ducati uses to colour code the ABS lines, so I decided to use some spiral wrap instead.
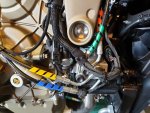
Rear brake caliper line in place. Note the position of the rear speed sensor cable, that must be routed UNDER the lip of the chain slider as I mentioned earlier. I have some other hydraulic related parts to fit in the coming months so this is still very much work in progress.


More stainless hardware, mounting bolts, pinch bolts, bleed nipple and banjo bolt

Rear speed sensor in place

Reservoir bracket bolt

ABS unit mounting bolts


Stainless master cylinder bleed nipple

Perch bolts

Rizoma front brake lever

Stainless double banjo bolt and caliper bolts (both sides) and new clutch slave cylinder


You might well be wondering......

.....Never did like the cheap tacky tape Ducati uses to colour code the ABS lines, so I decided to use some spiral wrap instead.

topolino
Well-known member
Rear sub-frame was next. I'd split this to remove the cross member that needed to be Cerakoted. The mounting bolts must be replaced after every removal/re-fitting of the frame (according to Ducati). Note that the upper mounting bolts have a different torque to the lower ones.
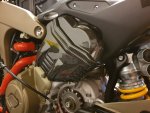
Rear subframe in position. Wiring completely re-routed as per Akrapovic installation instructions. Also visible is the Cerakoted cross member and stainless steel nyloc nuts. Plastic modified exhaust heat guard comes as part of the Akra kit.
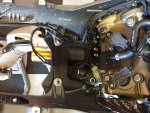
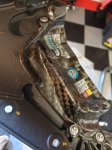
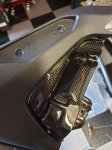
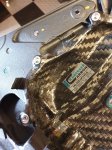
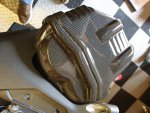
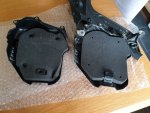
Ilmberger LH & RH rear cylinder head covers
New foam liner fitted
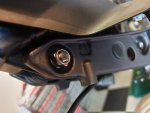
Rear bolts replaced
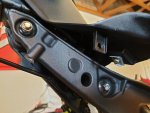
Rear subframe in position. Wiring completely re-routed as per Akrapovic installation instructions. Also visible is the Cerakoted cross member and stainless steel nyloc nuts. Plastic modified exhaust heat guard comes as part of the Akra kit.

Ilmberger LH & RH rear cylinder head covers


New foam liner fitted


Rear bolts replaced


topolino
Well-known member
Here's how the bike looked at this point in the build. Well almost.....the eagle eyed amongst you will notice that neither the indicators or silencers are fitted in this image and it appears to have gained a rear sprocket as well, that is because some photos are slightly out of sequence to give this thread some sense of coherence.
