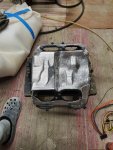
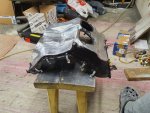
Time to write a summary of the valve adjustment operation before I forget the details.
As I wrote earlier, I had an oil leak from both valve covers. So, while changing seals, I also decided to check my valve clearances.
Service manual states many unbelievable procedures that is NOT necessary to do. The most important things that you
don’t need to do is, take of the cylinder heads neither the rockers.
To ease up engine rotation, remove spark plugs. You need long 12mm, 12-point socket that is grounded to 15mm outside diameter, or buy 88713.3633 from Ducati.

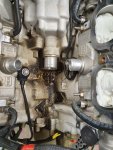
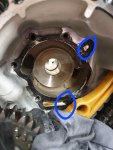
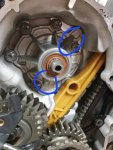
Open timing inspection cover from left side, and fit 8mm bolt with lock nut on it. Open valve covers and rotate crankshaft to clockwise, until flat point of both camshafts is line up and facing up. Now see how your cam chain sprocket bolts are. One of them is pointing down and can’t be removed. Turn crank so that you can access this bolt, remove it, and turn crank again, flat point facing up. Also then marks on cam chain sprocket is lining to head and dot is facing up. Now cylinder no. 1 and 4 are TDC position.


Remove cam chain tensioner and two remaining bolts from cam chain sprocket. Lift sprocket and chain off from the camshaft.
Now don’t touch crankshaft anymore, or you need to find TDC again. This is done via inspection cover from right side of the engine, and you need special shaft for this. 88713.5396 (this can be done easily from right diameter rod, but I didn’t do that, I simply didn’t touch my crank, when cams were off)
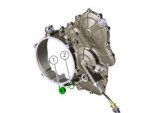
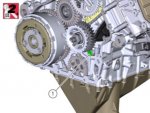
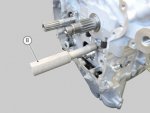
Do your measurements how you prefer.
I check openers with cam lobe facing opposite to valve. And closers from entire diam from base circle, trying to find tightest spot.
Remove cams and lift open rockers to remove open shims with magnet.
Remember that your pistons are TDC in cylinders 1 and 4 so it’s impossible to drop valves from 1 and 4, but 1 and 3 cylinders need some secure option.
Possibilities are:
-compressed air to cylinder via sparkplug hole.
-Cable tie to valve stem.
-Do 1 and 4 cylinders completely, then rotate crank 180° to find TDC on 2 and 3.
Remember that don’t touch crank when cams are off. You can if you have that special tool 88713.5396. what is used to find TDC on 1&4.
I did it with cable tie on valve stem. Easy to place but PITA to take out from far-left side valves. I used soldering iron to melt cable tie and pliers to pull it away.
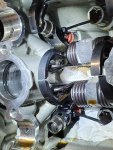
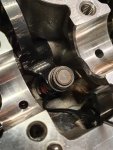
Detach some plastic tool to closer rocker so it presses return spring. Now you can press closer shim down and remove half ring collets with magnet. Almost all my collets were cut to four pieces.

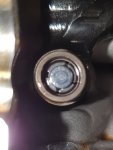
My measurements also reveals that you should change all collets, because they have huge effect on clearances, broken or not.
When checking with new collets and shims, leave cam chain sprocket away, by this, you can turn cams separately by your hand. (not full turn cos valves are hitting piston, but enough to measure)

Do your math and put right shims back. Again, use some plastic tool to press closer rocker, slide closer shim to valve stem, then you can drop collets to your motor

. Find them with magnet and use tweezers this time. Also, good practice to use some towel in oil channels so if you drop some it can be founded. Carefully remove plastic tool to lock collets in place. Install opening shims
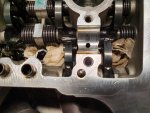
Install cams, use tool 88713.5397 (I made my own) to lock cams in place, install cam chain and sprocket so that markings align and dot facing up, remember hard Loctite. Install cam chain tensioner and tighten it. Before turning crank, double check all your markings, remove cam holding tool, rotate crank couple of full turns and check that front and rear cylinders are both, markings aligned and cam flat spot facing up at same time. Install third cam chain sprocket bolt.

I worked rear cylinder first and didn’t touch front cylinders cam chain sprocket bolts. By this you can confirm timing of rear cyl. Because you haven’t touched front cams, timing is correct there, when turning crank so that front cyl cams flat spot is facing up, also rear cams flat spot should be facing up. And markings on cam chain sprocket lining. Easy to see if you one tooth wrong.
With front cylinder, it’s possible to do when radiator and fans are removed, but if you want little extra room, I suggest that you remove front frame.
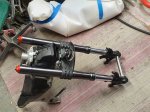
Place jack under oil filter case with rubber pad. Remove top triple, loosen, and slide off handlebars, place them top of airbox with cable ties. Remove ignition switch connectors, front harness connectors and 4 big bolts that keeps frame to engine. Slide frame away from engine.
This is also good point to check how air filter assembly is sealed. Mine was poorly, I used some foam kind of sealing tape between frame and plastic airduct.


I have done some excel sheet with interactive colors to ease up the valve adjustments, which I can share if wanted and can be freely modified.
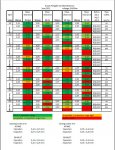
Remember, if you like to check shim thickness, measure them from inside, to get right values.


