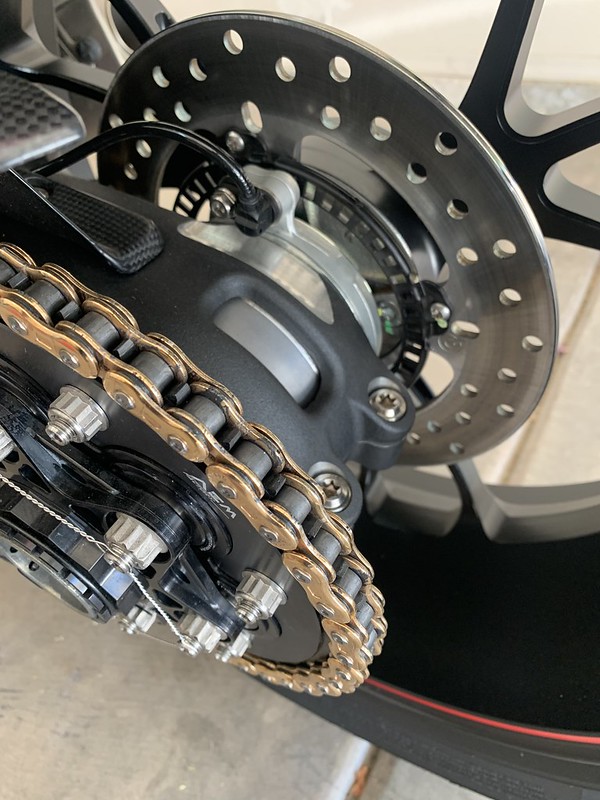
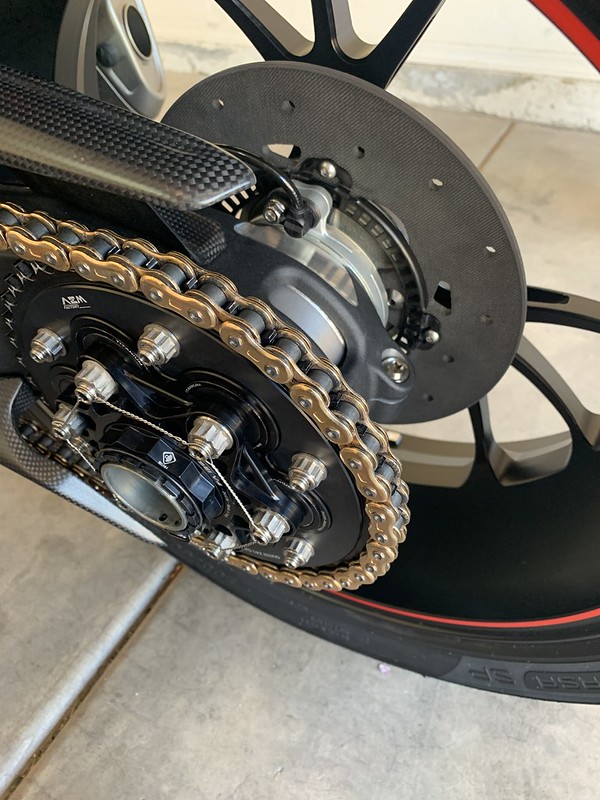
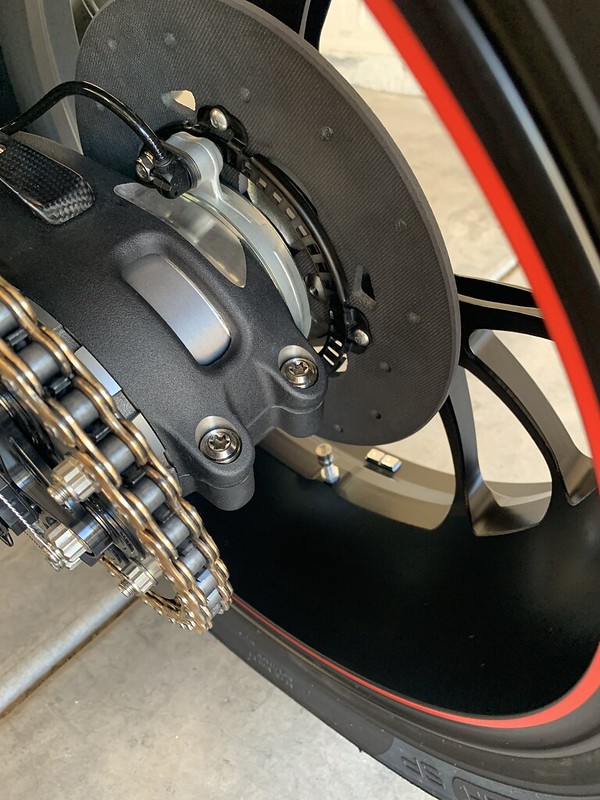
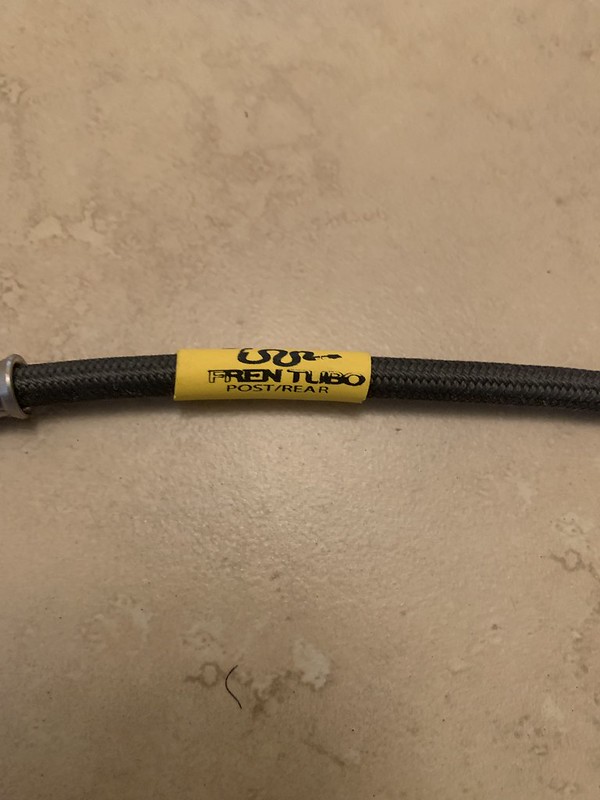
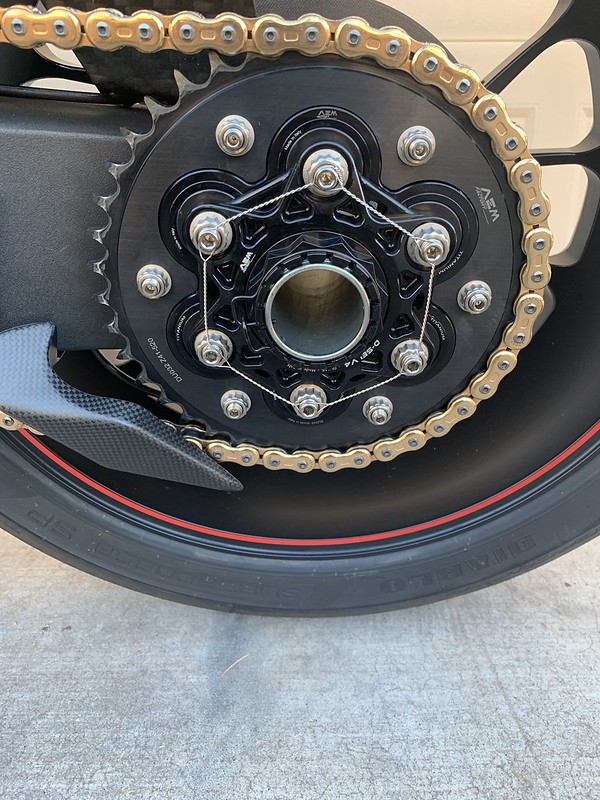
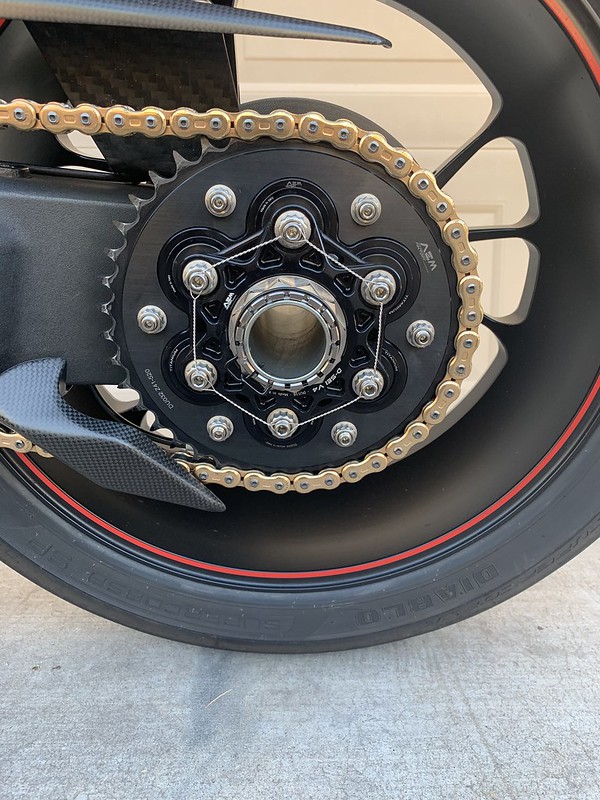
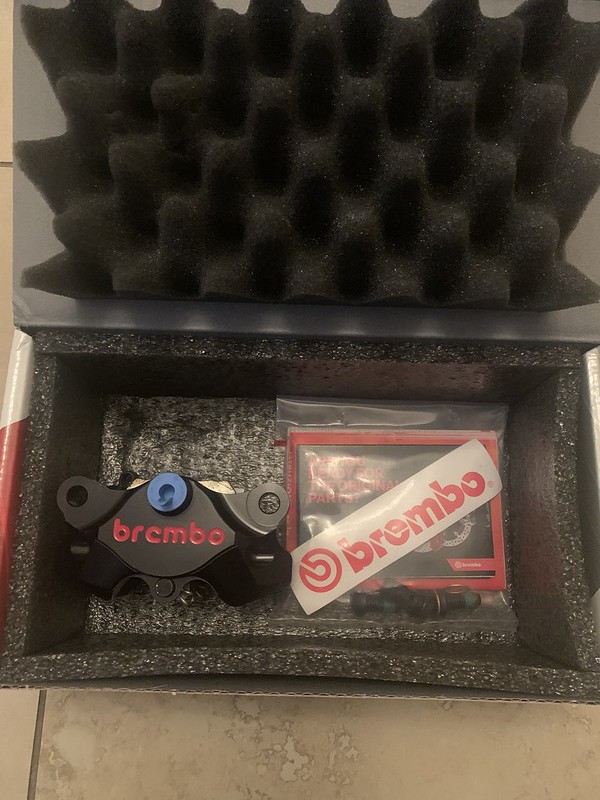
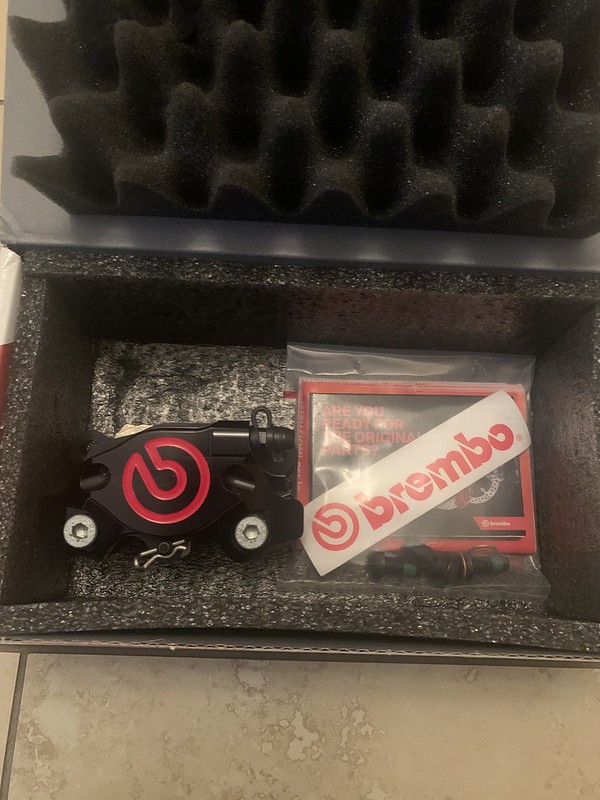
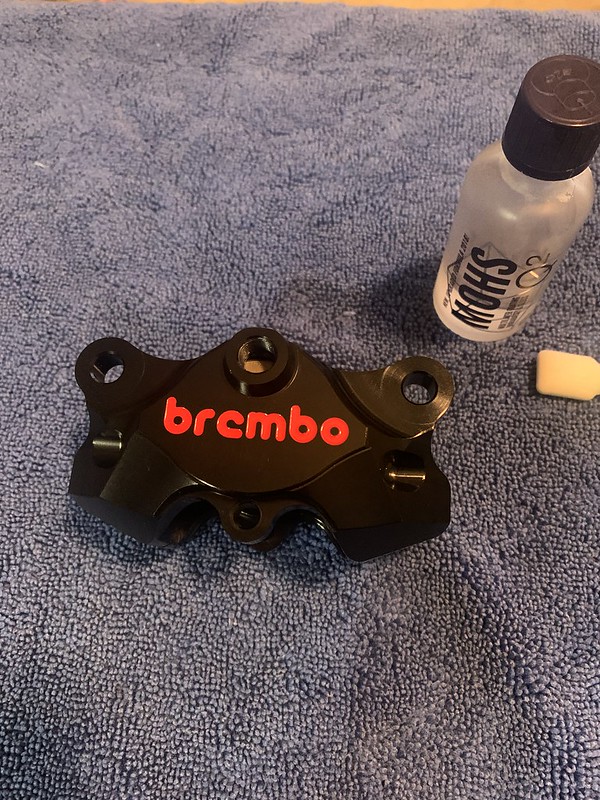
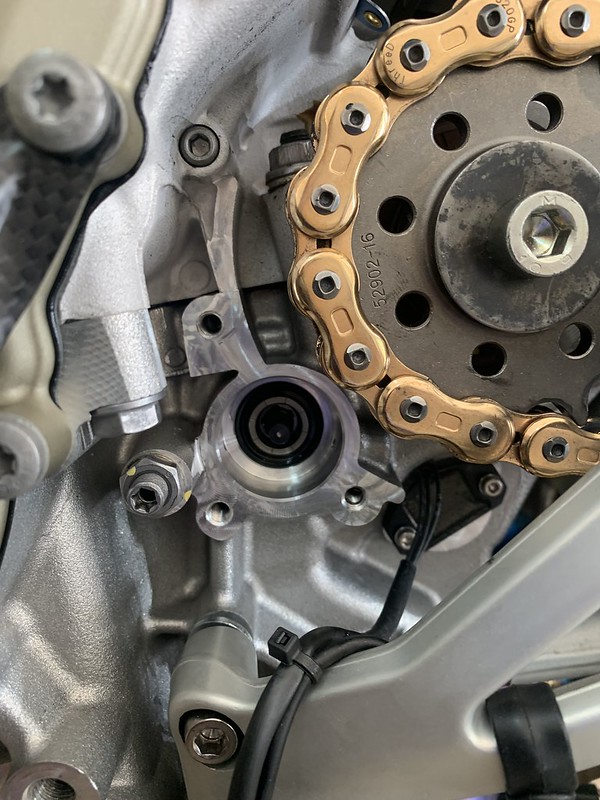
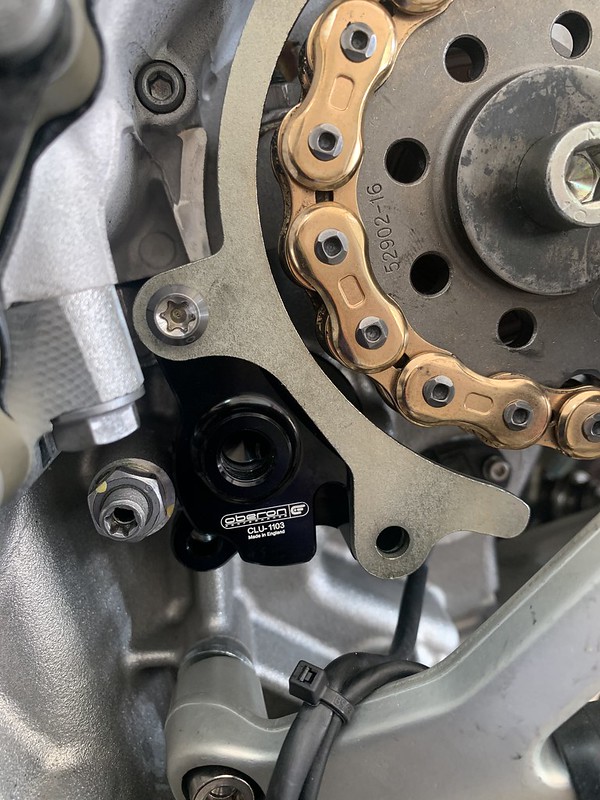
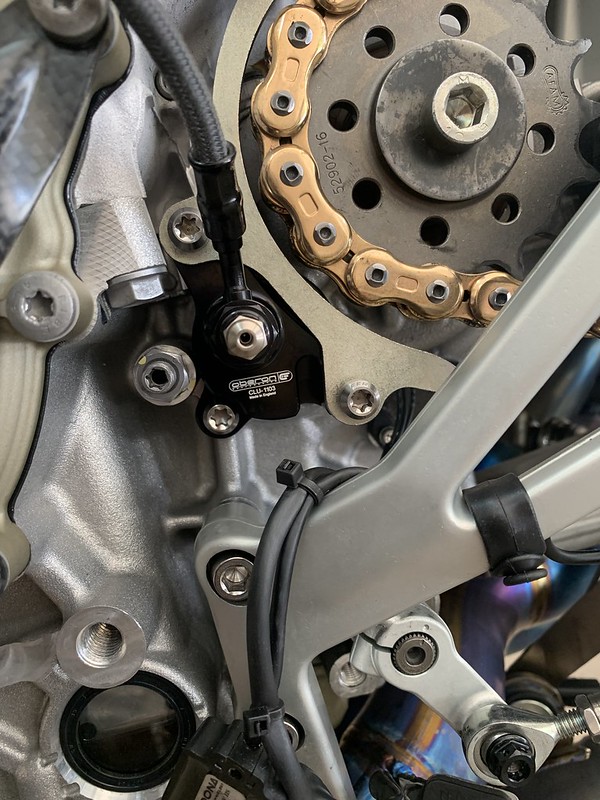
HKMP7's V4S Journal

PanigalePilot

FOUNDING Member & Moderator
Staff member
Sicom rear rotor
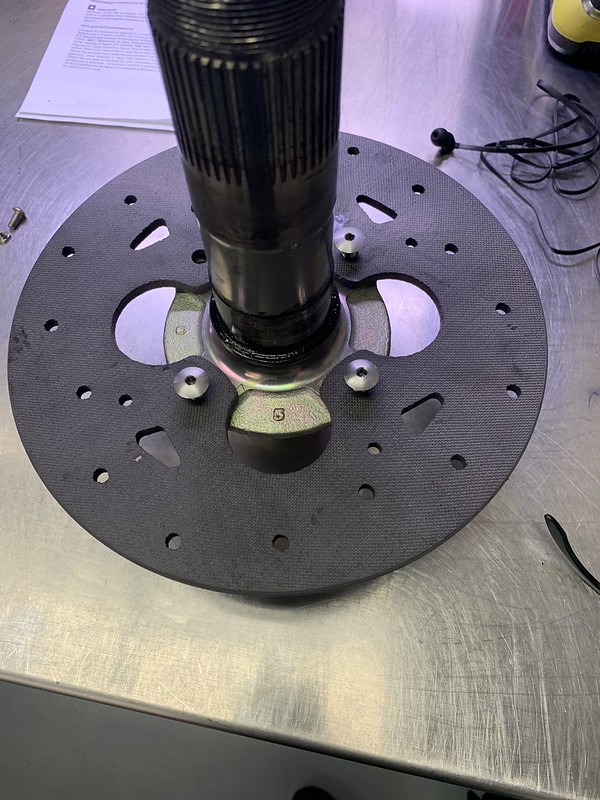
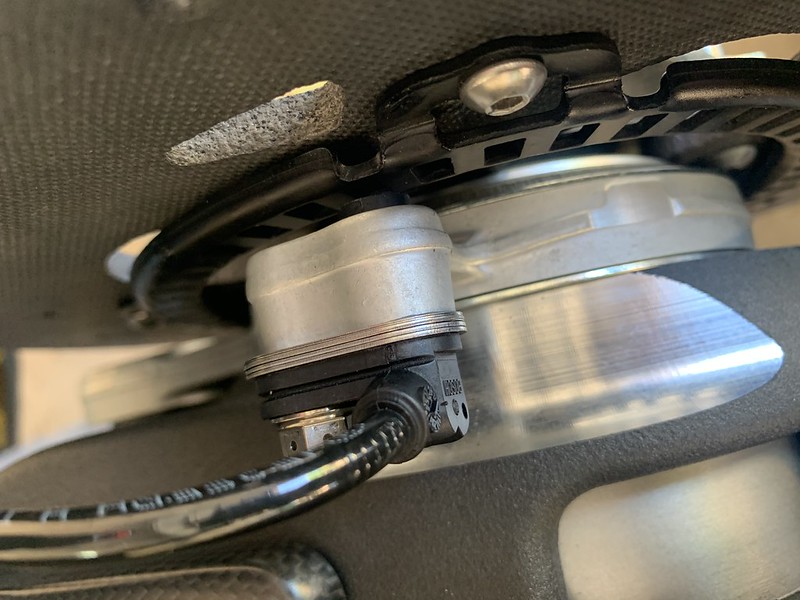
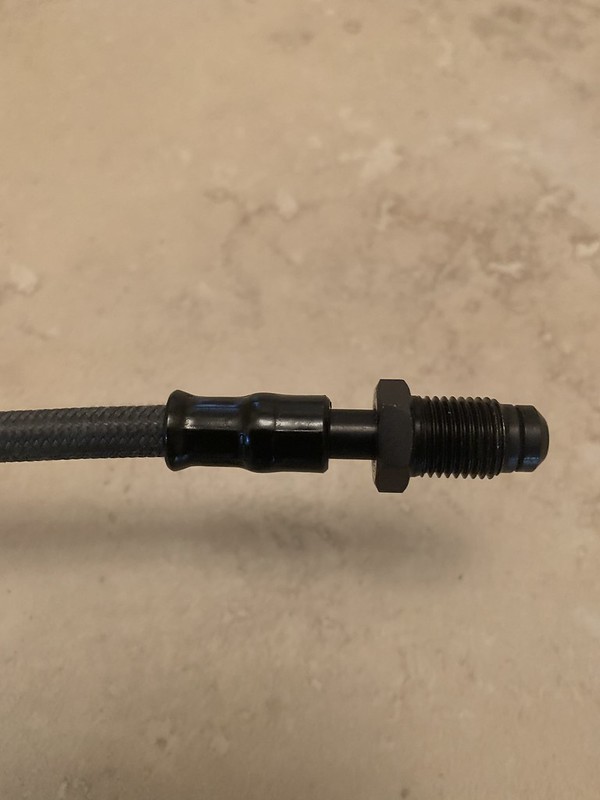
This thing is pretty trick. Some stuff to note. It comes with pads which will work in the factory caliper or brembo billet caliper. Uses different size rotor bolts and abs ring hardware. (Comes with rotor). The ABS ring is held on with a bolt thru the front and nut on the back.


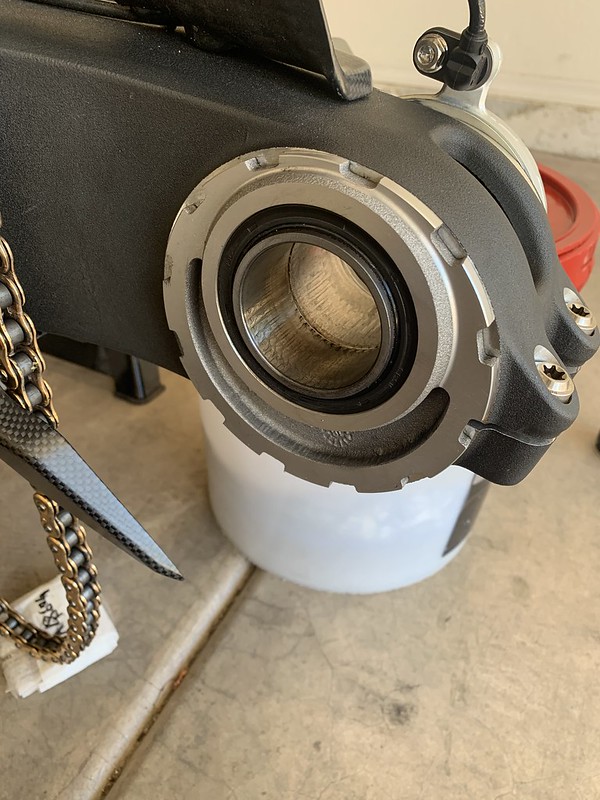
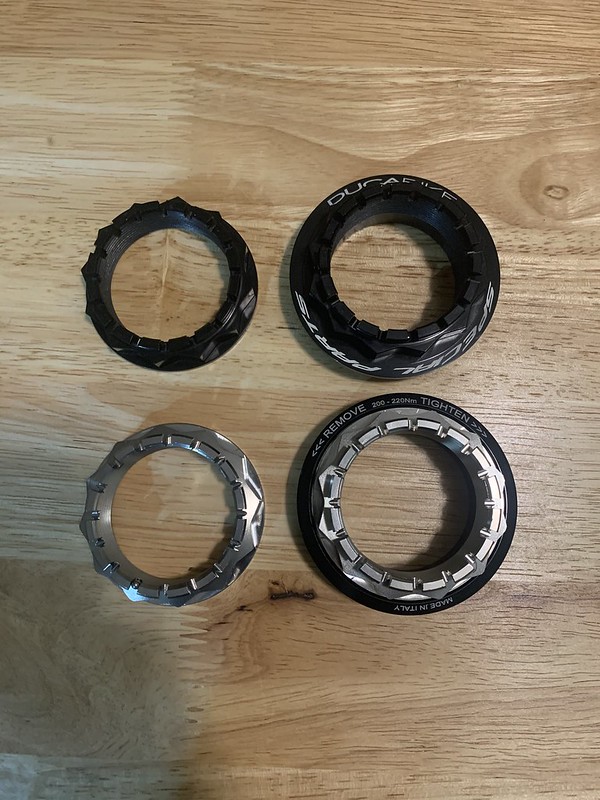
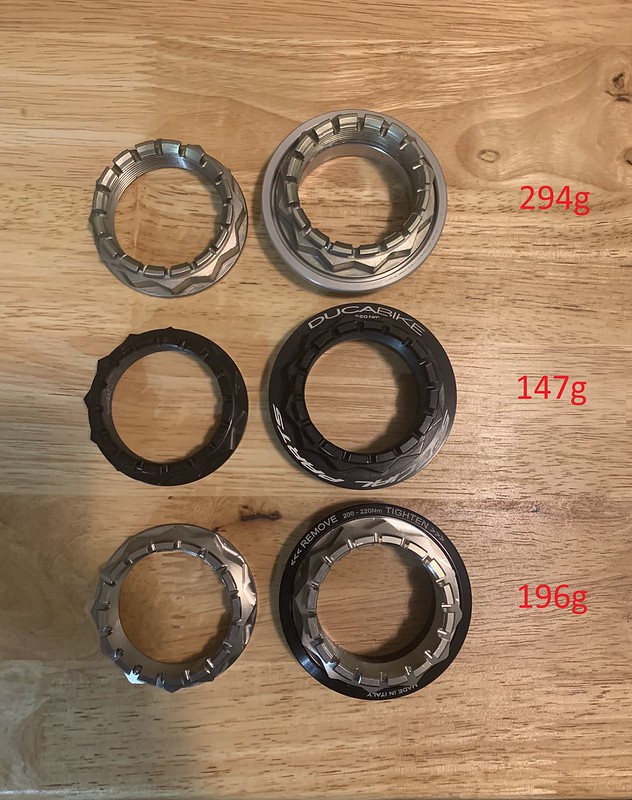
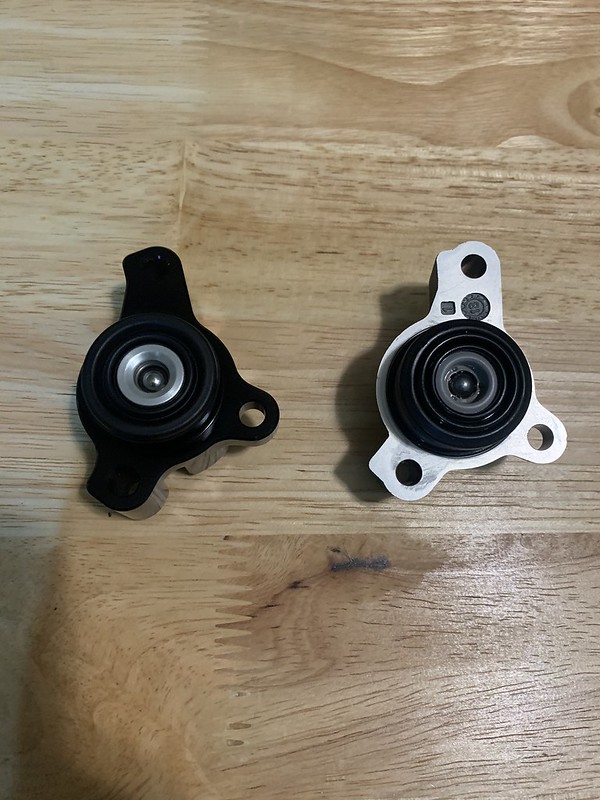
The rotor measured .9mm thicker than stock. So I got these abs shims to remedy that.
ABS ring shim .2mm part # 71314901A
ABS ring shim .5mm part # 71319201A


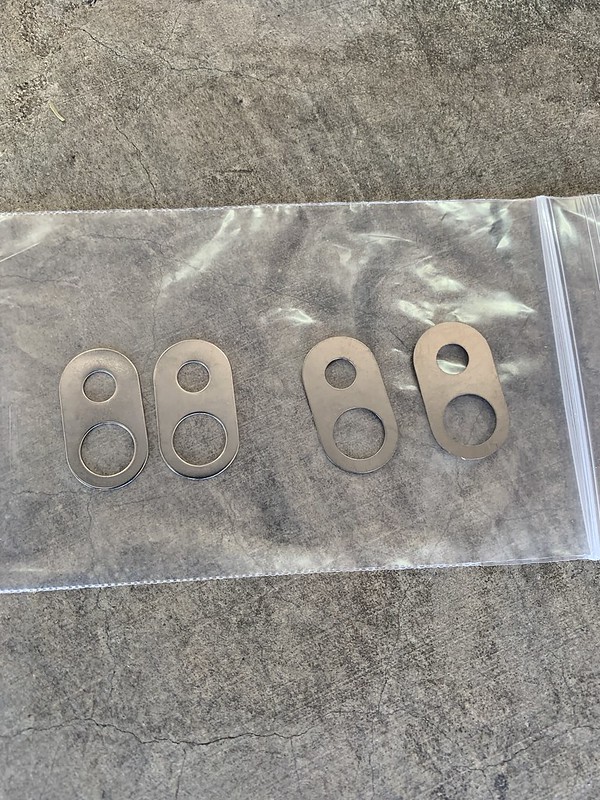
I used 1 of the .5 shims 2 of the .2 shims.
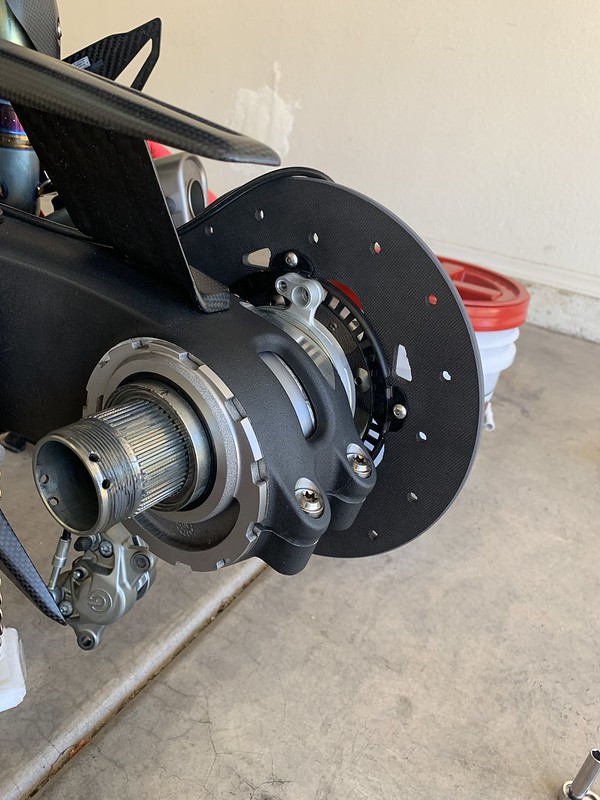
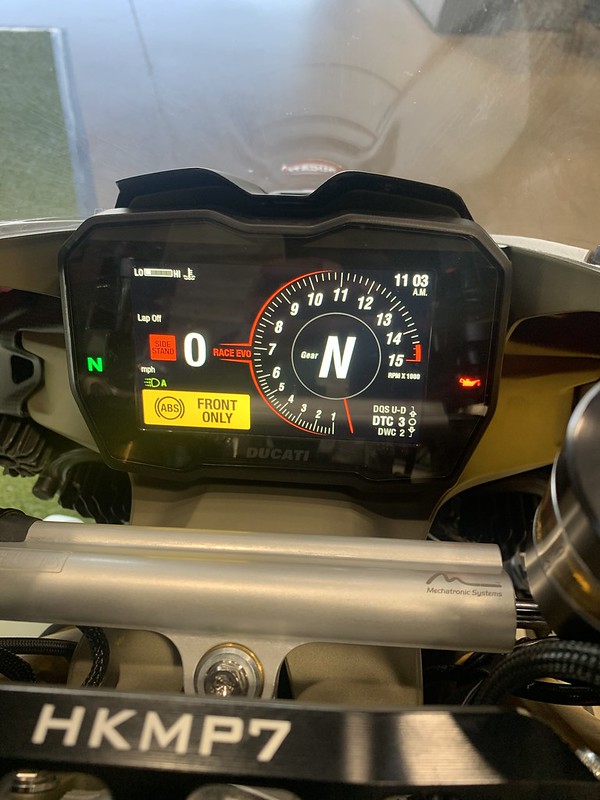
Worked perfect no issues with TC.

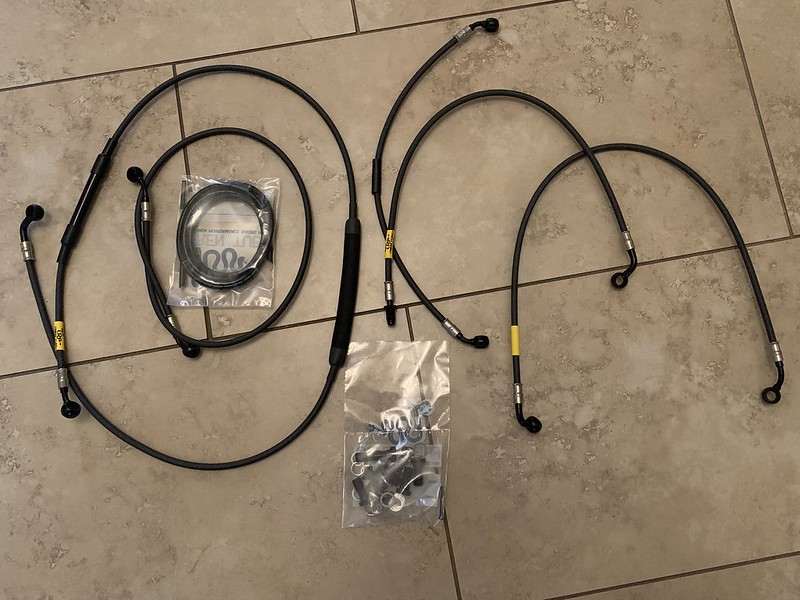
My girlfriend said I could have used this instead of buying those shims lmao

Weight difference
Stock rear rotor 1014g
Sicom carbon rear rotor 359g
655g
or 1.44lb savings


HK
that is a great mod. I have been looking at the Sicom. I waited for 2 years for the Braketech CMC rotors and kept in contact with them by email. They kept promising its coming its coming and then finally said no will never go into production as the market for CMC discs was too small and they could not produce the units at a price point to compete with Sicom. So I am back to looking at Sicom it is just that money is now the limiting factor for me. One day though. Thanks for posting the cool pics and data.

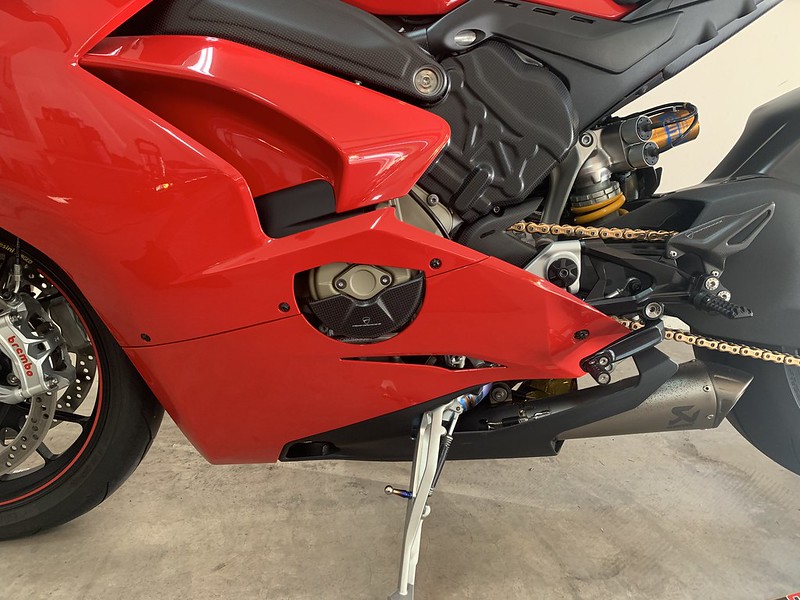
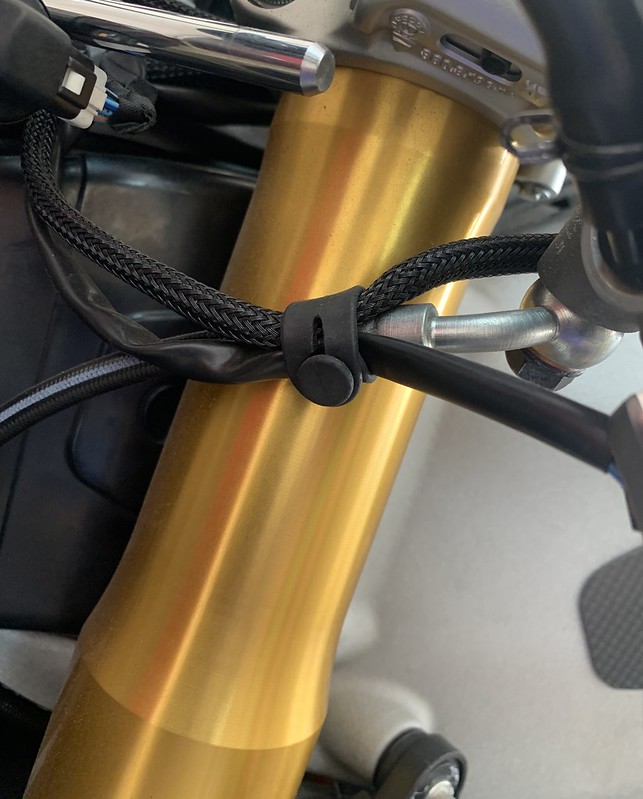
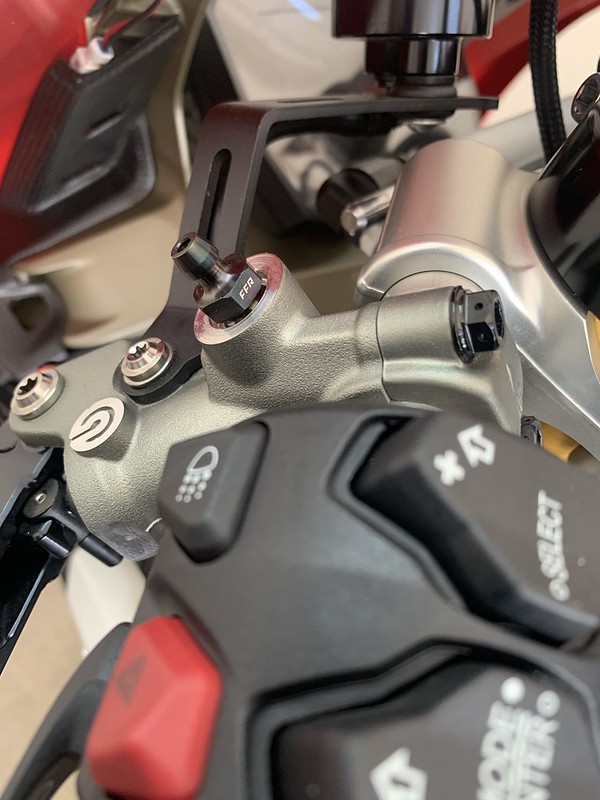
Your safety wire job is very good too. Very neat. (y)
 

HKMP7

First 9 & Moderator
Staff member
Fren Tubo ABS brakelines
These are super nice. They are the carbon lines with aluminum fittings. They retain the abs and all functions.
Here are some more detailed pictures.


I like that they put directions on some of the lines on their branding tag.

I love the look of them except for the crimped silver fittings. So I decided to paint the fittings that would be visible.

So I cleaned them taped them off and scuffed them for painting. I used a black semi gloss from krylon.

My paint booth.
Shhh don’t tell her I'm painting in the house.

End results


Im definitely going to remove the yellow tags once installed because they don't fit my theme. Plus it would get grimy over time.
Still working on a couple more components
 

HKMP7

First 9 & Moderator
Staff member
AEM Ti Wheel Nuts
I got these because they look amazing and they will be more durable than the Alloy wheel nuts.

Here is the Ducabike Vs the AEM

Here are the specs between the Stock,Ducabike and AEM
STOCK 294g
Ducabike 147g
AEM 196g


Before & Afters


PanigalePilot

FOUNDING Member & Moderator
Staff member
Looks good Hk
Ties in regarding the weights comment I made in my post the other day. Steel vs Ti vs aluminum alloys.
I chose the CNC Racing Ti a few years ago as they are just so pretty as the AEM are.
 

HKMP7

First 9 & Moderator
Staff member
Ducati EVO 2 TC 96580201A
I was curious about this software since it was released. Most places just read off the brochure and didn't have any first had experience so I decided to try it. Hey what's the worst that could happen Ha. So these are my observations and opinions. When you read the specs it sounds like it just caters to the high level racer. That may be true but there are some things that the trackday and street guy can benefit from as well.

Throttle response
The smoothness of the throttle is much improved its a more gradual application vs a on/off switch. This makes the bike a lot less jerky and more enjoyable at lower speeds. It does feel a tiny bit less savage below 6k rpm.

TC intervention & Wheelie control
The orange "hero" light. I normally run the TC at Level 2 or 3 on the street. So when riding spiritedly I would get some TC intervention. After the update at the same pace I don't get the "hero" light as much. This kinda bummed me out because when that light came on I felt like Troy Blayliss lol. The Wheelie control now allows the wheel to hover on corner exit under hard acceleration.

Quick Shifter
Not mentioned in the "patch notes" but a welcomed change. I've been chasing more crisp shifts since I got the bike. On the stock calibration the kill times felt too long so it would upset the bike while going thru the gears. I changed the factory shifter to the Cordona strain gauge unit which helped tremendously but it still was lacking. This was the missing puzzle piece. I don't get that jerkiness or chassis wobble at all any more. Shifts feel seamless and deliberate.

Final thoughts
I'm glad I tried this I'm very happy with the results. Smoothing out the throttle down low put this bike on par with all the other superbikes for rideability. I may not benefit from the fancy new algorithms for slick tires. But I will benefit from the drivability and QS change. The Quick shifter change alone was worth the price of admission for me. So I think this a great option for the street guy and racer alike.


All modes add "EVO" wording
 
Last edited:

Lucati

FOUNDING Member & Moderator
Staff member
May not be the same with the v4, but on my 1299 I turned EBC off (was at lowest setting) and that has improved the ride/jerkiness (don’t have any now) a lot just from that setting
 

HKMP7

First 9 & Moderator
Staff member
I played with the EBC settings and I didnt notice much difference in the lower rpms. But in the higher rpms you can definitely feel it.
 

BMW Alpina

FOUNDING Member & Administrator
Staff member
That wording "EVO" alone is worth the admission ;)
now, I wish they also offer the engine map with Akrapovic full system as a separate part# because I really want that Akrapovic map (without buying the Akrapovic) for the "EVO" word during startup 🤓
 

PanigalePilot

FOUNDING Member & Moderator
Staff member
Sounds good HK
Reference the QS kill times. I obviously cannot comment on the V4 as have never even sat on one. However with my 1199S some of the factory software updates to the ECU improved the bike each time. Later however in 2015 after I got the full Akra I had the bike tuned on the dyno by Wayne the owner of Tuneboy. His workshop is in the same city as me. This was lucky as what he does not know about the Panigale ECU is not worth knowing. Part of what he able to do is change the QS time. If I recall correctly for the 1199S the OEM is fuel cut for 100 milliseconds. He adjusted it to 50 milliseconds and this worked so well. I have an OEM qs setup and the change in time felt so good that I never tried and aftermarket shift rods. Perhaps is could be improved for me but for now it is fine. Great feedback and that rear wheel of yours looks so neat and clean.
 

HKMP7

First 9 & Moderator
Staff member
Brembo Billet Rear Caliper
Here's the caliper I plan to use with the Fren Tubo carbon lines.
The billet finish is 100 times better than the stock cast caliper.

This is my favorite side because this will be exposed thru the wheel. So you will see that huge Brembo logo as the wheel spins 🤤

Of course I ceramic coated it.
 

Lucati

FOUNDING Member & Moderator
Staff member
I think you mentioned before but not sure where....what’s that ceramic coating do?
 

HKMP7

First 9 & Moderator
Staff member
I think you mentioned before but not sure where....what’s that ceramic coating do?
Creates a barrier between the paint and the elements. IE dirt brake dust etc. Makes it easier to clean and adds uv protection. Short version.
 

HKMP7

First 9 & Moderator
Staff member
Oberon clutch slave and Fren Tubo clutch line install.
Start by getting the fairings off so we can remove the clutch line


Pay attention to the factory routing

Remove this ziptie

Taking note of the rubber cable tie position.

Stock clutch slave removed

Intermission for weights and measures
Clutch Slave weight
Oberon 99g
Stock 78g

Clutch line weight
Fren Tubo 57g
Stock 112g

Clutch bleeder weight
Stahlbus 14g
Stock 20g


While the clutch line is off I replaced the bleeder as well.

Black Proti

New unit installed

Routing the clutch line and replacing the zip tie.

Factory rubber cable tie re-installed

Line installed with the Stahlbus bleeder. The black paint on the crimped portion looks so much better.

I wanted to add some protection here in case the clutch line rubs the frame.


Now bleed the system. I filled it with Motul RBF660.
All tidied up.
 
Last edited:

BMW Alpina

FOUNDING Member & Administrator
Staff member
Hi HKMP7,

I need your kind help, it had been a while since my bike have it's fairing on 😅, so I forgot how it looks like...

I remember that the only part of Samco hose that you can see from outside the fairing (with the fairing on), is the very short hose that I marked with BLUE marker on the picture below:
IMG_9495.JPG


However, I forgot whether we can see this short hose from the large side vent opening of the left fairing or from the top hole on the left fairing.
Can you please kindly tell me where is the opening where we can see this short hose? The reason is I want to align the "SAMCO" Label so it will be visible from that hole/opening 😇
 
Top