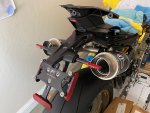
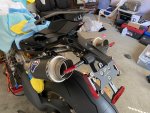
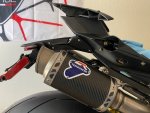
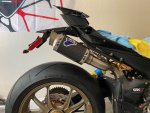
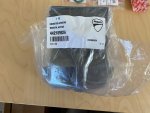
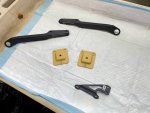
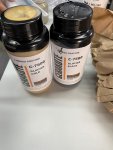
DUCATI Panigale V4 25Β° Anniversario 916 BUILD Thread

BMW Alpina

FOUNDING Member & Administrator
Staff member
TGIF morning update πŸ˜‡:

Some more parts arrived yesterday...
About a year ago, my friend @HKMP7 offered me a great deal for his Motocorse Eccentric Swing Arm/Axle Titanium Bolts that he decided not to use, regretfully, I did not took that offer...
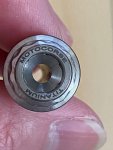
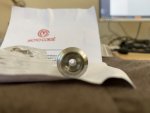
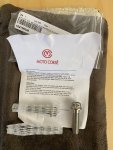
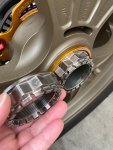
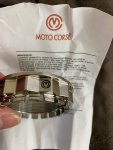
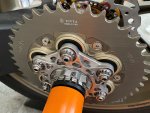
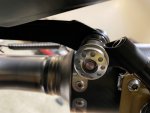
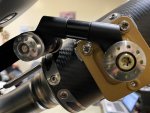
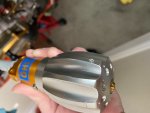
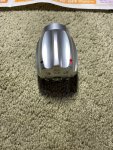
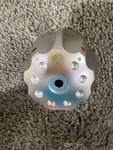
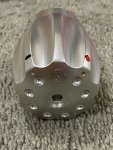
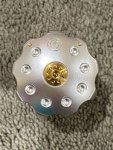
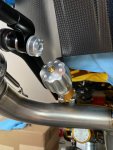
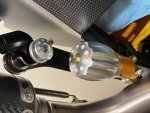
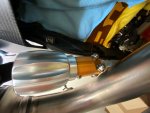
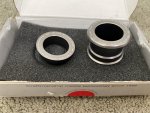
Fast forward a year later, one day while browsing at Motocorse website, I finally realize that the Motocorse Eccentric Swing Arm/Axle Bolts Titanium Bolts is HOLLOW !!! and so I decided to buy it to replace the ProTi bolts that I had.
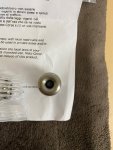
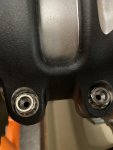
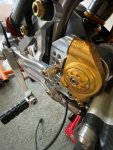
Here are the pictures just arrived and notice the HOLLOW feature of it, so beautiful πŸ₯°:

IMG_2406.JPGIMG_2405.JPG
IMG_2402.JPGIMG_2403.JPG
IMG_2404.JPG

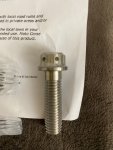
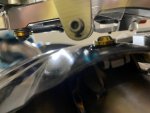
The only issue that I now have is, my 12 points socket (12mm size) is for Impact Grade and it is a bit too small to fit on the Motocorse 12 points head (picture below), so I am ordering a NON impact grade version and for 1/4" wrench so hopefully it will have thinner wall that fit this bolt:
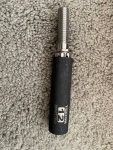
IMG_2423.JPG

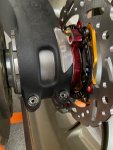
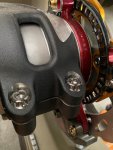
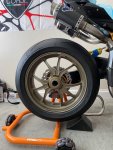
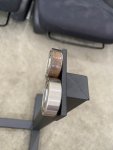
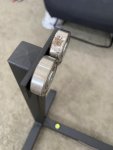
Then I Test Fit it without tightening it yet and left picture is BEFORE with ProTi and Right Picture is Motocorse:
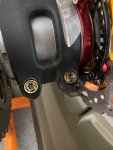
IMG_2422.JPGIMG_2425.JPG

More pictures below:
IMG_2424.JPGIMG_2426.JPG

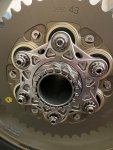
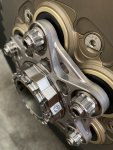
Also, I ordered a second Motocorse Titanium Wheel Nut (for the sprocket side) to match the wheel side and arrived yesterday, however since the first Motocorse nut was from old stock at Bellissimoto and the new nut is freshly machined from Motocorse, they had slight differences in the color.
The newer nut had a more shiny finish and the Motocorse lasermarked logo is much sharper than the older nut. I asked my sons and my wife and they all confirm with my observation that the older, more subdue finish is actually looks better than the shinier new nut especially for the wheel side.
However, for the sprocket side, this newer shinier nut is perfect to match with the shiny AEM-Factory Sprocket Carrier (D-SEI V4) so the new nut definitely go to the sprocket side.

Here are their comparison side by side:
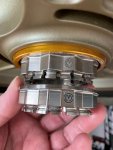
IMG_2410.JPGIMG_2412.JPG

more pictures:
IMG_2409.JPGIMG_2418.JPG
IMG_2419.JPGIMG_2420.JPG

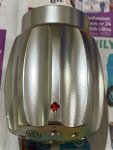
Oh, talking about AEM-Factory, Bellissimoto have a red cone in stock so I ordered it and below are comparison with the gold cone that I currently use:
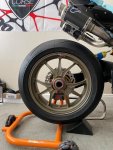
IMG_2411.JPGIMG_2421.JPG

I think Red looks great and I might alter between red and gold when I am bored πŸ€ͺ
Close up picture, notice there is no word "AEM" on this cone? because this is the NOS (New Old Stock) version:
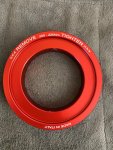
IMG_2407.JPG


And to get Free Shipping, I ordered the 2 remaining Termignoni shirts on sale at Bellissimoto, it say "The Italian Sound" on it 😎
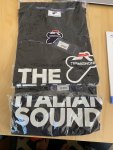
IMG_2427.JPG

More update later today and also this weekend going to be a BUSY FUN DUCATImodified weekend πŸ˜‰
 

BMW Alpina

FOUNDING Member & Administrator
Staff member
That red AEM cone really pops I love it. 🀩
Thanks HKMP7, I also like it a lot since it remind me of the red cone that came standard with the Superleggera V4 πŸ˜‡

Now, it is time to late Friday update 😜:

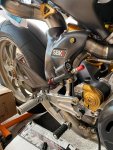
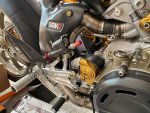
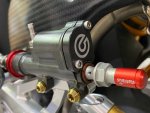
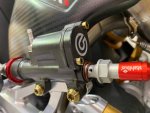
I test fit the Brembo Racing Billet REAR Master Cylinder to the Ducati by Rizoma rear set and also test fit the Ducati Performance Carbon Fiber Heel Guard:
IMG_2437.JPGIMG_2438.JPG
IMG_2429.JPGIMG_2430.JPG

So, first, the M8 bolts that hold the rear set main unit to the adjustable plates is M8L35 ProTi Gold Bolts that I happened to have as extra (originally for the stock Akrapovic silencer hanger bolts). Then I also use the Gold ProTi bolts to attached the Brembo Racing Billet MC to the Ducati by Rizoma rear set,
however, the ProTi bolts that hold the Ducati Performance Carbon Fiber Heel Guard were silver in color, so I will order another set of ProTi bolts for the Ducati Performance Carbon Fiber Heel Guard in GOLD color to make them more "uniform" in bolt colors. 🧐

Everything fit perfectly, so this means either this weekend or next weekend, I can continue working on my Project Cooper Solid Brakeline and Goodridge Kevlar Braided hose system πŸ€“
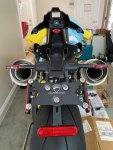
Oh, one last thing, I also reduce the spacer thickness to just 14.29mm instead of 19mm. I also ordered a larger outer diameter aluminum spacer today so hopefully it will create a more "rigid" spacer/extension.
Here is what the gap now look like with 14.29mm thickness spacer, much closer but I believe still a safe gap:
IMG_2431.JPGIMG_2432.JPG
IMG_2436.JPG
 

BMW Alpina

FOUNDING Member & Administrator
Staff member
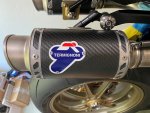
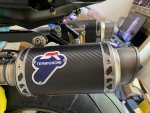
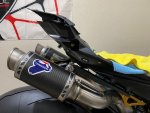
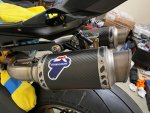
Saturday update πŸ˜ƒ, was relaxing for half day today, so not much finished but it's a progress for the Termignoni Silencer project πŸ˜‰
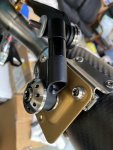
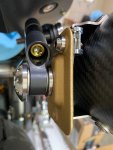
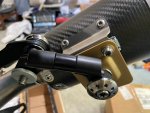
The last part of this project is installing the final adjustable bracket made from several Rizoma mirror bracket, with some ProTi Titanium bolts, Custom Titanium Washers and of course some Motocorse Touch 🀩

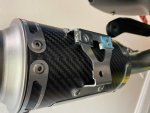
First, I add the threaded clip on to the bracket on the back of the Termignoni:
IMG_2441.JPG

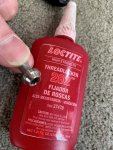
Oh, I use High Strength Loctite for all the bolts to prevent them from loosening due to "Good Italian Sound of the Termignoni" πŸ₯³
IMG_2443.JPG

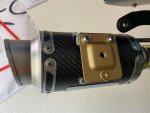
Then install the mounting plate (painted matte gold) that originally was a furniture part with ProTi M6 Titanium Bolts:
IMG_2444.JPG

Then I use Motocorse Japan TITANIUM Silencer bolt/washer mounting set but replace the bolt from Motocorse with ProTi since I prefer the TORX shape head of the ProTi.
Then I secure the Double jointed Rizoma mirror bracket also hold by ProTi Titanium Bolts (the Gold colored ones):
IMG_2446.JPGIMG_2445.JPG

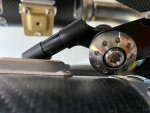
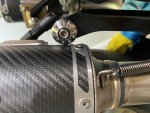
On the other end that goes to the original SC-Project WSBK exhaust black bracket, is another set of Motocorse Japan TITANIUM Silencer bolt/washer mounting set which also receive the same treatment by replacing the bolt from Motocorse with ProTi version.
IMG_2447.JPGIMG_2454.JPG
IMG_2455.JPGIMG_2458.JPG

Oh, I forgot, this top Motocorse Japan Titanium Washer Silencer Mounting Set is secured with a threaded washer (nut) from SC-Project, I am talking about the round washer with flat aluminum finish on the left side of this picture below:
IMG_2456.JPG

Well, that THREADED Washer Nut look too plain to me... so I already have a plan, that is why I purchase a ProTi bolts with extra length (a bit longer than needed) because πŸ˜‰πŸ˜‰πŸ˜‰ of this below...
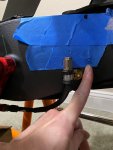
it is the Motocorse Italy Ducati Monster Frame Hole Plug Cover, and the reason why I covered it with the 3M blue painters tape is.... πŸ€“πŸ€“πŸ€“
IMG_2460.JPG


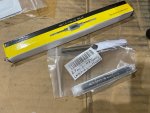
Because I am going to put it on a vice so I can Drill and Tap with this tool:
IMG_2461.JPG

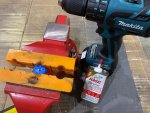
First, hold it tight with the vise, then drill it with a specific drill bit size for the M8 Tap, and use a lot of drilling oil/lubricant:

IMG_2462.JPG

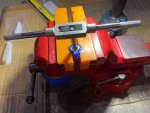
Then manually tap the thread, take time and make sure the thread are straight:
IMG_2464.JPG

And now, the plain threaded SC-Project washers are covered by a much much much more "attractive looking" MOTOCORSE style 🀩πŸ₯³πŸ˜˜:

IMG_2478.JPGIMG_2472.JPG

IMG_2470.JPG


The final OVERall look 😎:

IMG_2479.JPGIMG_2477.JPG
 

BMW Alpina

FOUNDING Member & Administrator
Staff member
Brilliant result, ultra exclusive 1 of 1 SC/Termi exhaust ;) cant wait to hear how it sounds
Hi Andy,
I was just thinking about the same thing (the sound), it might be... well I am pretty sure it will be a bit too loud since basically no filtering at all since no longer have cat converter and that Termignoni silencers have a much larger inner diameter then the SC-Project silencer,
plus it is also shorter than the SC-Project silencers ...
I just worry, it will scare my poor Labrador puppy... πŸ˜…
well, at least it will take another month or 2 month before I can start the engine again, so hopefully at that time my Labrador puppy already a bit older (should be almost a year in about 2 months from now)... πŸ˜‡
 

BMW Alpina

FOUNDING Member & Administrator
Staff member
I just remember that I need to test the Ducati Performance Carbon Fiber License Plate Holder and it's position related to the Termignoni silencer, so I just did 🧐:

IMG_2497.JPGIMG_2499.JPG
IMG_2502.JPGIMG_2501.JPG
IMG_2498.JPG

Everything clear, plenty of space, however, I will need to remove that "EXTENDER" for the Rizoma turn signals and make is PROTRUDE SHORTER so it will avoid 95% of the exhaust gas. right now, it is barely near the top of the exhaust outlet (as seen on the last picture above.
But with the original short length, only the outer most tip of the turn signal will experience a bit of blast from the exhaust gas. Well, if necessary, I can always replace with the super short Motocorse Billet turn signal, but I do prefer the shape of this Rizoma turn signal so I will keep it for now.
 

BMW Alpina

FOUNDING Member & Administrator
Staff member
By the way, I always like the "BOLTS" that came stock with the Ducati Performance Carbon Fiber License Plate Bracket, they look almost like Motocorse design but I think more "technical looking" while Motocorse bolts are more "pretty looking".
I decided to take a close up picture just now, and I just realized they are NOT Hex Socket as I thought they were (my old eyes cannot really see small thing anymore) but they were TORX like ProTi:
IMG_2503.JPG

This Ducati Performance Carbon Fiber License Plate Holder is very very nice in person, however, I don't think they sell much now... most people prefer the simpler looking tail tidy, which I understand.
I guess, I am OLD, seriously, getting older change a lot of the way my brain process everything that I prefer a license plate holder than the more SPORTY tail tidy looks...
Hopefully I still like this bike 30 years from now when I am become really old :ROFLMAO:
 

BMW Alpina

FOUNDING Member & Administrator
Staff member
Now, time for another Pay Attention to Detail SUNDAY afternoon 😎:


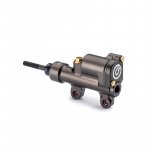
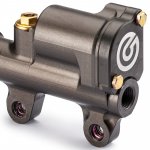
So this is the ORIGINAL picture from Brembo on how this Brembo Racing Billet Rear Master Cylinder looks like:
1366965081153MCB-XA2.C6.10-vA.jpg1382603726154XA2C610-01.jpg

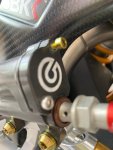
However, the real item for sale came with a hex socket silver bolts for the reservoir cover, so I decided to replace it with ProTi Titanium Gold Bolt to make it looks even better than the original design (picture) above,
Unfortunately, the ProTi bolts were a bit too long:
IMG_2504.JPGIMG_2505.JPG

So I need to cut it, before and after picture below:
IMG_2506.JPGIMG_2507.JPG

And here are the BEFORE and AFTER Pictures:
IMG_2510.JPGIMG_2516.JPG

IMG_2511.JPGIMG_2514.JPG

🀩
 

BMW Alpina

FOUNDING Member & Administrator
Staff member
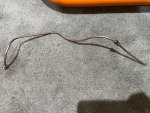
I was about to polish and paint the cooper solid brake line that I made many months ago, but I decided to test fit it first to make sure...
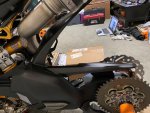
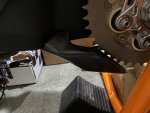
First step is to install all the carbon fiber parts and other plastic parts that are on the swing arm... like rear carbon mudguard, rear carbon swing arm protector, lower shark fin chain protector and the chain slider:
IMG_2529.JPGIMG_2530.JPG

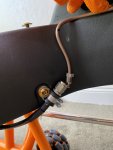
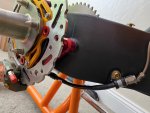
Then test fit the cooper solid brake line,... well, I am glad I did it before I spent time polishing and painting it... because it no longer fit like before :mad:,
On the pictures below, the gap now is too close to the rear wheel:
IMG_2520.JPGIMG_2521.JPG

Well, I somehow forgot about the Superleggera V4 rear brake caliper mounting that I installed which made the position of the rear caliper just a little bit further away.
IMG_2517.JPGIMG_2519.JPG

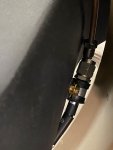
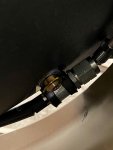
Then I tried to"Adjust" it by moving the fitting from the right of the bolt position to the left of the bolt position and change the way the pipe bended but after I tried (pictures below) ...
and the results were not "ideal", I decided its better that I just start over... but got to wait until next weekend 😌:
IMG_2526.JPGIMG_2528.JPG

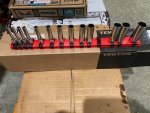
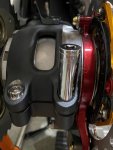
The good news is, the Tekton thinner wall 12 point socket 1/4" wrench arrived and it work perfectly for the Motocorse rear eccentric bolts πŸ€“:
IMG_2525.JPGIMG_2524.JPG


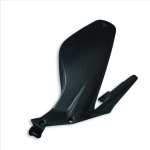
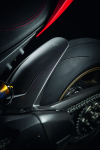
Oh, one last thing, after looking at pictures online, I believe the Rear Ducati Performance Carbon Fiber Mudguard for the Akrapovic Exhaust system which is a bit larger then my current (also Ducati Performance) carbon fiber mudguard (for stock exhaust), will fit with my SC-Project WSBK exhaust piping,... it will be a tight fit but hopefully it will fit, so I just order it from Ducati of Omaha. I think they will provide better protection from stone flying kicked by the rear wheel (just in case I ride my bike;)), plus they have unique indentation on the surface which I like, but again, not 100% sure they will fit, so this is a gamble πŸ˜…

Here are the pictures comparison between stock exhaust shape (first picture) and Akrapovic shape (second picture):
1626069999035.png
1626070046218.png
 

BMW Alpina

FOUNDING Member & Administrator
Staff member
The Aluminum Spacers that I ordered arrived early today :D, after after many back and forth test fit, I decided on using the spacer with 1/2" thickness as the minimum spacer thickness that still allow enough space/gap between the rear set and Carbon fiber heat guard.
This is after I simulated "FLEX" on the rear set from foot pressuring it and also minor tiny movement of the exhaust pipe.
Please note those tiny little/smaller spacers will be used to space the "belly pan fairing" mounting point in the future when I fit the belly pan fairing back (to compensate for the rear set spaced out), and again Thanks to @Jrkk for pointing this issue (y)πŸ˜ƒ
IMG_2534.JPG

Also, I love this new aluminum spacers since they are finished in silver anodized polished aluminum so they match the Ducati by Rizoma rear sets finish better than the previous black spacers. (I used those black spacers since I happened to have them for test fit)
Also these new spacers are LARGER in diameter allowing a more even contact area thus more rigidity.
Here are how they look now with silver anodized spacers, no one will notice that they did not come spacers from factory, plus again their larger diameter match exactly the contour of the Ducati by Rizoma rear sets, so this is the final spacer choice 🀩

IMG_2546.JPG
 

BMW Alpina

FOUNDING Member & Administrator
Staff member
UPS just drop a package today πŸ˜ƒ

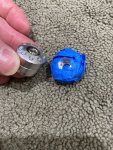
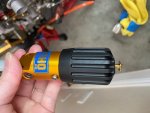
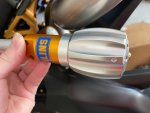
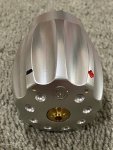
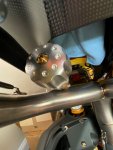
It's the Motorcose knob for the Ohlins TTX-GP Preload adjuster fresh from @Araitim Signature Machining Treatment 🀩

Test Fit, Before and after picture, notice that on the "BEFORE" picture, the Motocorse Gold Titanium M5 Bolts were way too long and sticking out... I was worry I might have to cut it, or worse the mechanism inside that hold the adjuster stud is different,... well turn out my worry is unfounded and it is the PERFECT length when combine with Motocorse knob πŸ€“:
IMG_2581.JPGIMG_2585.JPG

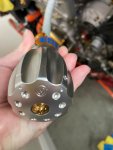
More pictures:
IMG_2582.JPGIMG_2583.JPG

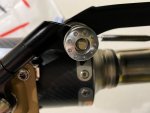
I will be working on PAINTING the Negative and Positive Sign (and that 2 small dots) with Black and Red Anodized Paint this weekend before securing it to it's bracket below the rear subframe (near the Termignoni silencer) πŸ˜‰
 

BMW Alpina

FOUNDING Member & Administrator
Staff member
Feel board tonight so I decided to do some knob painting πŸ˜€

First cover everything except tiny area of the positive sign with 3M painters tape:
IMG_2592.JPGIMG_2591.JPG

Then Paint it and using cotton tip, clean the area outside the positive sign, but I don't realy like the red anodized color for the positive sign:
IMG_2593.JPG

so I re do it but this time with Apple Red color, and it looks better (I also paint the negative sign in gloss black):
IMG_2594.JPG


Then I am about to paint the 2 dots with the same black and red paint, but I think it will be too much for the front face of the knob, so I decided to paint them matte gold instead, and here are the results:
IMG_2596.JPGIMG_2597.JPG

And it looks even better when I insert the Motocorse Titanium bolts (in gold color):
IMG_2598.JPGIMG_2600.JPG

I cannot install the knob to the Ohlins Hydraulic Adjuster yet because I want the paint to dry and I will bleed the Ohlins hydraulic adjuster and add some Ohlins fluid first, so most likely that need to wait until Friday night or weekend, but now I can go to sleep with a happy and satisfy feeling πŸ˜‰
 

BMW Alpina

FOUNDING Member & Administrator
Staff member
Saturday update, I was not feeling well today (tired from work) so I only done one thing so far...
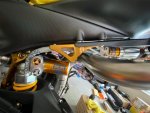
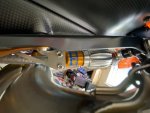
Bleeding the Ohlins TTX-GP Rear Shock Pre-Load Adjuster πŸ₯΄

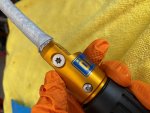
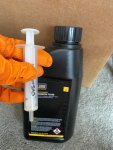
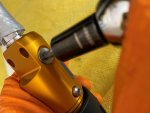
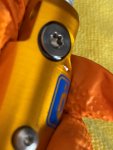
First, that large TORX bolt is where you add the Ohlins Fluid for this remote pre-load adjuster, but before I took it out, I prepare the vaccination kit errr... I mean the syringe πŸ€ͺ
IMG_2607.JPGIMG_2608.JPG

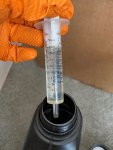
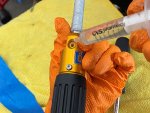
I got the syringe from CVS long time ago πŸ˜…, and fill the syringe with Ohlins fluid:
IMG_2609.JPG

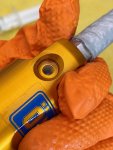
Then I start turning the knob on the pre-load clockwise until I can feel that it start building pressure to move the springs, then I stop. Then I open the TORX bolt slowly (watch out there is an O-Ring) and let the fluid seep out before I fully take out the bolt:
IMG_2610.JPGIMG_2611.JPG

Now, with the bolt out, I start dispensing (dosing) the Ohlins fluid using the syringe and then turn the knob COUNTER clockwise and see the fluid level went down a bit, then dispense more, and turn the knob counter clockwise again until the fluid did not went down anymore and the knob have fully reach it COUNTER clockwise stop:

IMG_2612.JPGIMG_2613.JPG

In my case, even after I did all the above, the first 2 full turn of the knob is still a "free Play", you know like your brake lever have some free play before it start building pressure, so looks like I did not have too many air bubble in the line.
Once it done, time to fix the whole pre-load assembly onto its bracket. Initially I was about to install the whole pre-load ahead of it's bracket, but then I realize putting it BEHIND it's bracket will position it further from the Left exhaust Pipe and Termignoni Silencer,
plus the extra space will actually make it easier for my hand to reach and adjust the pre-load if needed. So not only I put it BEHIND the bracket, I even add 2 aluminum spacer. (Notice the 2 silver Aluminum Spacer in the pictures below):

IMG_2617.JPGIMG_2621.JPG

And this show it is BEHIND the bracket:
IMG_2622.JPGIMG_2620.JPG

After tightened the 2 M6 ProTi Titanium (Silver Color) Bolt and Nut to 10Nm and also using Loctite, now it's time to the FINISHING Touch with the Motocorse Aluminum Billet Knob, install with Motocorse Gold Titanium Bolt and also with Loctite:
IMG_2624.JPGIMG_2625.JPG
IMG_2626.JPGIMG_2629.JPG


It is quite close fit, to the Titanium Exhaust Pipe, and I hope the Goodridge protector sleeve will do it's job πŸ˜‡
IMG_2628.JPGIMG_2627.JPG

Anyway, this is PERFECT for me and I LOVE it so I took a few more picture 😍😘πŸ₯°:
IMG_2630.JPGIMG_2632.JPG

IMG_2633.JPG

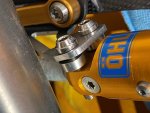
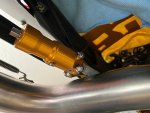
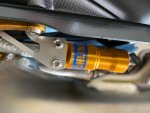
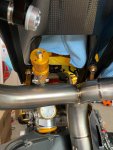
And these picture below taken from this angle is my favorites because in this picture it shows combination of Ohlins, Termignoni, SC-Project, ProTi, Goodridge, AELLA, Rizoma, Motocorse and @Peter Lieb , all concentrated in this area and all are AWESOME products 🀩πŸ₯³πŸ€“:
IMG_2635.JPG

Oh, but wait, it still missing ONE important Product that will be the BACKGROUND which is the Ilmberger Carbon Fiber Lower Tank Protector, currently still at my custom painter and it will have a PAINTED Gold Color (exactly like the sticker) Ohlins Logo on it.
I just hope it will have enough space (I think it will) right on top of the Motocorse Knob, and then it will be 100% PERFECT πŸ˜‰
 

BMW Alpina

FOUNDING Member & Administrator
Staff member
I am not happy with the black paint that I applied on the SC-Project Silencer Bracket so I decided to take it out (last time I paint it while the brackets already on the rear subframe and without stripping the original paint from SC-Project), strip the paint to primer and now thinking
of either painting it myself with high temp paint than cured it in my wife's cooking oven πŸ€ͺ or... better take it to Cerakote painter ...
hmmmmm... yeah, I think better take it to Cerakote painter because otherwise, I will have to do some "deep cleaning" on the cooking oven after I use it to cure the paint....

So currently doing some research on local Cerakote painter near my area.

Here is the bracket while I was stripping the paint to primer using brake cleaner (Acetone):
IMG_2642.JPG
 

BMW Alpina

FOUNDING Member & Administrator
Staff member
The Postman Lady from USPS deliver the ValterMoto Wheel Balancer along with the Valter Moto Captive Front Wheel Spacer:

IMG_2647.JPGIMG_2650.JPG

However, somehow, they must be exposed to rain during shipment from Italy because the carton box is all wet and the bearing surface got rusted:
IMG_2648.JPGIMG_2649.JPG

So looks like, I will have some polishing work to do soon πŸ˜…
 

BMW Alpina

FOUNDING Member & Administrator
Staff member
Weekend update 😁:
A few days ago, I found a GREAT cerakote shop here in the bay area, and he can also do much more than only cerakote (something unrelated to cerakote). So I already drop my Termignoni and Ohlins Pre-load adjuster bracket with him and hopefully I can "surprise" member (and "guests") of our forum
regarding the "something unrelated to cerakote" that I will do to these brackets πŸ˜‰

I am also in the middle of another career change (for the better of course), so I was and still quite busy, meaning not too much update, but hopefully this weekend I can do something with the rear solid cooper brake line 🀩
Also, Ducati of Omaha ship me a Ducati Performance Carbon Fiber Tank Cover instead of the Ducati Performance Carbon Fiber Rear Mudguard for Akrapovic Full System Exhaust,... so I have to sent it back as RMA. Good thing is Ducati Omaha is responsive with this issue and send me the RMA shipping label right away.
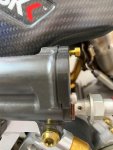
Hopefully the right part will arrive in the next few weeks.

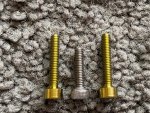
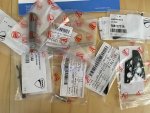
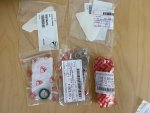
Then, I also received a few more parts from Ducati of Omaha few days ago and also today, here are the parts:
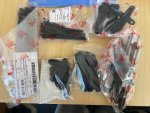
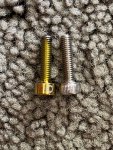
I decided, I want to make sure even the tie-lock is original Ducati parts so I ordered every size of the tie-locks and also the rubber bands:
IMG_2660.JPG


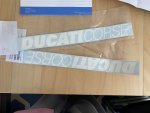
I also order this DUCATI CORSE stickers originally for Panigale V4R side fairings but I will use this for... well I will keep this as a future "surprise" once I install them, but it will be "strategically located" πŸ˜‰
IMG_2661.JPG


I will wait until Motocorse release their upcoming Billet Side Stand for my bike before I decide whether to use Motocorse's or Panigale V4 Superleggera Black side stand like the one used by HKMP7.
If the design of the Motocorse's is not to my liking, then I will buy the Panigale V4 Superleggera Black side stand. But in the meantime, I purchase all the hardware needed so I don't have to disassembly my current original silver side stand.
I also buy some extra gasket in anticipation of the (on the way) Rizoma Stealth Rear View Mirror πŸ€“

IMG_2662.JPG


Some more parts, like the spacer for the Speed/ABS sensor, the O-Ring for the Motocorse Japan DBT Design Oil Filler Plug and some protective clear sticker for the lower belly pan fairings:
IMG_2663.JPG

Plus, I bought this Air Intake Resonator to complete my Panigale V4 Superleggera Carbon Air Intake conversion because, eventhough I am pretty sure my original Air Intake Resonator will still work,
however, this is a new part number that work with the Panigale V4 Superleggera Carbon Air Intake and other 2020 plus V4S, so there must be some improvement made because it have larger part number / replacement part for my bike air intake resonator.
IMG_2664.JPG

Last,
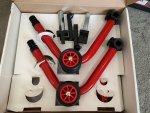
I sold my Ducati Performance Red Front and Rear Stand last week, because I ordered the NEWER Version of the Front and Rear Paddock stand from Ducati Performance.
I like this newer version because they have slightly newer design, but most importantly the wheels are RED 🀩
I haven't assembled it yet, but here is the new Ducati Performance Front Paddock Stand (the rear is on back order):
IMG_2665.JPG
 

BMW Alpina

FOUNDING Member & Administrator
Staff member
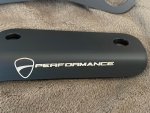
I visited the Cerakote shop today to pick up the SC-Project WSBK Exhaust Silencer Bracket and Ohlins TTX-GP Remote Pre-Load Adjuster bracket, and I must say,... I am so surprised on how GOOD the result is 🀩

Oh, did I mention that the Cerakote shop also has some other expertise... which is ... LASER MARKING? ;)

Ok, so here are the overall parts that I Cerakoted this time:
IMG_2694.JPG

And here are the Cerakote colors that I choose. I choose the Glacier line because Ryan the owner of the shop informed me that not all Cerakote is UV stable, but all Glacier line is UV Stable:
IMG_2703.JPG


And Ryan did a proper preparation before applying the Cerakote by DEGREASING and SAND BLASTING:
IMG_2704.JPG


First, lets review the SC-Project WSBK Exhaust Silencer Bracket:
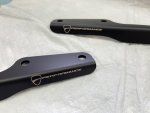
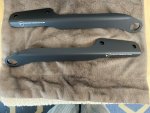
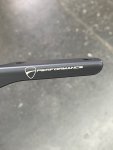
Because Ryan told me that he can also do LASER MARKING, then I had this idea to laser marked the bracket with Ducati Performance Logo and now it looks like this bracket came from Ducati Performance :cool::
IMG_2693.JPGIMG_2697.JPG
IMG_2695.JPGIMG_2698.JPG

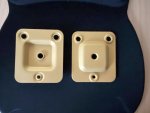
Second, I also cerakote the steel ex furniture bracket that will hold the Termignoni Silencers in gold:
IMG_2699.JPG

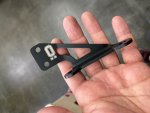
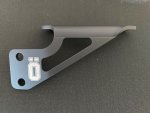
Third, is the Ohlins TTX-GP Remote Pre-Load Adjuster bracket, cerakoted in the same Glacier Black as the SC-Project bracket, but of course with the extra touch of Ohlins Logo Laser marked πŸ₯³:
IMG_2692.JPGIMG_2700.JPG
IMG_2702.JPG

Notice the Ohlins logo is not right at the center, however, when/after the Remote Pre-Load Adjuster attached to it, then it will be at the center again 🧐
I can't wait to install them πŸ˜ƒ

Now, I also want to recommend Ryan from SAGISI Customs to anyone who want to coat their part in Cerakote and/of if you need laser marking service.
He was super friendly to me, and explain all his shop capabilities in the way a fellow engineer can appreciate πŸ˜ƒ
His pricing is super fair, and also very fast turn around !!!
This is his website:
Sagisi Customs | Custom Cerakote and Finishing

and he is also the official Cerakote applicator: https://www.cerakote.com/applicators/83046/sagisi-customs
 
Top