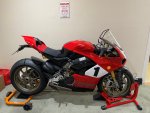
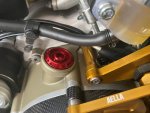
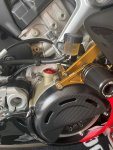
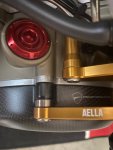
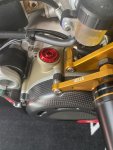
DUCATI Panigale V4 25° Anniversario 916 BUILD Thread

BMW Alpina

FOUNDING Member & Administrator
Staff member
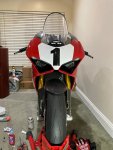
I created a BUILD thread about my 2020 Panigale V4 25° Anniversario 916 in a different forum early this year (2020). However, the "environment" in that forum is not conducive, so I decided to stop posting there and restart my BUILD thread from the beginning in this new forum.

My goal is to perform a "tasteful" cosmetic and technical enhancements for this bike while documenting my journey in this thread,
and it is far from finish.

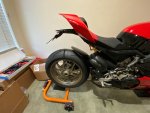
It started when I picked up my 2020 Panigale V4 916 25 Anniversario on February 7'2020 from Reno, NV.
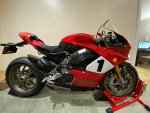
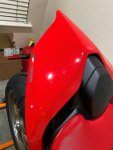
Picture of my bike on U-Haul Trailer:
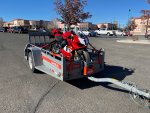
BSWR8211.JPG

I do not plan to ride this bike, at least not for the next decade or so. I will only explain this once, and if there is a question about my decision in the future, I will refer to this first post of mine.

I am a middle-aged man, and I used to own the original Ducati 916 during my college day in the mid-1990s.
The first business (in my country of origin) I owned was an exclusive distributorship of Aprilia motorcycle. I also used to distribute many performance parts like Arrow exhaust, Goodridge, ValterMoto, Ferodo brakes, DelOrto carburetor, Italjet Motorcycles, and many other brands. Plus, I own a motorcycle racing team and provide racing preparation services. All the above was in the early to mid-2000s.

So, when Ducati release the Panigale V4 916 25° Anniversario, I decided that "I gotta have one."

However, I also realized that I need "to be there" for my wife and my 2 sons (the oldest one just starting college and the younger one in middle school). So I promised myself that I would buy this bike only to be put as a static display in my living room and resist the temptation to ride it, at least until both my sons graduated with a Master's Degree and can be independent. I like to drive anything fast, and I am just looking for unnecessary trouble if I ride this bike and get into an accident. The risk is simply too great (for my family), the risk that I cannot afford if I love my family, and yes, I love my family more than my Ducati.

Of course, I still need going to enjoy the bike,... how?
Well, by modifying it with passion, and of course, following sounds engineering reason and the judgment of my eyes. I will also involve both of my sons in this modification process. Not only to teach them from the technical/engineering point of view but also to make sure they realized, if they work hard and succeed in life, they will be able to afford the finer things in life, like a Ducati.

Some people waste money on drugs, some on gambling, some on a hooker, and...some people will think it is a waste of time and money to upgrade a Ducati with some of the finest components if you don't ride it at all.
For those people, I want to point out that it is not a waste of money if what you did make you happy and if you can afford it.

So far, I had spent around $60k for this project and will be more by the time I am done. It is totally worth it for me, especially when I do it together with my sons.
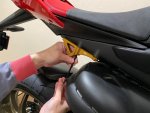
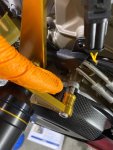
Below is my younger son's picture installing the floating pin for the customized rear BrakeTech brake rotor. This picture alone worth much more than $60k. Actually, it is PRICELESS. 🙂

IMG_8666.JPG
 

BMW Alpina

FOUNDING Member & Administrator
Staff member
Hello everyone,
Sorry I haven't made my own thread up to date... I am so busy with work but I promise I will make my thread up to date this weekend...
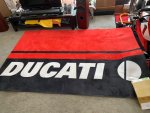
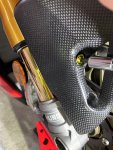
so many new parts have arrived... (lots of customization of course) :geek:
Also, this forum is 100% configured, just need to do some final Search Engine Optimization tuning and also get the marketing campaign started 😃
 

BMW Alpina

FOUNDING Member & Administrator
Staff member
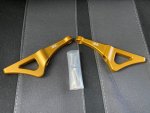
The first modification I did was a pair of AELLA tie down bracket that I need to secure the bike to the u-haul trailer:
IMG_6657.JPGIMG_6710.JPG
IMG_6713.JPG

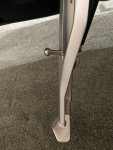
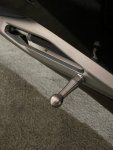
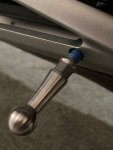
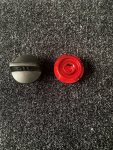
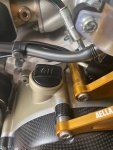
Then the second modification was AELLA Titanium Side Stand Knob:
Left Picture Before, Right Picture, After:
IMG_6725.JPGIMG_6731.JPG
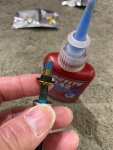
Oh, use Loctite of course:
IMG_6729.JPG

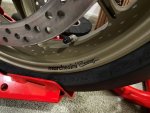
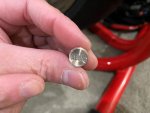
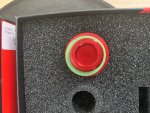
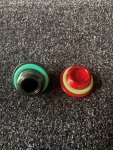
Then AELLA Titanium Tire Air Valve Cap:
IMG_6718.JPGIMG_6719.JPG
IMG_6721.JPGIMG_6756.JPG
IMG_6723.JPGIMG_6724.JPG
 

BMW Alpina

FOUNDING Member & Administrator
Staff member
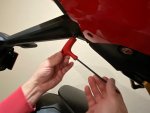
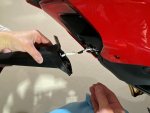
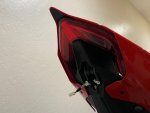
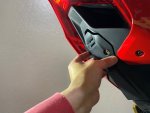
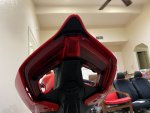
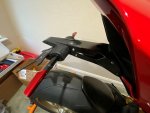
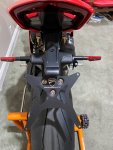
Then I took out the stock rear license plate bracket and replace it with the cover that came with my bike package:

IMG_6739.JPGIMG_6740.JPG
IMG_6742.JPGIMG_6743.JPG
IMG_6744.JPGIMG_6745.JPG

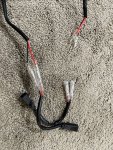
I also happily surprise to found out that my bike already came with the cable for trickle charging the battery:

IMG_6757.JPG

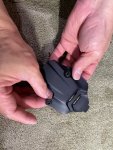
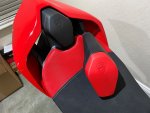
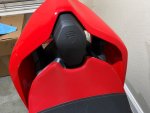
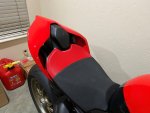
Then, I decided to change the RED seat back cover to Black Color (I will upgrade this with Carbon Fiber Cover Later):
IMG_6748.JPGIMG_6747.JPG.

IMG_6754.JPG
 

BMW Alpina

FOUNDING Member & Administrator
Staff member
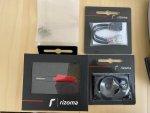
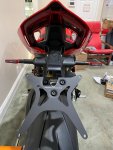
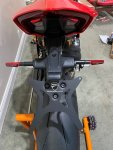
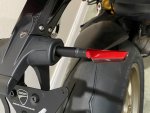
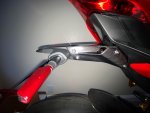
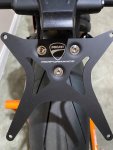
I decided to purchase the Ducati Performance Carbon Fiber License Plate Holder because I actually prefer my bike to still look like a road bike instead of a full blown race bike and combined it with Rizoma Corsa Turn Signal.
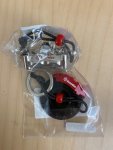
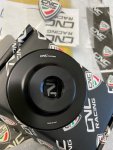
Of course I also purchase the cable adapter so no splicing required plus some CNC Racing spacer adapter for the turn signal :):

IMG_6903.JPGIMG_6964.JPG
IMG_6971.JPGIMG_6972.JPG

IMG_6973.JPGIMG_6974.JPG
IMG_6975.JPGIMG_6976.JPG

IMG_6979.JPGIMG_6980.JPG
IMG_6981.JPGIMG_6989.JPG
 

BMW Alpina

FOUNDING Member & Administrator
Staff member
And also bought some Ducati merchandise like:
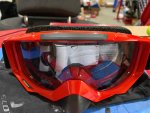
Ducati Goggle for my younger son who like to paint (using spray paint) to protect his eye:
IMG_8723.JPG

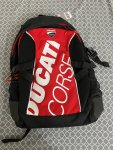
Backpack for my older son to take his laptop to college:
IMG_8724.JPG

and some other merchandise during the shopping spree 😃:

Like a Ducati Carpet and I have a good story for this:
So I found a very nice looking Ducati Carpet back in January, this is when I just put a deposit on my bike and have not take delivery of the bike yet. However, the seller never ship the carpet, and when I try to follow up,
the seller only answer once and never response again. Plus the seller website keep either "crashing down", "unavailable", or change to a new website address... The right hint that I was being scammed.
I complain to PayPal, and amazingly, the seller never respond to PayPal thus PayPal decide to fully refund my purchase at end of February.
Suddenly I received an email from the seller, showing "a small packet" item with tracking number had been ship through China post office and the seller ask for me to pay directly now.
I am skeptical and decide NOT to pay until the item arrived. For the next 2 months, the tracking number show the item never moved from that China post office, and since my carpet is LARGE size, there is no way it was being shipped as small packet item...
Until... sometimes in April (2020) out of the blue, the packet (LARGE SIZE) arrived at my front door. I tried to use the tracking number and because it was so old, the record only show the packet arrived at my house without even showing any history of the Chinese post office or the journey story at all...
Now I felt really bad, and desperately trying to contact the seller so I can pay him. Problem is the website that I purchased from no longer exist... I send an email to his PayPal email address, hopefully he saw my email and confirm that his paypal account is still active so I can pay him.
Update: The seller finally contacted me again this month (September 2020) with his new active PayPal address so I am gladly pay him :)

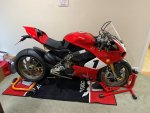
The carpet is GORGEOUS !!! I will use this under the Foggy carpet (if possible since it might be too thick with my own living room carpet and make the bike unstable):

IMG_7349.JPG


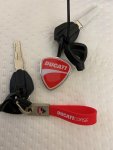
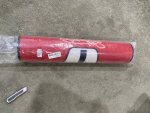
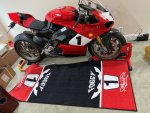
Ducati keychain and I also found Carl Fogarty's carpet with Number 1 logo that matched my bike fairing decal:
IMG_6833.JPGIMG_7078.JPG


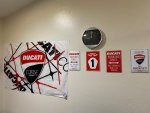
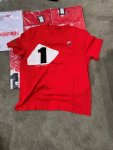
Some wall signs :p and of course the mandatory Ducati 916 Anniversario T-Shirt :cool:
IMG_8725.JPGIMG_7202.JPG


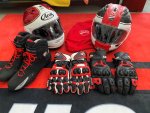
Some helmet and riding gear that I will put on a display case as soon as we move to a larger house 😇:

IMG_7350.JPG


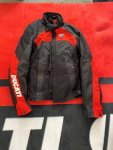
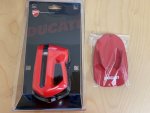
Ducati Textile Jacket that I purchased to go to a bike safety riding class so I can get my Bike License without doing a driving test at DMV (needed to purchase the bike and insure it), plus some stand pad/base and rotor locks (again for display only):

IMG_7352.JPGIMG_7656.JPG


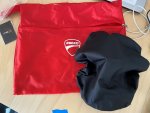
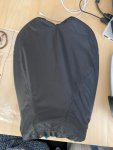
Ducati official, Rain Cover for the seat, in my specific case, it is NOT to protect from rain but so I can cover my Ducati V4 Speciale seat (on order) when I am not looking at it,
I worry the "cooking oil vapor" raining from my wife's kitchen beside my living room will "coat" it too much 🤣:

IMG_7403.JPGIMG_7711.JPG


And some very nice Brembo keychain I found from Japanese website (weBike):
IMG_8236.JPG
 

BMW Alpina

FOUNDING Member & Administrator
Staff member
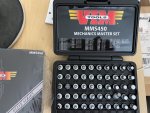
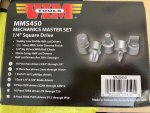
I also purchase many special tools to make everything easier and follow Ducati Service Guidelines, not to mention the grease, sealant, etc:

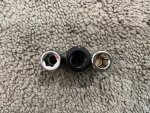
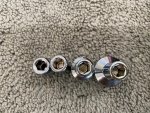
CNC Racing Wheel Nut Socket Tools, however, they are made of aluminum that is a bit soft and I decided to upgrade (at least for the rear wheel nut) with the MotoCorse Rear Wheel Socket tool:
IMG_6847.JPGIMG_8034.JPG


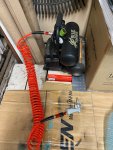
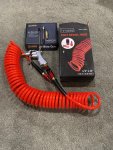
Small Compressor and Air Blow Gun to remove the handgrip:
IMG_6905.JPGIMG_6907.JPG


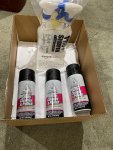
Pro Honda Spray Cleaner, with microfibers towel to wipe the thin film of cooking oil since my wife's kitchen is right beside the living room 😁
IMG_6908.JPGIMG_6983.JPG

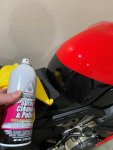
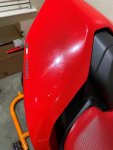
Test cleaning using the ProHonda Sprays before and after:
IMG_6987.JPGIMG_6988.JPG


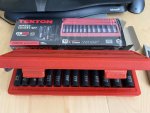
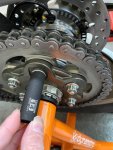
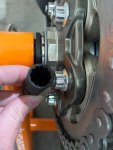
Tekton 12 point Impact Socket for the 12 point nut on the rear sprocket:
IMG_6961.JPGIMG_6962.JPG

IMG_6963.JPG
 

BMW Alpina

FOUNDING Member & Administrator
Staff member
More tools:

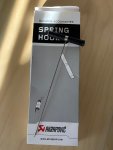
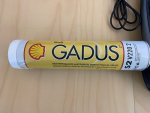
Akrapovic official exhaust spring puller and Sheel Gadus grease, although this one is the wrong grease since it is not the AD version with solid content:
IMG_6957.JPGIMG_7023.JPG

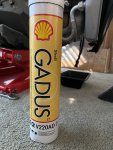
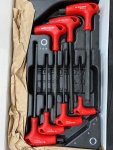
Now this is the right grease for installing large diameter bolts and Facom socket hex tools:
IMG_8450.JPG IMG_8584.JPG

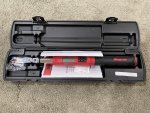
1/4" drive Snap On torque wrench (for small bolts) to complement my larger 1/2" drive Snap On Torque Wrench (for larger bolts) and some socket swivel adapter and extension (will be beneficial to remove the exhaust manifold/header):
IMG_7153.JPGIMG_7869.JPG


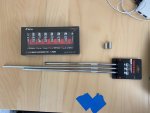
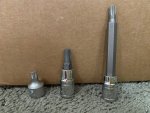
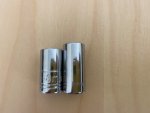
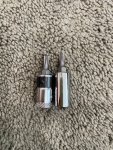
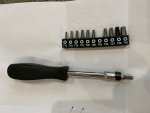
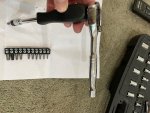
Super short TORX and socket hex bit set for some tight places:

IMG_8199.JPGIMG_8231.JPG


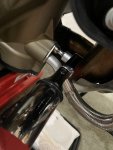
Below is one of the example of tight places that can easily be tightened using a torque wrench using the super short bit above and height comparison between various bits that I have:
IMG_8200.JPGIMG_8201.JPG
 

BMW Alpina

FOUNDING Member & Administrator
Staff member
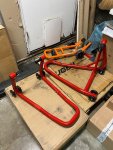
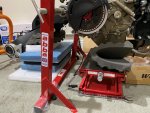
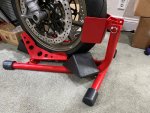
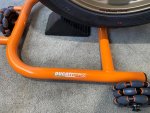
I also purchase all the stands needed to modify the bike:

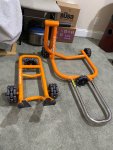
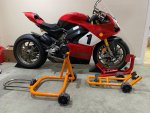
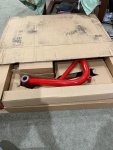
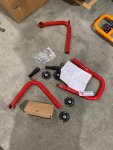
Dynamoto Stands, Ducati original Stands, ABBA Center Stands and a Scissor Below Engine Stand plus the Choke Stand:
IMG_6948.JPGIMG_6949.JPG

IMG_6950.JPGIMG_6951.JPG

IMG_6952.JPGIMG_6955.JPG

IMG_6953.JPGIMG_6956.JPG

IMG_8726.JPGIMG_8727.JPG


Of course, I can't let my stands in stock/standard condition, got to make it looks nicer with some Ducati Corse Decal/Sticker 😜

IMG_7024.JPGIMG_7025.JPG
 

Lucati

FOUNDING Member & Moderator
Staff member
Loottsss of updating to do!
Btw, how do you add the photos in like that? I’ve been using the “attach files” option
 

BMW Alpina

FOUNDING Member & Administrator
Staff member
Loottsss of updating to do!
Btw, how do you add the photos in like that? I’ve been using the “attach files” option
Hi Lucati,

You can upload an image from other website or upload from your harddrive/hardisk.
If you upload from your harddrive/hardisk, then you have to click the "picture icon" red arrow on the picture below,
then click anywhere inside the box saying "Drop image" green arrow and it will open a window box to select the folder and files where your picture is located in your hardisk/harddrive.

Capture.JPG

If you want to upload from other website, than you have to copy the link to that specific picture on the other website, click the "picture icon" red arrow on the picture above, then click the "chain" icon on the upper left corner (second icon from the left).

Please kindly try and let me know if it work.

Oh, last, I set the maximum size of the picture to be around 800 x 600 pixel so it is not too big and yet big enough that you can use 2 pictures side by side.
 

BMW Alpina

FOUNDING Member & Administrator
Staff member
I just "MODIFIED" the Forum Navigation menu (top of this page) BACKGROUND from "blurred picture" to SOLID Black, and it now looks so much better with the contrast between the GOLD Text/Font and the Solid BLACK Background.
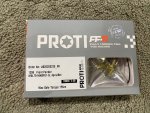
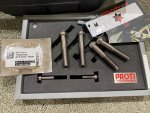
This is the same philosophy I used for choosing the ProTi Titanium Bolts color against the background color, and also for other upgraded parts color (against it's background color).

This is a DUCATI modified forum, so even our forum icon/background/layout need to be MODIFIED 😁

I am talking about this Navigation menu below:
Capture.JPG

Oh, today I also change the "HOME" title of the home icon to "BIKE OF THE MONTH" :cool:
 

Lucati

FOUNDING Member & Moderator
Staff member
Hi Lucati,

You can upload an image from other website or upload from your harddrive/hardisk.
If you upload from your harddrive/hardisk, then you have to click the "picture icon" red arrow on the picture below,
then click anywhere inside the box saying "Drop image" green arrow and it will open a window box to select the folder and files where your picture is located in your hardisk/harddrive.

View attachment 105

If you want to upload from other website, than you have to copy the link to that specific picture on the other website, click the "picture icon" red arrow on the picture above, then click the "chain" icon on the upper left corner (second icon from the left).

Please kindly try and let me know if it work.

Oh, last, I set the maximum size of the picture to be around 800 x 600 pixel so it is not too big and yet big enough that you can use 2 pictures side by side.
awesome, that works. thank you for that!
 

BMW Alpina

FOUNDING Member & Administrator
Staff member
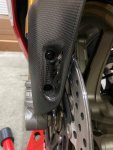
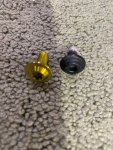
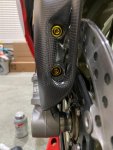
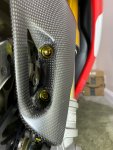
The first ProTi install that I did was for the front carbon mudguard. I chose Gold ProTi Titanium Bolts against the dark black background of the Matte Carbon Fiber, and the result was PERFECT. This first color experiment dictate my color choices moving forward.
Please note that due to the lighting effect, the Gold color of the ProTi Titanium Bolt looks rather pale, while in reality are a bit darker and nicer.

Below are the pictures (self explanatory) :D:

IMG_6911.JPGIMG_6912.JPG
IMG_6913.JPGIMG_6914.JPG
IMG_6916.JPGIMG_6917.JPG
IMG_6918.JPGIMG_6919.JPG
IMG_6921.JPGIMG_6922.JPG
IMG_6923.JPGIMG_6924.JPG
 

BMW Alpina

FOUNDING Member & Administrator
Staff member
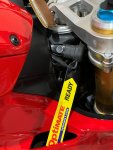
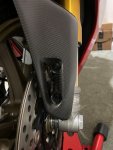
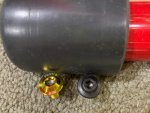
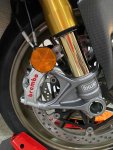
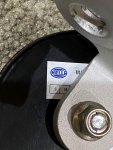
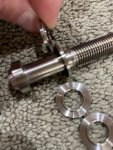
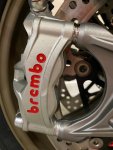
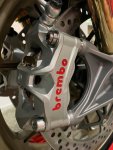
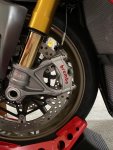
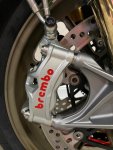
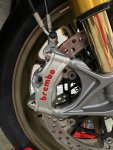
The next upgrade was taking out the Yellow Reflector mounted to the front Brembo Stylema Calipers while replacing the stock bolt with ProTi Titanium Bolts and Aella Centering Special Titanium Washer.

Before and turn out that Yellow Reflector was made by Hella ! Not Bad :cool:
IMG_7026.JPGIMG_7028.JPG


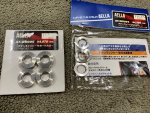
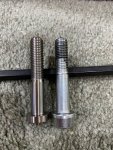
I choose the ProTi Titanium Bolt in SILVER color to more match the Matte Silver Brembo Stylema Caliper color, and further below is the picture of the AELLA Titanium Centering Washer and Caliper Spacer:

IMG_7029.JPGIMG_7030.JPG

Take a close look at AELLA Titanium Centering Washer with a tiny lips to help hold it position in the center of the hole, and on the right picture, it shows the very slightly longer (1mm longer) ProTi Titanium Bolts which is perfect to compensate against the centering washer thickness:
IMG_7031.JPGIMG_7032.JPG

Comparing stock bolts and stock spacer vs ProTi's and AELLA's Titanium version:
IMG_7033.JPGIMG_7034.JPG

IMG_7038.JPGIMG_7036.JPGIMG_7037.JPGIMG_7039.JPG


I also happened to buy some extra ProTi Titanium bolts for the front mudguard but in Silver color, but since I choose the gold color, this silver sets become extra so I used it for the DucatI Performance Rear Carbon License Plate Backing Plate (those 3 bolts):
IMG_7040.JPGIMG_7041.JPG
 

BMW Alpina

FOUNDING Member & Administrator
Staff member
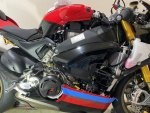
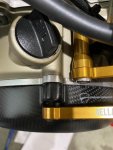
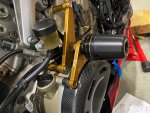
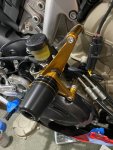
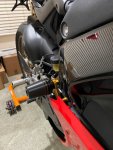
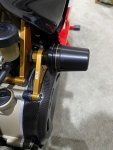
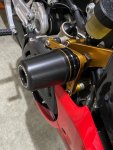
I tried to install the AELLA Right Front Slider, and learn on how to take out the side fairing (for the firs time) only to wish that Ducati still use the old DZUS fastener style from the original 916.
The current fairing is so complicated to take out... but I guess this is PROGRESS :p

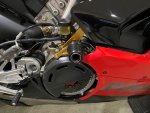
I later found out that the AELLA Right Front Slider was designed with the standard Ducati Wet Clutch Cover in mind and NOT my Ducati Performance Carbon Fiber Dry Clutch Cover,
so I will need to order some Stainless Steel Spacer from McMaster...

but with some tricks, I manage to test installed them and they are GORGEOUS :love:

Took out the fairings:
IMG_7052.JPG

Area where I will need Stainless Steel Spacers:
IMG_7053.JPGIMG_7058.JPG

IMG_7059.JPGIMG_7060.JPG

IMG_7062.JPGIMG_7063.JPG

IMG_7066.JPGIMG_7067.JPG
IMG_7068.JPG
 

BMW Alpina

FOUNDING Member & Administrator
Staff member
Surprised Early Delivery from UK arrived, it was the Carl King Fogarty Carpet (official merchandise):

IMG_7079.JPGIMG_7100.JPG

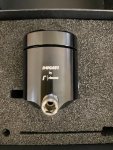
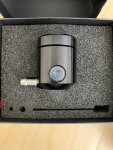
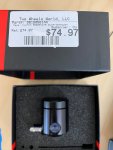
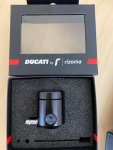
And Ducati by Rizoma Front Clutch Reservoir that I will modify to become Rear Brake Reservoir also arrived:
IMG_7126.JPGIMG_7127.JPG
IMG_7128.JPGIMG_7129.JPG


However, later I decided to sell this Ducati by Rizoma reservoir because I want to use the nicer looking Ducati by Rizoma WAVE reservoir. I know they are larger, but I am determined to make them work. I will post how I make it work in maybe ... 10 or 20 posts from this one :p
 
Top