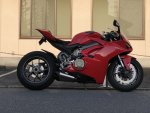
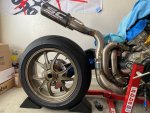
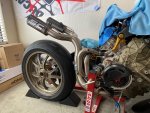
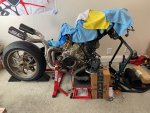
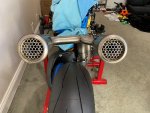
DUCATI Panigale V4 25Β° Anniversario 916 BUILD Thread

BMW Alpina

FOUNDING Member & Administrator
Staff member
Another HARD day at work πŸ˜…

However, DHL showed up an hour ago with the package from Peter Lieb and once I open the box and saw the product, all stress from work evaporate just like that πŸ˜ƒ

There are many quality vendor in this world, however, Peter Lieb always stands out with the personal touch, just look at this invoice below,
Not only Peter remember to send a pack of candy, he also remember to wrote a PERSONAL NOTE and NOT some generic note, but REAL Personal Note !!!
That make your customer feel special, appreciated and will always remember who's to look when they need Carbon Fiber Parts for their Ducati πŸ˜ƒ
IMG_0431.JPG

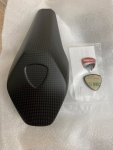
Now, a good customer service also had to be back up by quality product well, I will let the picture below speaks for itself:

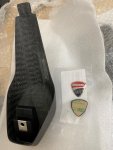
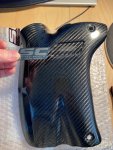
This is the LATEST FULL Seat Pad (not just cover) with Ducati Corse Emblem. Peter also make an "adaptor" since the emblem is curve while the surface of the carbon fiber is flat. That 3M backed foam is the adapter, that is attention to detail 🧐(y)
I actually already have the OLDER version of Peter Lieb Seat Pad "COVER", so it was glued to the stock seat pad, and it looks as nice in term of finish, however, since Peter have this new version with Ducati Corse Logo (recessed of course), I can't help myself
but buy another seat pad cover πŸ€ͺ
IMG_0432.JPGIMG_0433.JPG

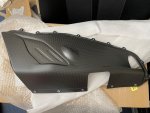
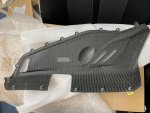
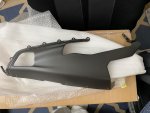
Now, below is the Carbon Fiber Belly Pan. I also already have the special version that Peter made for me to fit my stock Akrapovic exhaust (for the 916 25 Anniversario edition),
however, as discussed above, I need to COVER the SC-Project WSBK exhaust piping down below so it will look finished.
This new pair of Carbon Fiber Belly Pan were designed to fit the Akrapovic Slip-On exhaust and it should fit the SC-Project WSBK too. If somehow it touch with the piping, I will just use some spacer to further distance it.
I guess I will soon find out, but in the mean time, please take a look at the quality of Peter Lieb's product, AMAZING :love::

IMG_0437.JPGIMG_0436.JPG
IMG_0439.JPGIMG_0440.JPG

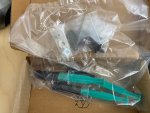
It also come complete with the required glue and hardware, but of course, I will upgrade the bolts and nuts with ProTi Titanium version as usual πŸ˜‰
IMG_0434.JPG

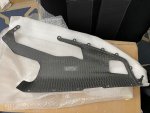
Last, the heat shield, PRE CUT for your conveniences:
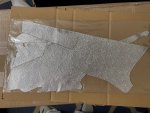
IMG_0438.JPG
 

BMW Alpina

FOUNDING Member & Administrator
Staff member
I spent more time looking at the CARBON Fiber Side Heat Guard from SC-Project under the light, and I can now see so many scratches (2 are quite deep), and it just looks so bad, especially compare to the rest of the Carbon Fiber Finishes on my bike.
I am really disappointed by the quality. especially from a $6k exhaust system... Seriously, I am NOT even comparing it to Carbon Fiber finish from Ducati Performance or Peter Lieb or Ilmberger,...
I just compare the finish to Motocomposites or Full-Six and the SC-Project Heat Cuard is even worse...

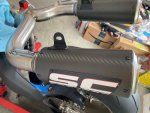
Luckily, the Matte Carbon Fiber on the SILENCERS of the SC-Project exhaust are PERFECT and GORGEOUS,

however, it looks like SC-Project outsource the heat guard to a different carbon fiber parts manufacturer...
and it's not like it came from a small manufacturer either because at the back of the heat guard, there is a clear stamp of production date and part number...

However, the spirit of DUCATImodified.com is always MODIFY to IMPROVE πŸ˜‡, and now I have a Legitimate Excuse for taking it to a painter to be refinished in MATTE Carbon πŸ˜‰

So, I took of the SC-Project logo just now, so the painter can paint all the surface. I also have some more idea to "spice" up the look with a relevant decal 🀩
IMG_0448.JPG
 

HKMP7

First 9 & Moderator
Staff member
I cant wait to see how it comes out. I agree Lieb speed products are superior in the fit and finish department.
 

BMW Alpina

FOUNDING Member & Administrator
Staff member
Yesterday (Saturday here in the US), I spent my whole day preparing for my presentation on Monday (work related), but before I went to bed, I manage to start the exhaust install 😌:

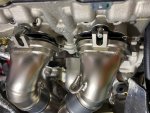
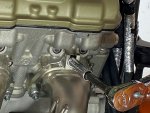
First, I installed the 2 rear cylinder manifold flange and I also replaced the gasket and nut with new set (Ducati OEM pars). Take note that the gasket for the left and right side of each cylinder bank is the same, you just installed them as mirror image, however the gasket for the front and rear cylinder are slightly different. The nut is a self locking nut, so it's best to replace them with a new nuts each time you take out your exhaust manifold and it's outer diamteter size is smaller than normal, due to the limited space, so there is no Titanium locking Nut equivalent from ProTi, thus I decided to use the Ducati original nut.

I then torque them to 10Nm:
IMG_0467.JPG

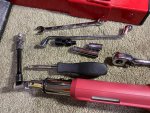
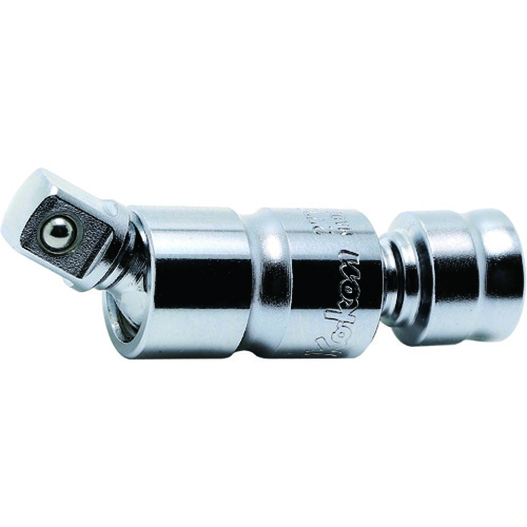
Now, the location of this nuts is quite recessed so if you want to be able to properly torque them you will need jointed socket bit, varying extension, and of course varying socket with separate jointed extension. Plus having the rear wheel and rear shock removed also add extra room to work:
IMG_0466.JPG

Here it is after everything torqued:
IMG_0468.JPG

Oh, I forgot, although the install manual did not specify, however, I did add a small amount of Loctite Nickel Anti-Seize to the self locking nut thread to prevent them from seizing and I still torque them to 10Nm just to be sure. The stud diameter is quite big so I don't feel the need to reduce the torque even after using the Loctite Nickel Anti-Seize.

The SC-Project WSBK exhaust also come with 2 small tube of what I believe a cooper anti-seize but I decided to not use them and use this Loctite Nickel Anti-Seize due to the higher temperature tolerance and I think better fit for Titanium material of the exhaust.

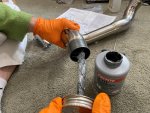
Next, I coated the inside of the connection bushing of the left rear cylinder pipe with Loctite Nickel Anti-Seize before I insert it into it's corresponding flange:
IMG_0469.JPGIMG_0472.JPG

Then insert it, and you need to wiggle it very slightly and gently and it just slide in easily. (make sure the other end did not hit any of your suspension bracket to avoid scratches, especially since mine was anodized).
On the right picture below, you can see how tight the space is between the left rear cylinder pipe and the right rear cylinder manifold flange, need a very precision exhaust pipe bending, and this will become even tighter once I install the right rear cylinder pipe 🧐:
IMG_0473.JPGIMG_0474.JPG

I will continue a bit more today but only for half a day since I need to travel out of state for my Monday business meeting, will post again later today πŸ˜€
 

MaverickiB

Well-known member
Be mindful of where the exhaust springs are and how you'll put them on. My FM system requires the rear headers to be assembled in a specific way, if you do it in the wrong order, it is a pain in the ass to get certain exhaust springs on.
 

BMW Alpina

FOUNDING Member & Administrator
Staff member
Be mindful of where the exhaust springs are and how you'll put them on. My FM system requires the rear headers to be assembled in a specific way, if you do it in the wrong order, it is a pain in the ass to get certain exhaust springs on.
Thanks so much @MaverickiB,
I will test with the spring later (hopefully today if I have the time, I was so busy this morning spending 3 hours troubleshooting the robot I suppose to demo on Monday,...)
but yes, it will be a pain if I had to remove the manifold flange again to install the spring πŸ˜…

Thanks so much @ggok ,
That double jointed swivel 1/4" tool from Kohken is really nice, I will buy it for sure (y)πŸ˜ƒ

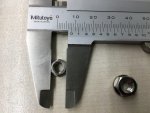
I really wish I found those smaller head M6 Titanium Nut earlier, but at this moment, I think I am just going to go ahead with the original Steel Nut from Ducati, mainly because I don't want to wait for another month for the titanium nuts to arrive just so I can install the exhaust πŸ˜…
Plus, I believe this M6 Titanium Nut is NOT self locking like the Ducati original self-locking steel nut, and I worry it might get loose over time.
I can't use Loctite thread-locker (too hot) and I will need to use Loctite anti-seize to prevent the Titanium Nut from bonding permanently with the steel stud due to corrosion between 2 different metal which will be accelerated due to high heat.
But, using an anti-seize on a non locking nut for this application that require locking nut might make it even easier to get loose over time, and I certainly don't want to open all the fairing just to tightened this nuts again πŸ˜…


The Titanium products from B-Titanium are really nice though, and I never heard of B-Titanium before, so Thanks so much @ggok for the information about B-Titanium πŸ˜€

note: I just noticed B-Titanium also offer titanium stud for Yamaha and Kawasaki: γ‚Ήγ‚Ώγƒƒγƒ‰γƒœγƒ«γƒˆ - ベータチタニウムγ‚ͺンラむンショップ

and some of those offering might fit our Ducati (I did not check), although they have slightly different alloy formula compare to the titanium nuts, but they should be safer in term of corrossion potential compare to steel stud and titanium nut, so you don't really have to use anti-seize...
so for other member here who want the ultimate with titanium stud and titanium nut, B-titanium might be your solution. I see B-titanium also accept custom design too...
 

BMW Alpina

FOUNDING Member & Administrator
Staff member
Ok, today is ... Sunday, but I spent most of my day troubleshooting my robot (for live demonstration at a client facility tomorrow/Monday) and driving to Reno, Nevada. However, before I drove to Reno, I manage to have few hours work on my bike πŸ˜‡

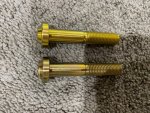
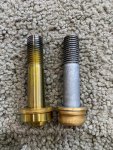
First, I noticed that ProTi gold colored Titanium Bolt sometimes come with a very bright (but not so nice looking) gold shade, however, if you wipe it with alcohol or paint cleaner, it will change to a darker and nicer shade of gold, not as shiny but not cheap looking gold shade anymore.
ProTi must used some coating to protect it, anyway, below is the picture before and after wipe with cleaner/alcohol, the bottom picture is AFTER, well, I just notice that I did not clean it with alcohol evenly πŸ€ͺ
IMG_0460.JPG


The gold above is ProTi M10L57-OTB01 and I purchase 2 pieces for the Ohlins rear shock mounting bolts.

This idea came from @HKMP7 (y), who point out that we just need to buy a slightly longer ProTi bolts so it will have a "non threaded shaft" long enough like the original Ducati bolt,
because you don't want the bushing of the Ohlins to sit on the threaded parts of the bolt shaft. Not only they will eat into the bushing, the pressure is also higher.

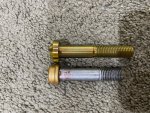
Below is the picture comparing the ProTi M10L57-OTB01 vs. the top bolt, yes, the original Ducati bolt have slightly longer flat non threaded shaft area, but trust me this M10L57-OTB01 is the best model with the right pitch and the right head diameter.
so this is the best I can find from ProTi.

IMG_0461.JPG

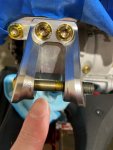
I test fit for the top mount and the non threaded part is long enough, not perfect but enough 😌
IMG_0463.JPG

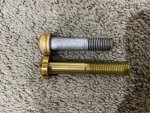
Below is the ProTi bolt vs. the Ducati OEM lower mounting bolt for the rear Ohlins, as you can see, the ProTi M10L57-OTB01 is way too long and will need to be cut, however, the flat/non threaded area is exactly the same length as the stock Ducati boltπŸ€“
IMG_0462.JPG


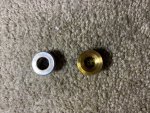
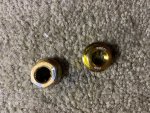
For the lower mounting bolt, I also purchase the ProTi Titanium M10 nut with the right diameter.
IMG_0464.JPGIMG_0465.JPG

So next step is to cut the ProTi bolt to the same length for the lower mounting bolt because it need to fit between the 2 AELLA links, and I cut it using Grinder:
IMG_0477.JPG

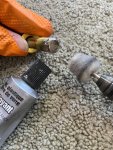
Initially, I want to paint the cut area which is now have silver Titanium Color with gold paint, but then I have another idea to MIRROR POLISHED it 🀩
Why? because the area where it was cut will be in the middle of the ProTi Gold Color Nut, so it will give a nice SILVER contrast (mirror polished of course), and below is when I mirror polished it:
IMG_0478.JPG

See, how shiny it is ? VERY SHINY I got to wear dark glasses 😎😁
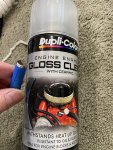
and to LOCK that shine, I CLEAR COAT it with the Gloss Clear Paint below :
IMG_0479.JPG


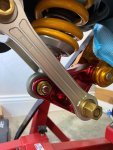
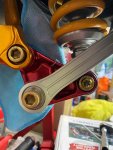
Ok, and then I install it, with the Gold ProTi NUT and you can see what I mean by "CONTRAST" between the mirror polished bolt end with Gold Nut below:
IMG_0487.JPGIMG_0490.JPG
IMG_0488.JPGIMG_0485.JPG

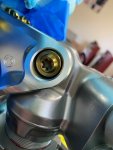
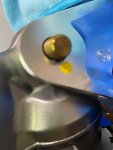
Talk about the right head diameter, so the ProTi M10L57-OTB01 have head diameter of 18mm and that fit very tightly with almost no gap to the available bolt hole opening make it looks like a right wheel diameter compare to a car fender 😎
Below are the pictures that show how "tight" the 18mm diameter head to the hole, oh on some pictures you will see "Black Ring" that is just the Gadus Grease and I haven't had a chance to clean it yet because I need to drive to Reno after doing this 😜
IMG_0480.JPGIMG_0481.JPG

IMG_0484.JPG


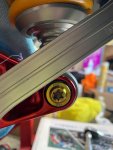
This picture below is to show that for the top mounting bolt, the ProTi is only slightly longer than stock, and I decided not to cut it so it stay gold color and contrast with the MotoCorse suspension mount in Silver:
IMG_0489.JPG

Ok, that is all for me for this weekend update πŸ˜ƒ
 

BMW Alpina

FOUNDING Member & Administrator
Staff member
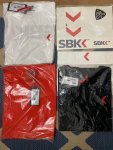
I want to order a WSBK official Sticker last week but was not happy with the 45 euro shipping cost to USA, then I found out if I buy 100 euro worth of items, the shipping cost is zero... πŸ€‘

So, I decided to see if there is anything else from WSBK official online shop that I could buy and they just arrived today πŸ˜ƒ.
The T-Shirts is for my wife and sons (just so I can meet the over 100 euro free shipping cost), but the sticker is for me and I got something exciting for this SBK sticker :cool:πŸ˜‡

IMG_0543.JPG
 

BMW Alpina

FOUNDING Member & Administrator
Staff member
I spent Friday night partying with my bike πŸ₯³:

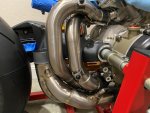
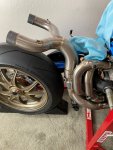
First I install the 2 rear pipes that goes into the rear cylinder exhaust manifold flange. Of course I apply Loctite Nickel Anti Seize on the Joints, then put on the locking springs:

IMG_0537.JPGIMG_0541.JPGIMG_0538.JPGIMG_0539.JPGIMG_0540.JPG

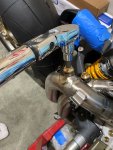
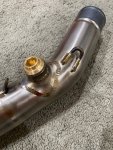
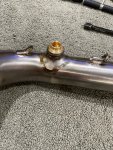
Next step is to PLUG the 2 Lambda/O2 sensor holes on this 2 pipes which is there for bike with full ECU race setup that can detect/tune per cylinder instead of the Ducati stock per cylinder bank setup.
I tightened it to 25Nm per Ducati service manual for Lambda sensor. Of course I apply Loctite Nickel Anti Seize and also use the Cooper Ring Gasket that came with the SC-Project packages. Notice how beautiful the GOLD color Titanium Plugs are 😍
IMG_0545.JPG

I also install these Gold Titanium Plugs to the 2 pipes for the front cylinders:
IMG_0552.JPGIMG_0553.JPGIMG_0550.JPGIMG_0551.JPG

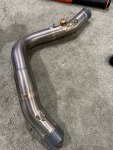
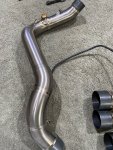
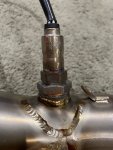
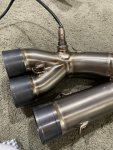
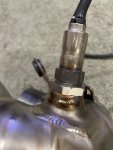
Then I remove the Ducati original 2 O2 Sensors from the stock Ducati exhaust manifolds and install them on the 2 to 1 Collector pipes from the SC-Project WSBK Exhaust. Again use Loctite Nickel Anti Seize and tighten them to 25Nm.
Oh, I forgot, I also need to install the Bung Adapter because the hole diameter on the SC-Project WSBK exhaust is much larger than the thread diameter of the Ducati original O2 Sensors:
IMG_0546.JPGIMG_0547.JPGIMG_0548.JPGIMG_0549.JPG

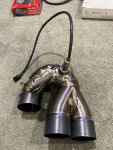
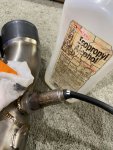
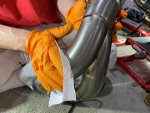
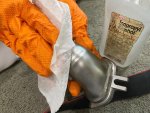
Then I clean the 2 to 1 Collector Pipes with Alcohol so there won't be any stain/marks from the heat when the motor is running:
IMG_0554.JPG

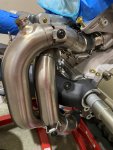
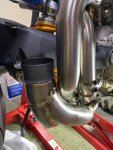
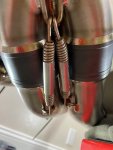
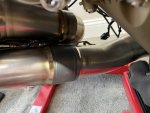
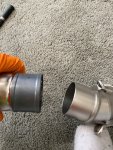
After that, I install the Rear most 2 to 1 Collector pipe that joint with the 2 rear cylinder pipes, of course use Loctite nickel anti seize on the joints, then secure with the springs.
This pipe is so precisely made that it is quite easy to assemble/joint them together (y)
IMG_0555.JPGIMG_0556.JPGIMG_0557.JPGIMG_0558.JPGIMG_0559.JPGIMG_0560.JPG

Note: I am so glad, I purchase this SC-Project WSBK now so I can install it while my bike is still apart like this, really make it so much easier to install. πŸ˜…

Continue below ;)
 

BMW Alpina

FOUNDING Member & Administrator
Staff member
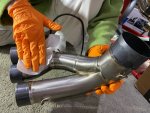
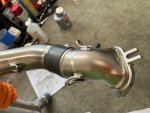
Now, clean (with alcohol) the other 2 to 1 joint collector that will connect to the rear collector, rear main silencer pipes and to 2 front pipes going to front cylinder manifold:
IMG_0561.JPGIMG_0562.JPG

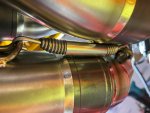
Then apply Loctite nickel anti seize to the joints, secure with their springs and done for tonight, will continue tomorrow, because I am sleepy :sleep::sleep::sleep::
IMG_0563.JPGIMG_0564.JPGIMG_0565.JPGIMG_0566.JPG

Look at that large diameter pipe that goes to the main pipe for the 2 silencers, very large diameter:

IMG_0567.JPG

And they are already look gorgeous even before everything is installed 😘:
IMG_0568.JPGIMG_0569.JPG
 

BMW Alpina

FOUNDING Member & Administrator
Staff member

BMW Alpina

FOUNDING Member & Administrator
Staff member
IMG_0587.JPGWhat a productive day today πŸ˜›,

so, today it's time for the front cylinder piping to be installed, first as usual cleaning with Alcohol then Loctite Nickel Anti Seize coating:
IMG_0570.JPGIMG_0571.JPG

Then fit the right cylinder piping, route it between the oil cooler hose:
IMG_0573.JPGIMG_0574.JPG

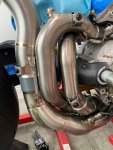
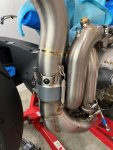
Then connect with the 2 to 1 collector and secure it with the springs:
IMG_0575.JPGIMG_0576.JPG

IMG_0577.JPG

Next is the left front cylinder piping, start with connecting the manifold flange with the pipe it self, Oh yes, I forgot to mention that you need to connect the manifold flange with the piping first and the manifold flange for the front cylinder can just slide it,
because it have different way to mount it compare to the rear cylinder manifold flange:
IMG_0578.JPGIMG_0579.JPG
IMG_0580.JPG

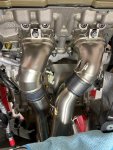
After that route it carefully between the right front exhaust piping and the braided hose of the oil cooler, complete the joint connection with the 2 to 1 collector and secure it with spring again.
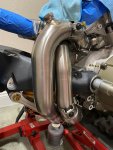
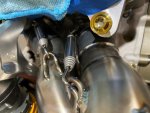
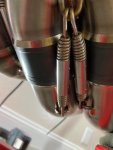
Oh, for the upper springs, since the location is quite hard to reach, you better attached one side of the spring (hook it) before you install this last pipe, otherwise, it will be very hard to install that upper spring:
IMG_0583.JPGIMG_0581.JPGIMG_0582.JPG


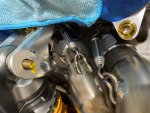
Back to that upper spring again, you might need to use 2 spring hook tools to help you "align" the spring so it can be hooked, the picture below show how I use 2 spring hooks:
IMG_0585.JPG

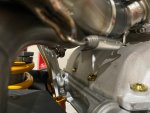
By the way, these pictures below show how the LOWER springs hold the 2 front pipes to the 2 to 1 collector:
IMG_0586.JPG

The exhaust manifold had not been secure with the nuts yet:
IMG_0584.JPG

Now, we need to apply the Loctite Nickel Anti Seize to the nuts:
IMG_0588.JPGIMG_0590.JPG

Then screw the nuts to the exhaust manifold flanges:
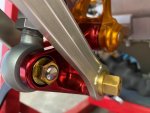
IMG_0591.JPGIMG_0593.JPG

Continue below:
 

BMW Alpina

FOUNDING Member & Administrator
Staff member
Don't forget to torque the nut to 10Nm:
IMG_0594.JPGIMG_0595.JPGIMG_0596.JPGIMG_0597.JPG

By the way, at this moment, the oil cooler stainless braided line is very close to the exhaust piping, however, I believe once the oil cooler is secured to the frame, it will have better spacing between them:
IMG_0598.JPGIMG_0599.JPG

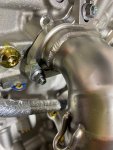
Then of course, secure the exhaust manifold flange to the pipe with springs, and by the way, you might need to tap and wiggle the exhaust pipe a bit after you install the spring to allow the exhaust pipe to fully inserted into the joint with the the manifold flange:
IMG_0600.JPGIMG_0601.JPGIMG_0602.JPG


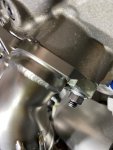
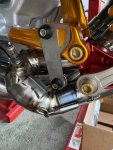
Next is the lower bracket that hold the exhaust center collector to the lower Ohlins rear shock mounting point:
IMG_0603.JPG

I found that the lower bolts (I upgrade to ProTi) need to be longer than 25mm that SC-Project supply if you want to make your life easier when screwing them in, and I happened to have a 35mm of ProTi M8 bolts so I replace it again:
IMG_0622.JPGIMG_0623.JPG

Please note that this is DUCATI modified .com 😁, so that bracket will be mirror polished
and I also will incorporate more modification to it ... well, I will talk about this maybe later tonight when I test fit this "modification"


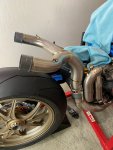
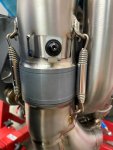
But, now let's finish this exhaust install by installing the rear Y pipe, and of course I use Loctite nickel anti seize for that joint between the Y-Pipe and the center collector of course, the secure with springs as usual πŸ˜‰
IMG_0604.JPGIMG_0605.JPGIMG_0606.JPGIMG_0607.JPG
IMG_0608.JPG

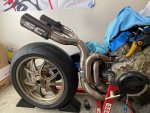
Then it's time for the Silencers:
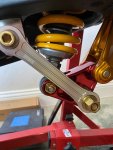
IMG_0609.JPGIMG_0610.JPGIMG_0612.JPGIMG_0620.JPG


Continue for more pictures below:
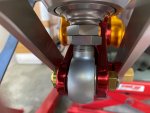
 

BMW Alpina

FOUNDING Member & Administrator
Staff member
Exhaust looks so good. (y)

I prefer the SC cans to the Termis, but I understand the sentimental preference for the Termis.
Thanks Craig 😁,
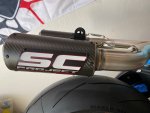
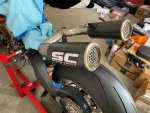
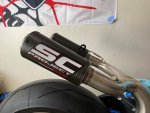
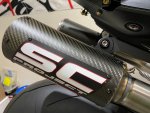
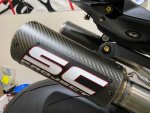
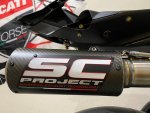
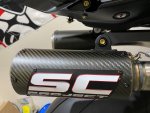
I just did not like the logo of SC-Project on that silencer, like they are very big, however, now it is installed on the bike, I just realized the word "project" was painted silver and it looks very nice with the word SC in white color. I never noticed it until I install them today,...
so, I plan to buy one Termignoni silencer first just so I can hold it in my hand, see the quality and finish and also check if it is technically feasible to retrofit them on to the SC-Project piping, plus how to convert the "right side only" Termignoni silencer so it can also be used on the left side of the bike...


Back to my activity today...
So I decided to test fit the bracket that hold the silencer to the rear subframe, which mean I need to test fit the subframe too.

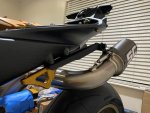
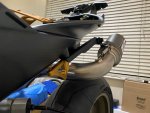
First, I install the bracket under the AELLA Tie Down, and luckily I have the correct length Titanium bolt for it. There are 4 bolts that hold the AELLA Tie Down and the SC-Project bracket, 2 of them I used ProTi M8 x 25mm and the other 2 (that is hidden inside the hole of the AELLA, I use the Titanium Bolts made by Pro-Bolt that I got as an extra from the Melotti Racing Triple Clamp kit... I figure, rather than not using those Titanium Bolts from Pro-Bolts, it is better if I used it at hidden application. They are nice, but they are HEX Socket instead of TORX, so not look as nice as ProTi but again they were hidden anyway and they are also M8 x 25mm. I also use Loctite medium thread locker because I only torque them to 15Nm instead the recommended 22Nm by Ducati. The reason because my rear sub-frame is covered with Peter Lieb Carbon Fiber Rear Subframe cover which also hold by the same 4 bolts. So I worry if I use 22Nm, it will crack the carbon fiber. This is also the reason why I cannot use Peter Lieb lower tank carbon cover that attached using this 4 bolts too because they were designed only to hold 5Nm of torque. Too bad because Peter Lieb lower tank carbon cover will perfectly match the rear subframe Peter Lieb Carbon Cover color. In it's place there will be Ilmberger lower tank carbon cover that is hold by adhesive directly to the gas tank instead, but that have not arrived from Ilmberger yet...
IMG_0624.JPGIMG_0625.JPG

So below is how the carbon fiber pressed by the SC-Project bracket then press by the AELLA tie down:
IMG_0626.JPGIMG_0627.JPG

IMG_0628.JPGIMG_0630.JPG


IMG_0629.JPGIMG_0637.JPG

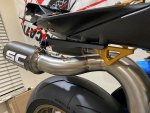
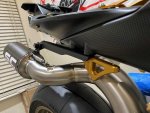
Now, I am going to put some "Motocorse touch" to the bolt that hold the rear silencer, but for now, I also want to compare which one looks better, a Titanium Silver ProTi bolt or a Gold Color ProTi bolt (comparison picture below):
Again, I am talking about that single bolt that hold the silencer to the Bracket, left picture in Titanium Silver, right picture in Gold:
IMG_0633.JPGIMG_0636.JPG
IMG_0631.JPGIMG_0635.JPG

Well... I am undecided beside I will try to replace it with the Motocorse bolt (for silencer) anyway if I can fit it here so we have to wait until the Motocorse shipment from our forum vendor @dennispowersport arrived hopefully sometimes next week πŸ˜ƒ

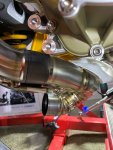
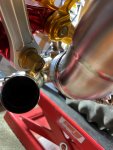
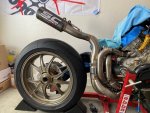
Now, some more "waist" picture, this under tail SC-Project piping sure add some "CURVE" to the waist area 😘:
IMG_0641.JPGIMG_0643.JPG


IMG_0644.JPGIMG_0645.JPG

Oh, by the way,
I found out that the hole on the Peter Lieb carbon fiber sub-frame cover is too small to let the Motocorse Gold Subframe bolt/plug to fit, so tomorrow, I will have to do some trimming, but I can't wait to test fit them, I think they will look marvelous 🀩😎πŸ₯°,
ok see you guys tomorrow, I need to go to sleep now :sleep::sleep::sleep:
IMG_0639.JPGIMG_0640.JPG
 
Top